¶ TOOCAA NOVA Connection
Start TOOCAA NOVA and open TOOCAA Studio using Google Chrome
👉 https://www.toocaastudio.com/
Click Connect Device in the top-right corner

Select TOOCAA NOVA and click Confirm

Select connection method (USB / Wi-Fi)

¶ Connection Method 1: USB Connection
Connect NOVA to the computer using a USB Type-C cable
Click Connect in the device connection popup

Select the corresponding device in the browser serial port selection window
¶ Connection Method 2: Wi-Fi Connection
Before connecting via Wi-Fi, ensure a stable network environment. After confirming stability, go to the settings page on the touchscreen home screen and tap Wi-Fi.
Tip: Use Wi-Fi networks that only require a password. Avoid networks requiring secondary authentication. Also ensure the NOVA device and computer are on the same Wi-Fi network and the same IP subnet.
On the NOVA touchscreen, go to Settings → Wi-Fi
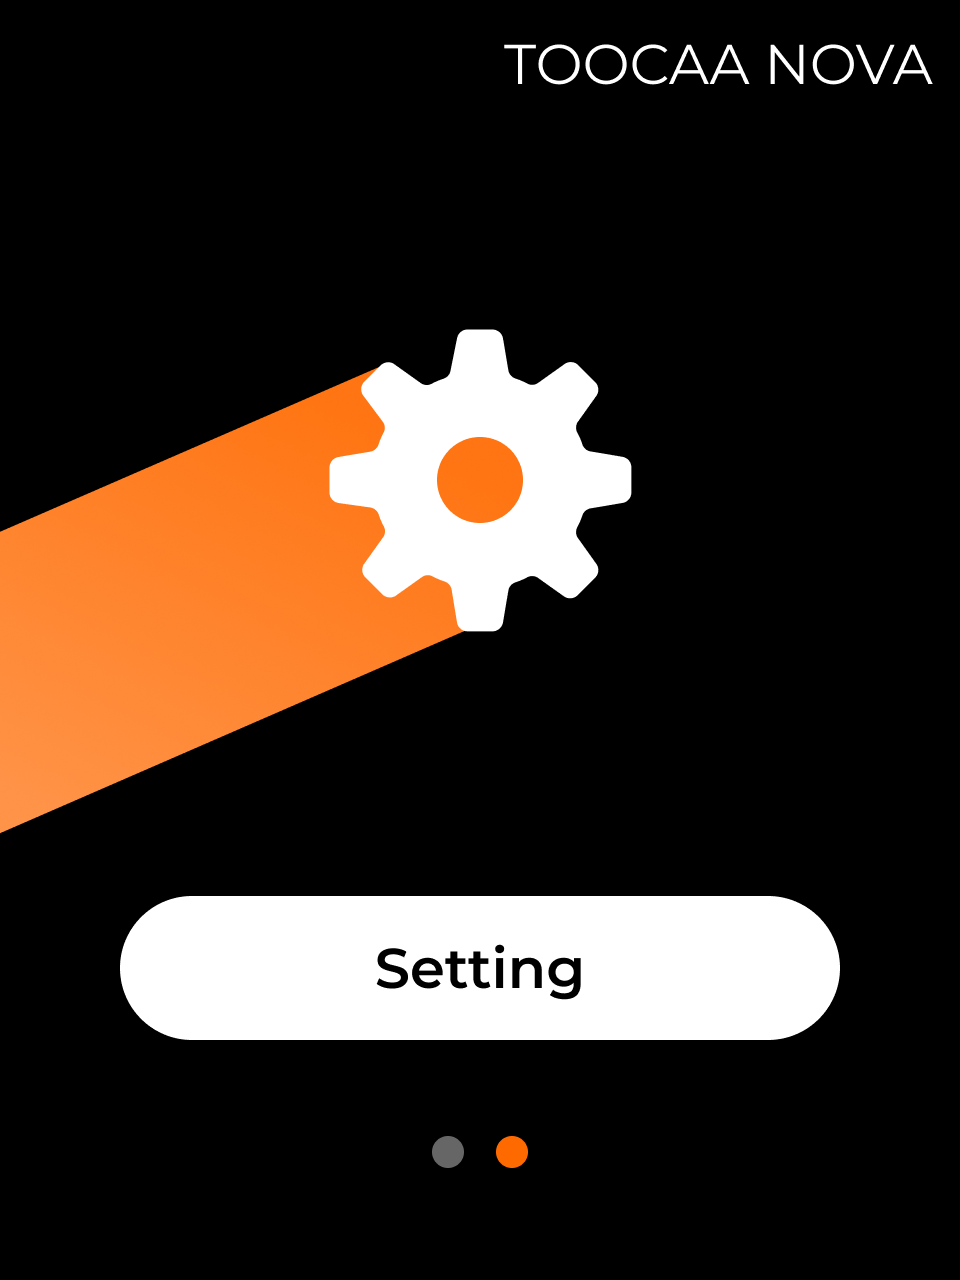
Select a Wi-Fi network and enter the password

In TOOCAA Studio, select Wi-Fi Connection → Connect New Device
When connecting a new device via Wi-Fi, you need to first install a browser extension. This extension is used for communication between NOVA and your computer.
Download the TOOCAA Connect extension to your local machine, then open the extension management page in your browser: chrome://extensions/
As shown in the image below, turn on Developer mode.
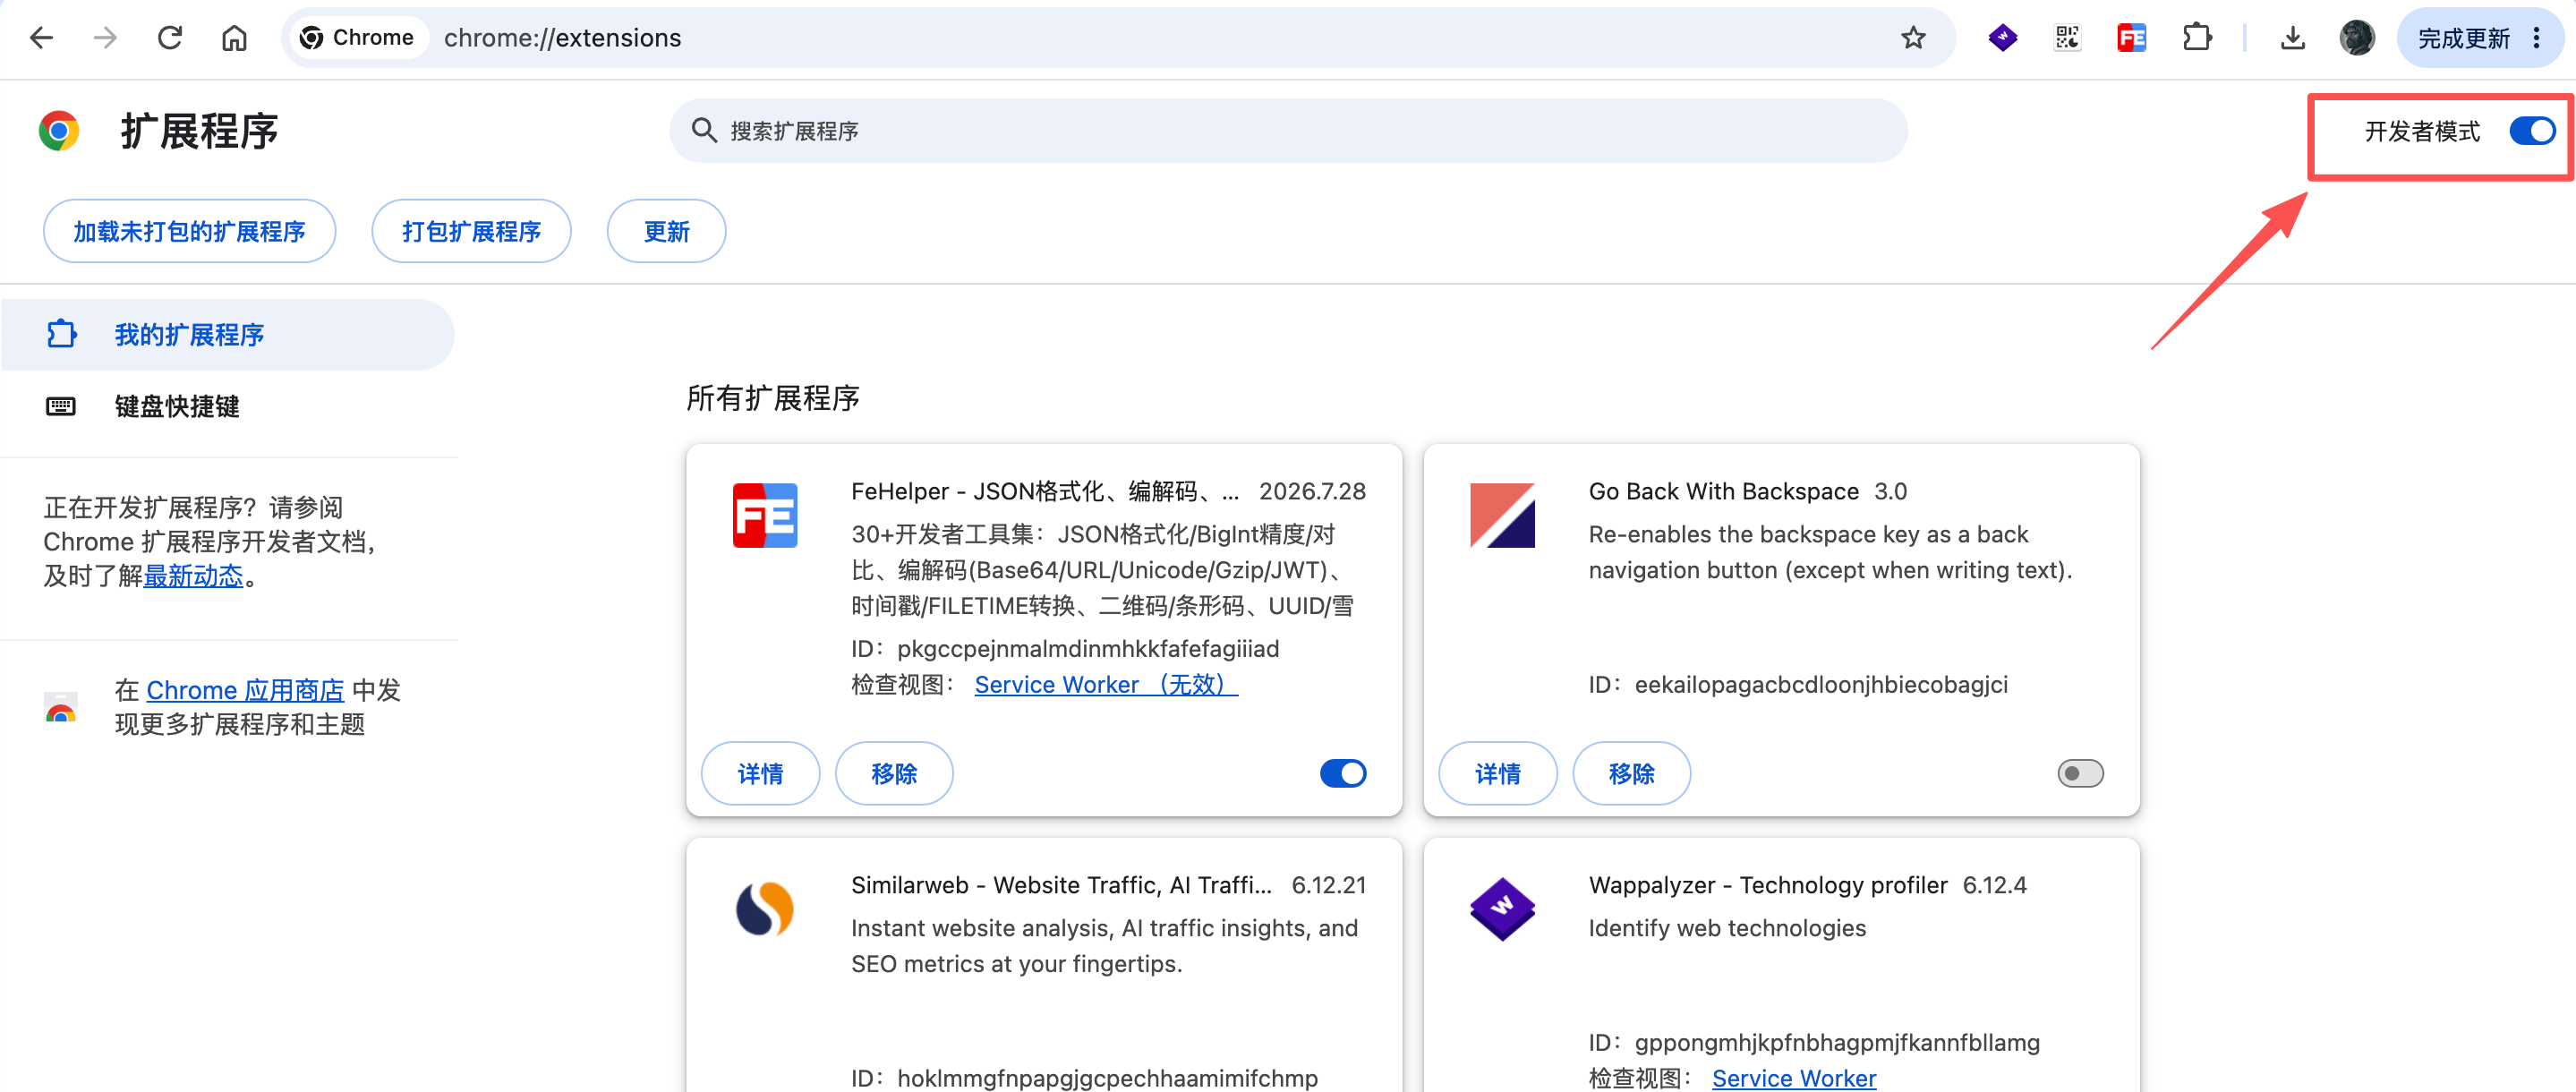
Drag and drop the downloaded .crx extension file onto this page, and the extension will be installed automatically.
For users who can directly access the Chrome Web Store, you can also install the extension directly from the store. Installation link
After installing the extension, proceed to add a new device.

Enter the NOVA IP address and click Connect
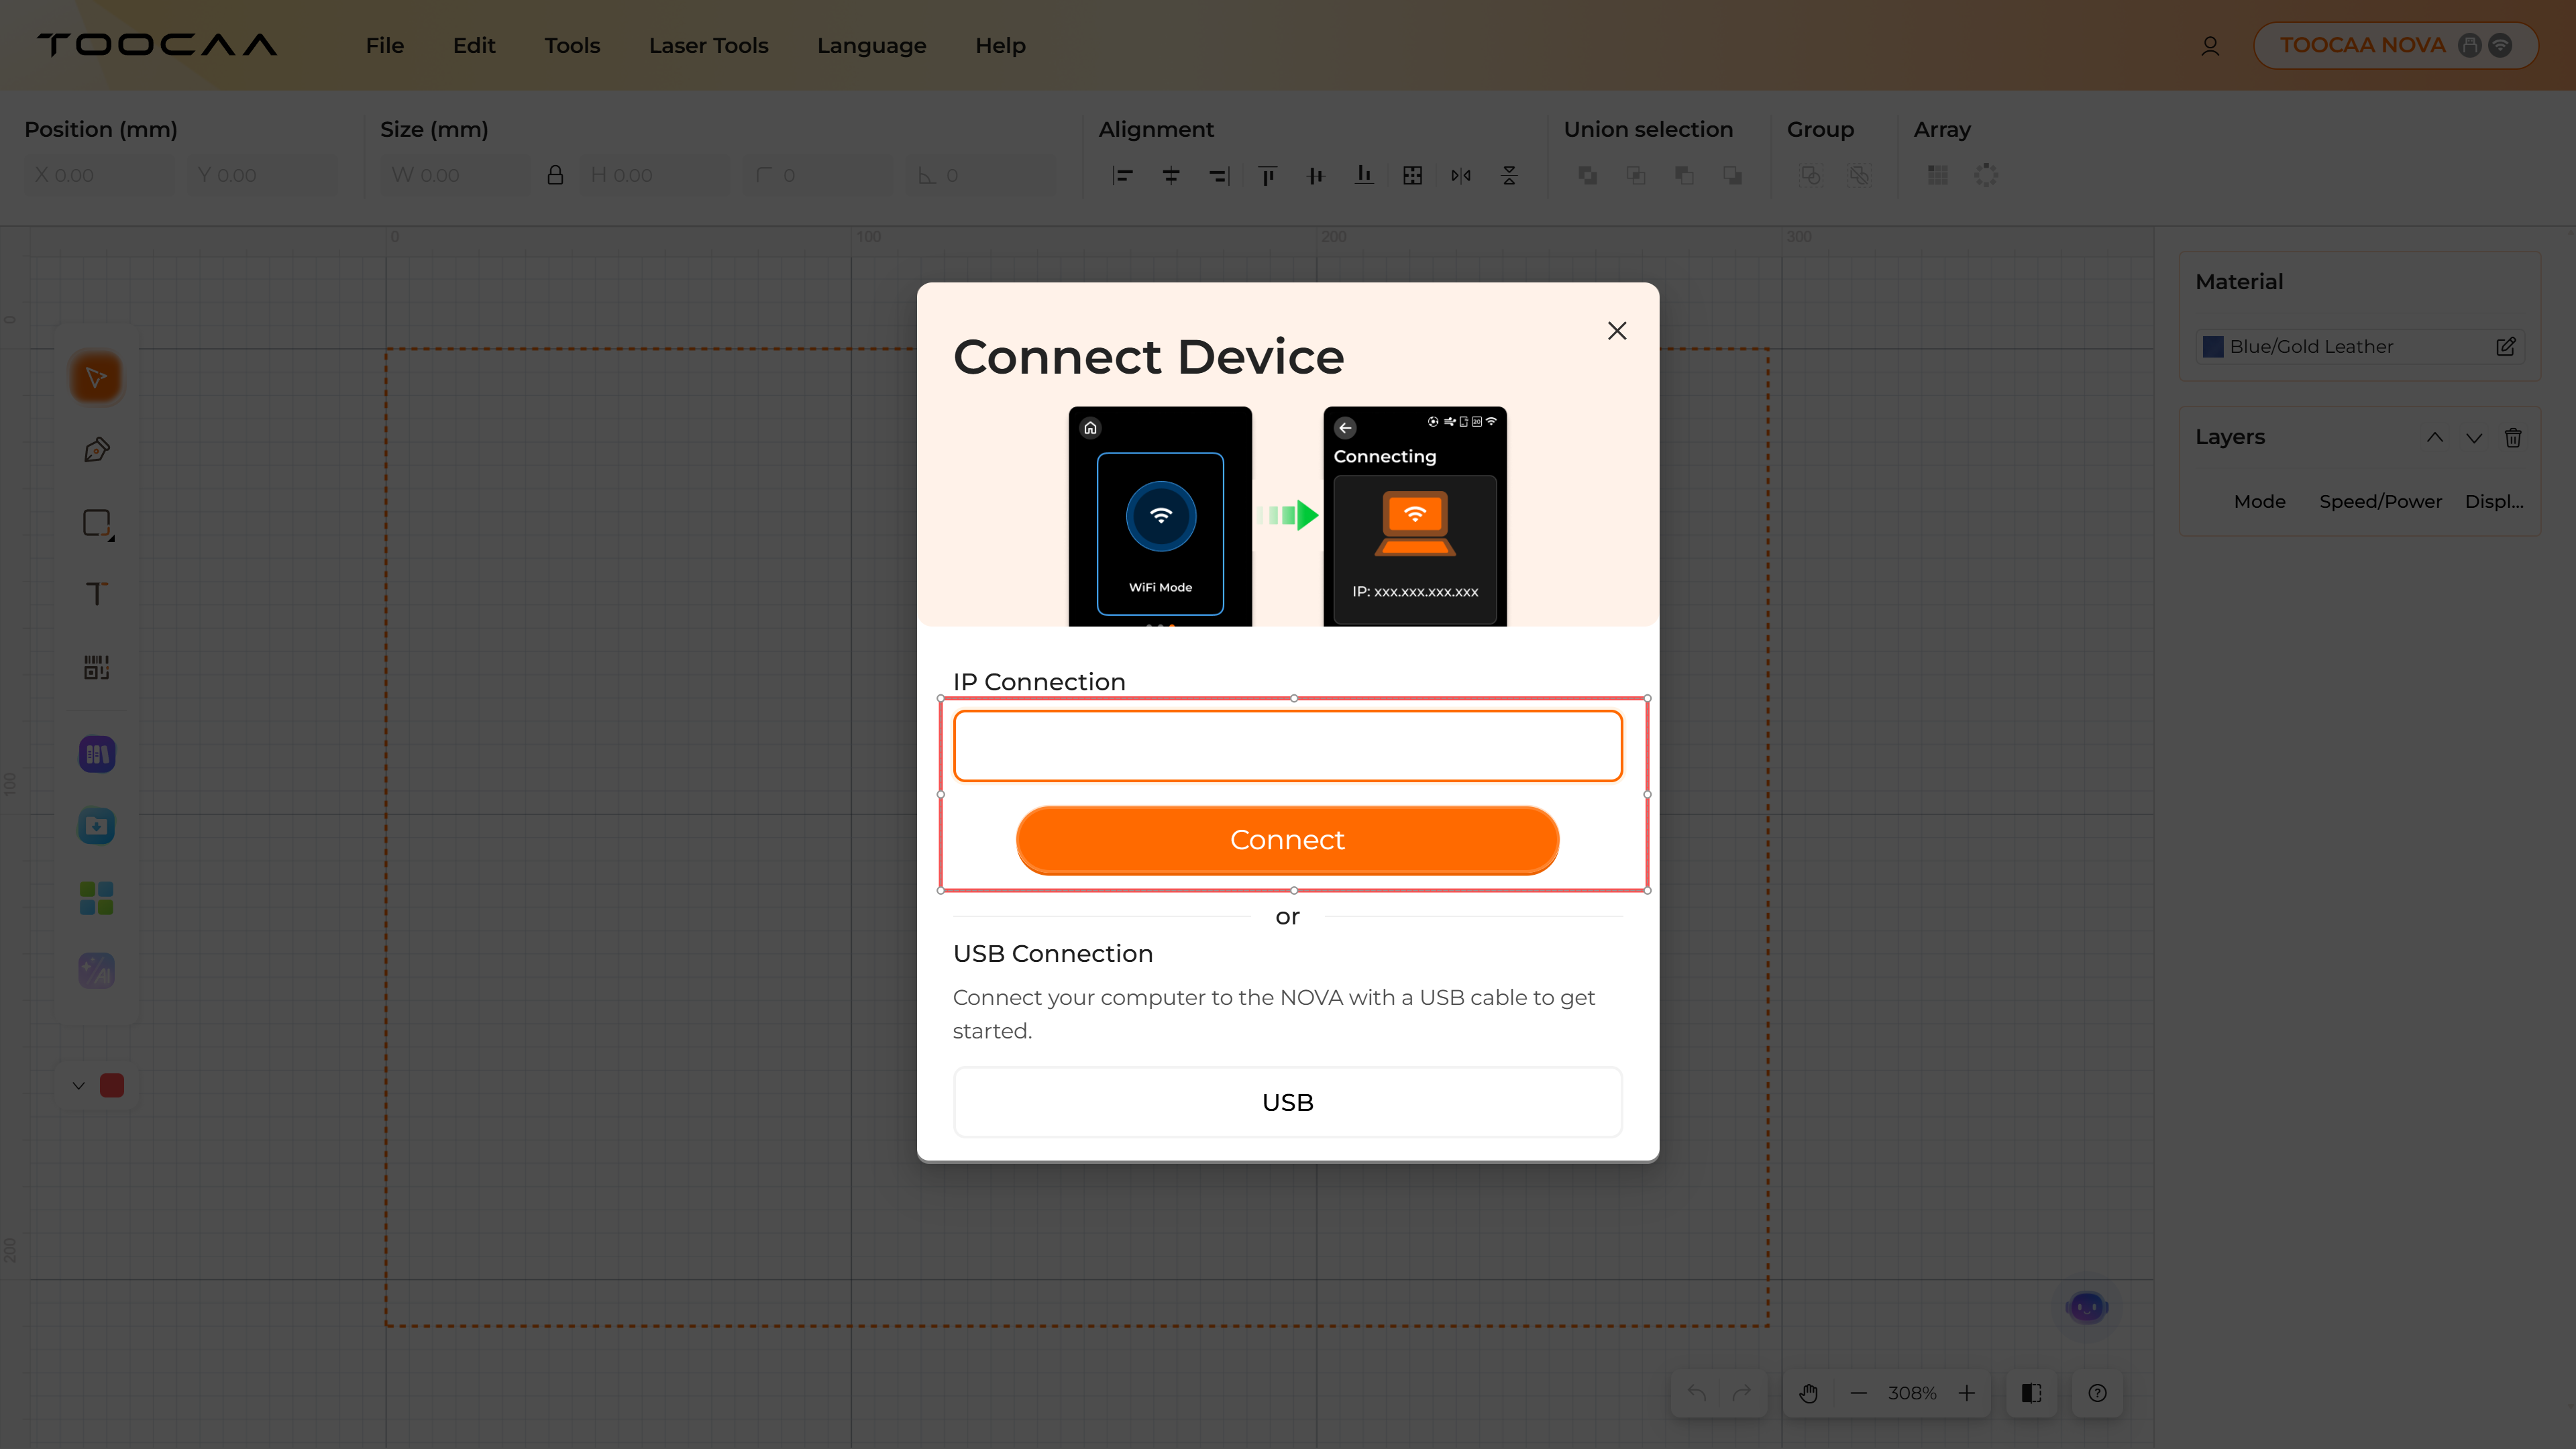
Tap the green Confirm button on the NOVA touchscreen to complete the connection

After successful connection, TOOCAA Studio will display the currently connected devices (laser module, air pump, rotary attachment, etc.).