¶ TOOCAA NOVA & LightBurn Smart Camera Calibration Guide
This guide explains how to complete Camera Lens Calibration and Camera Alignment for the TOOCAA NOVA Smart Camera in LightBurn.
For more detailed instructions, you may also refer to LightBurn’s official Camera Lens Calibration guide.
¶ 一、Calibrate the Camera Lens
¶ 1. Select the Camera
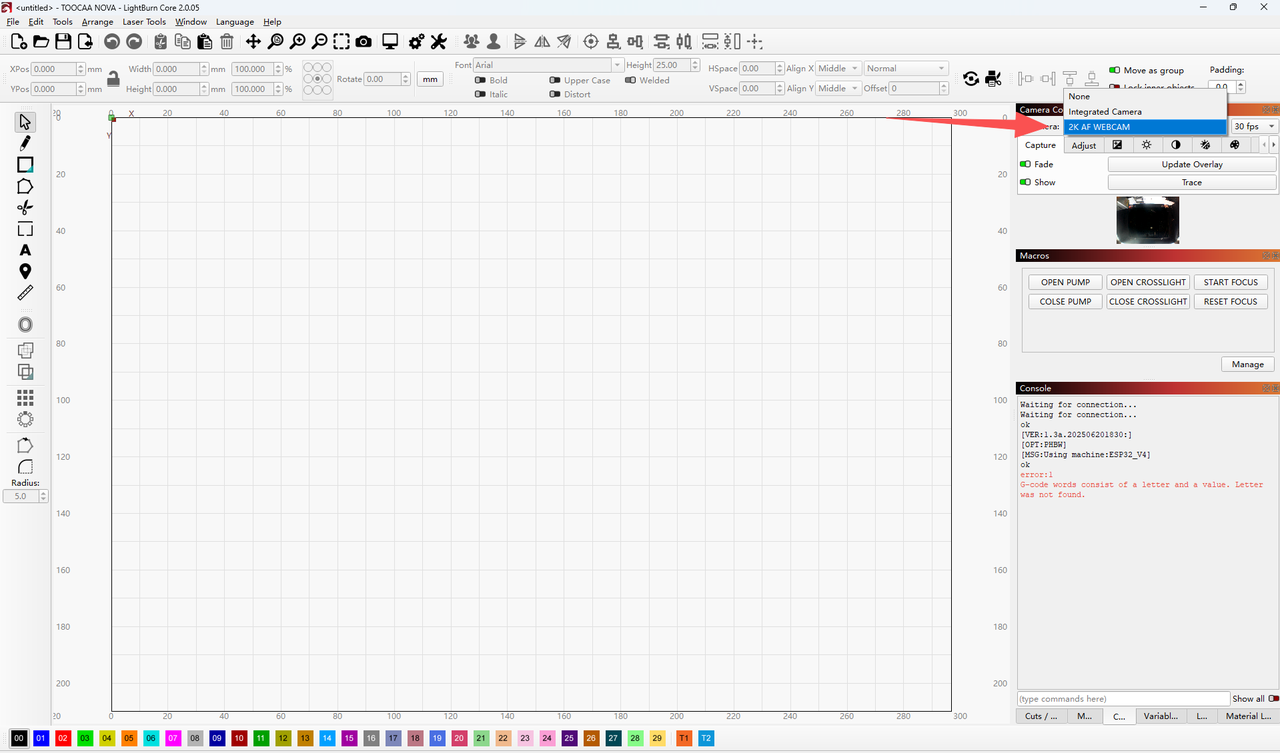
In the camera dropdown menu in the upper-right corner of LightBurn, select TOOCAA NOVA Smart Camera/2K AF WEBCAM.
¶ 2. Open the Camera Lens Calibration Tool
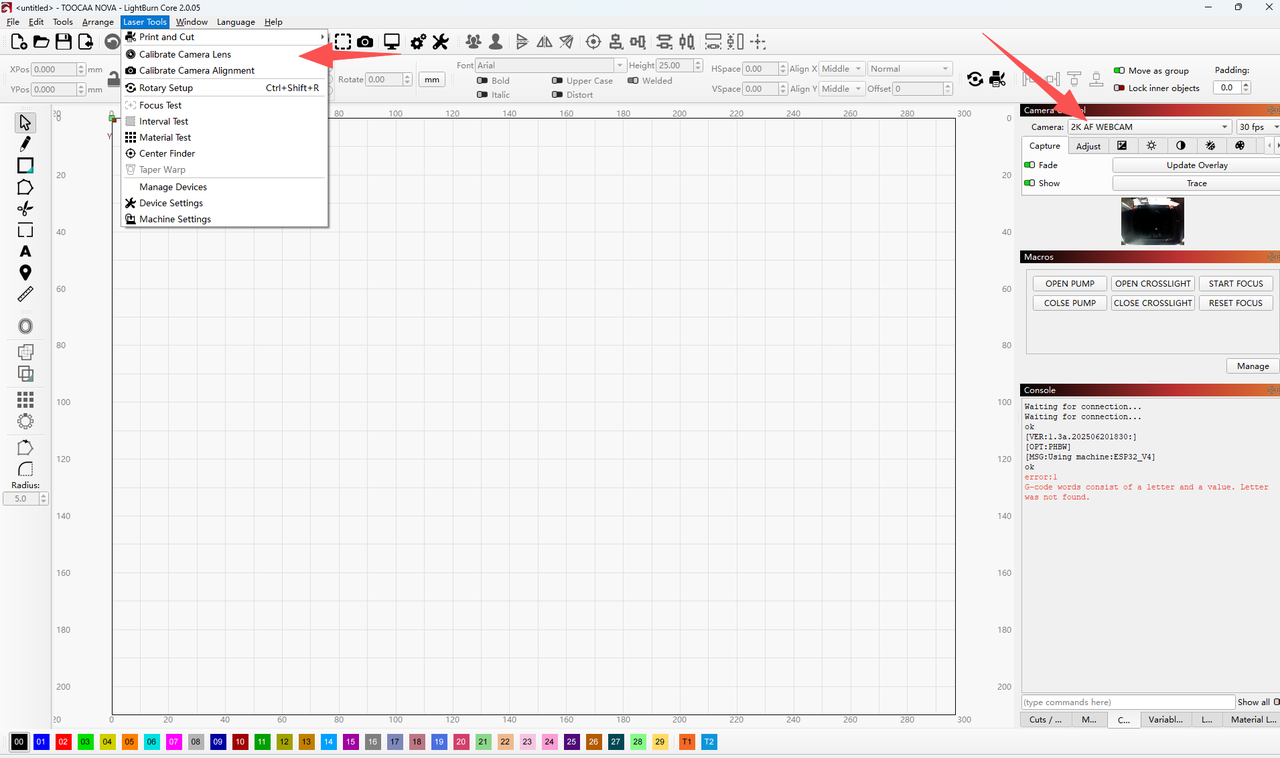
From the top menu bar in LightBurn, select:
Laser Tools > Calibrate Camera Lens
¶ 3. Select the Camera for Calibration
In the Camera Lens Calibration Wizard, select TOOCAA NOVA Smart Camera.
¶ 4. Set Use Preset
Under Use Preset, select:
(None - do full calibration)
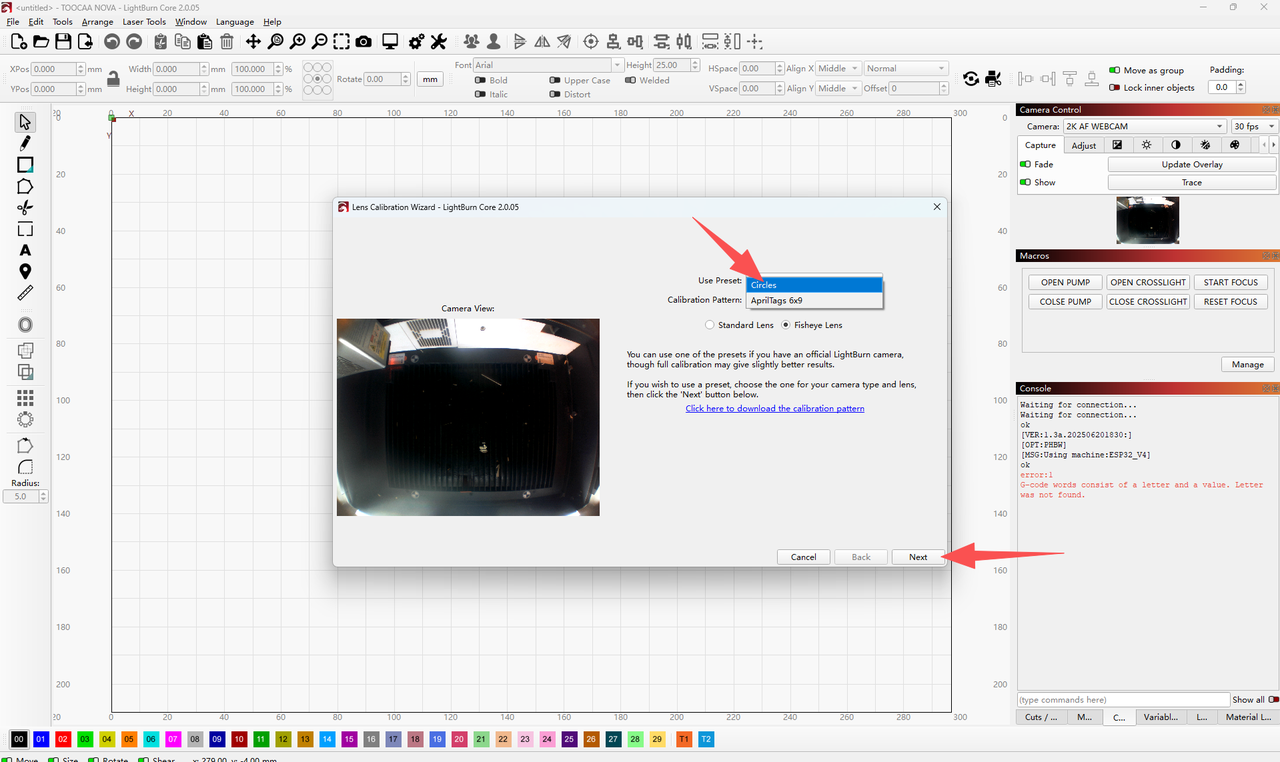
¶ 5. Select the Calibration Pattern
Under Calibration Pattern, select:Circles
¶ 6. Continue to the Next Step
Click Next.
¶ 7. Download and Print the Calibration Tags
Download the Calibration Tags file.
The current Calibration Tags file is A4 size. Before printing, scale down the pattern. The recommended print size is: 70.7 mm × 50 mm
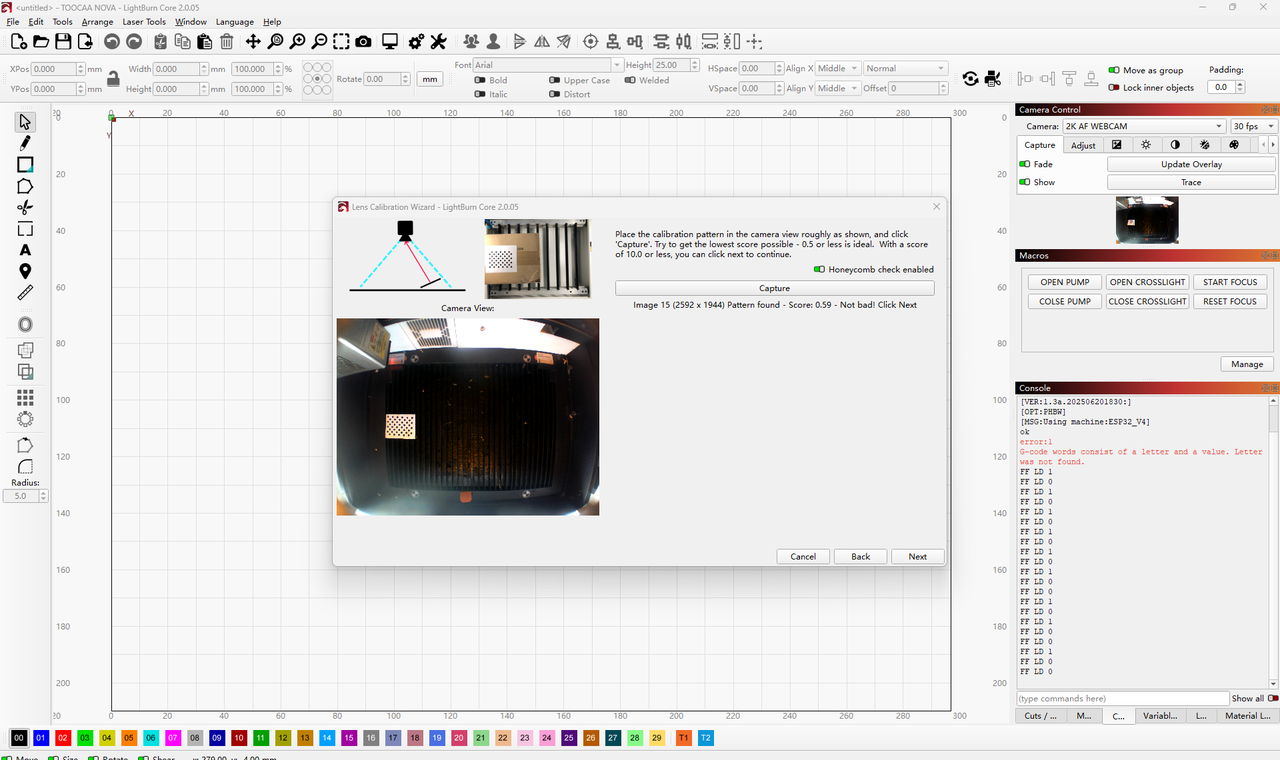
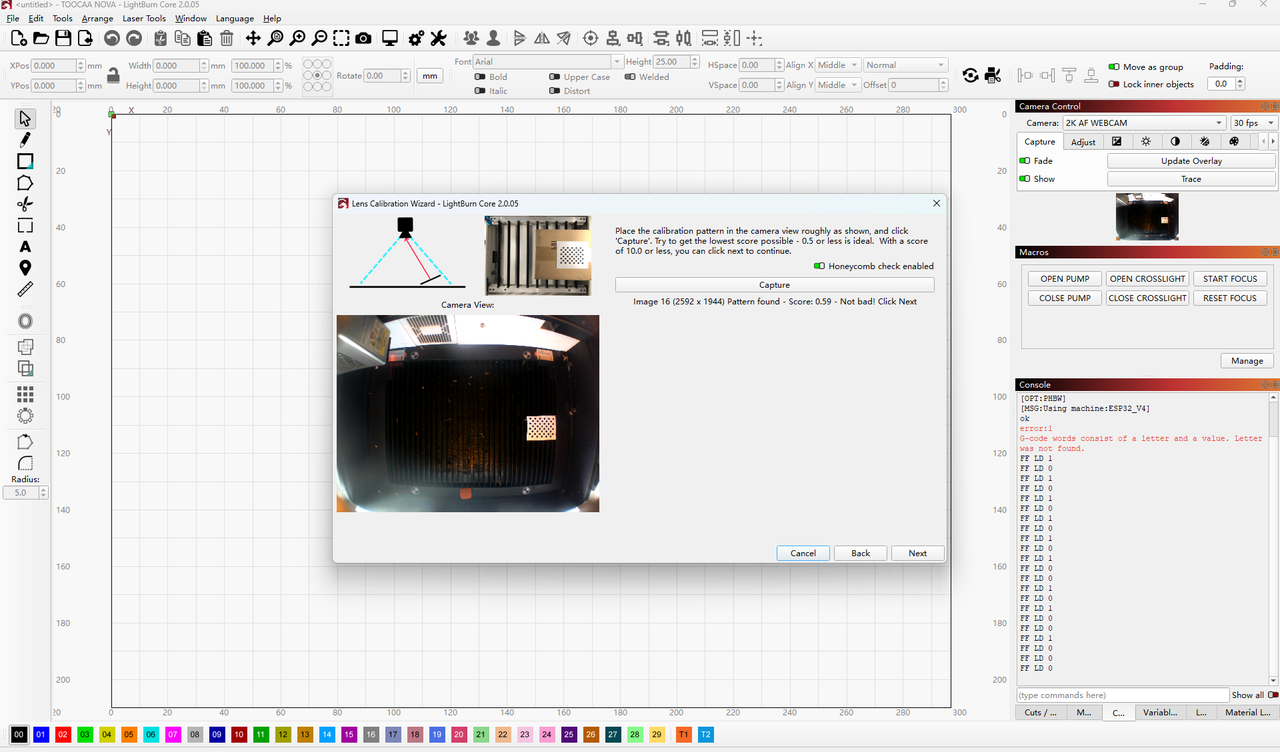
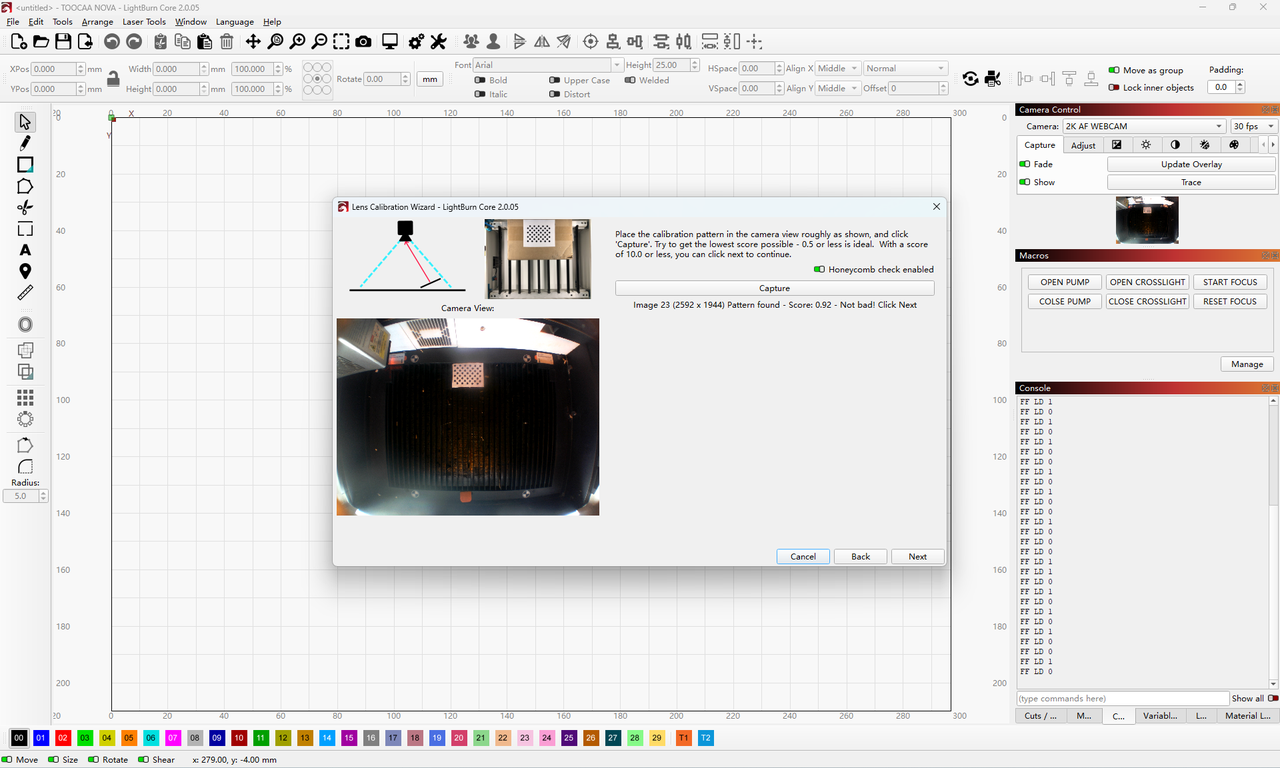
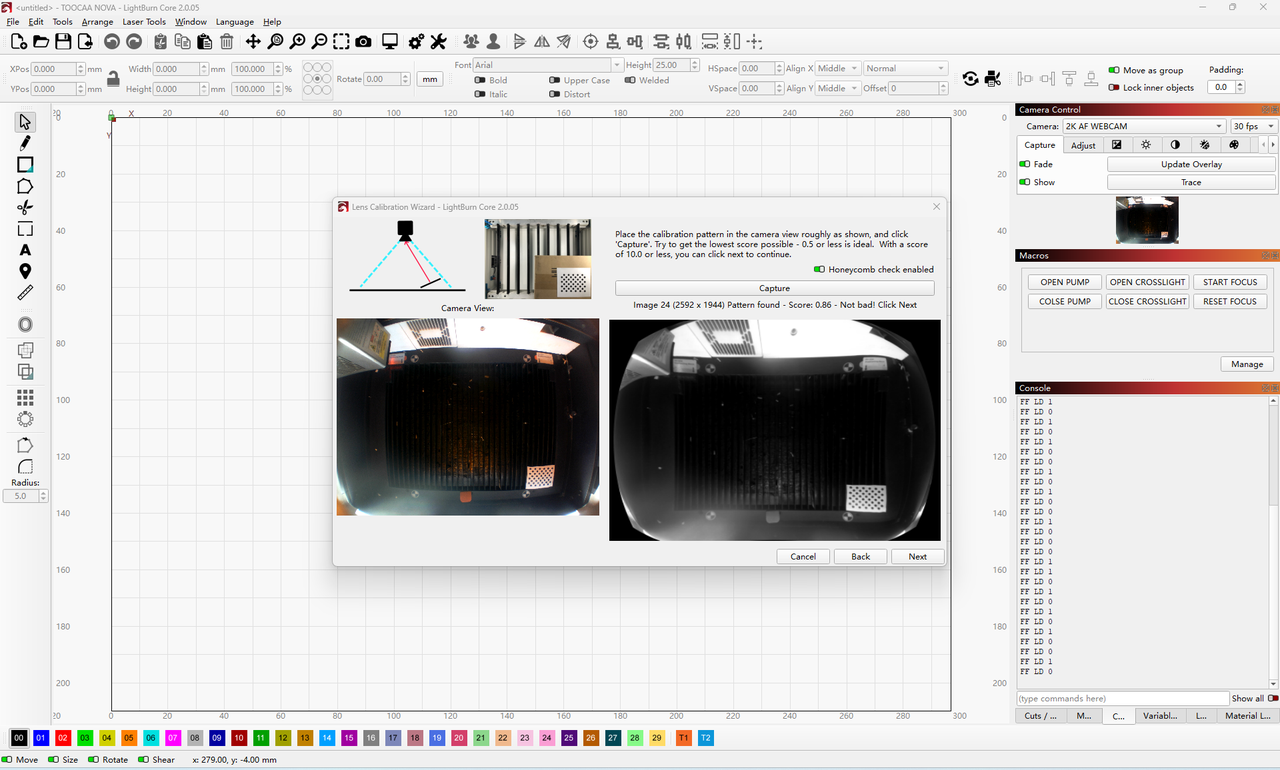
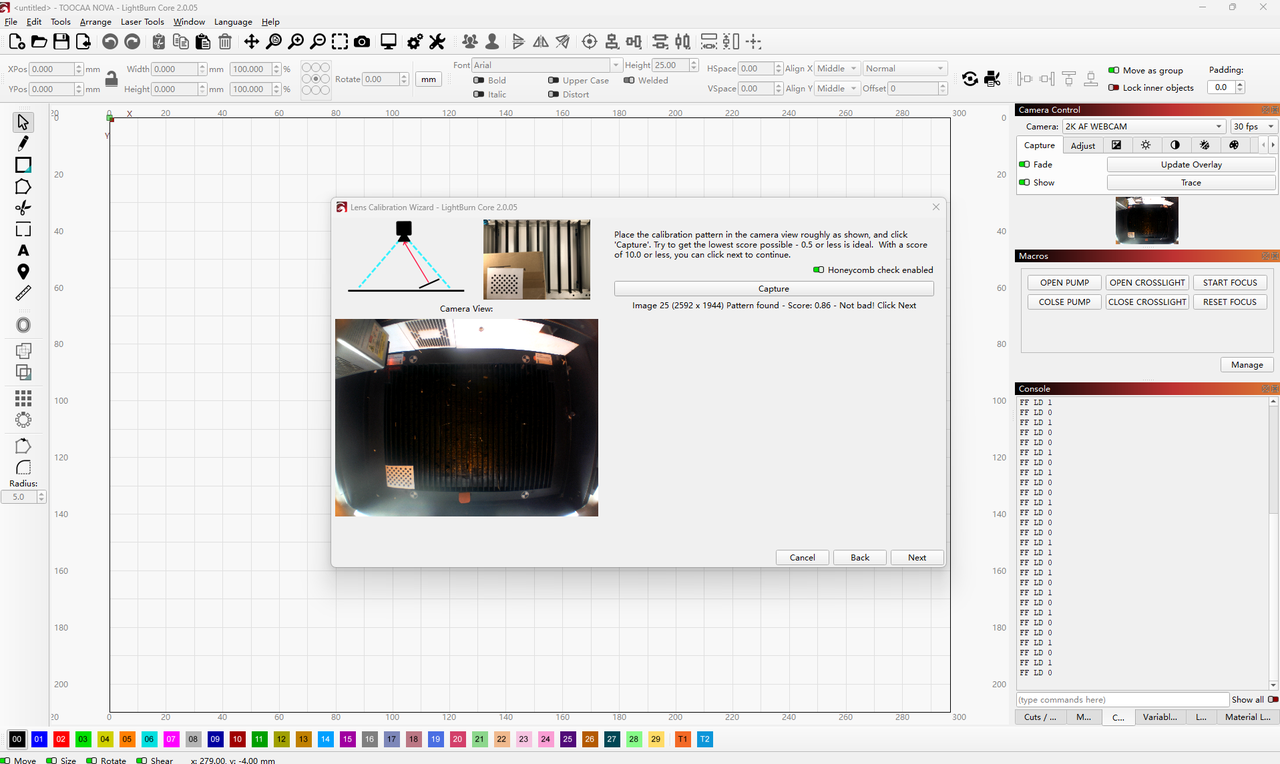
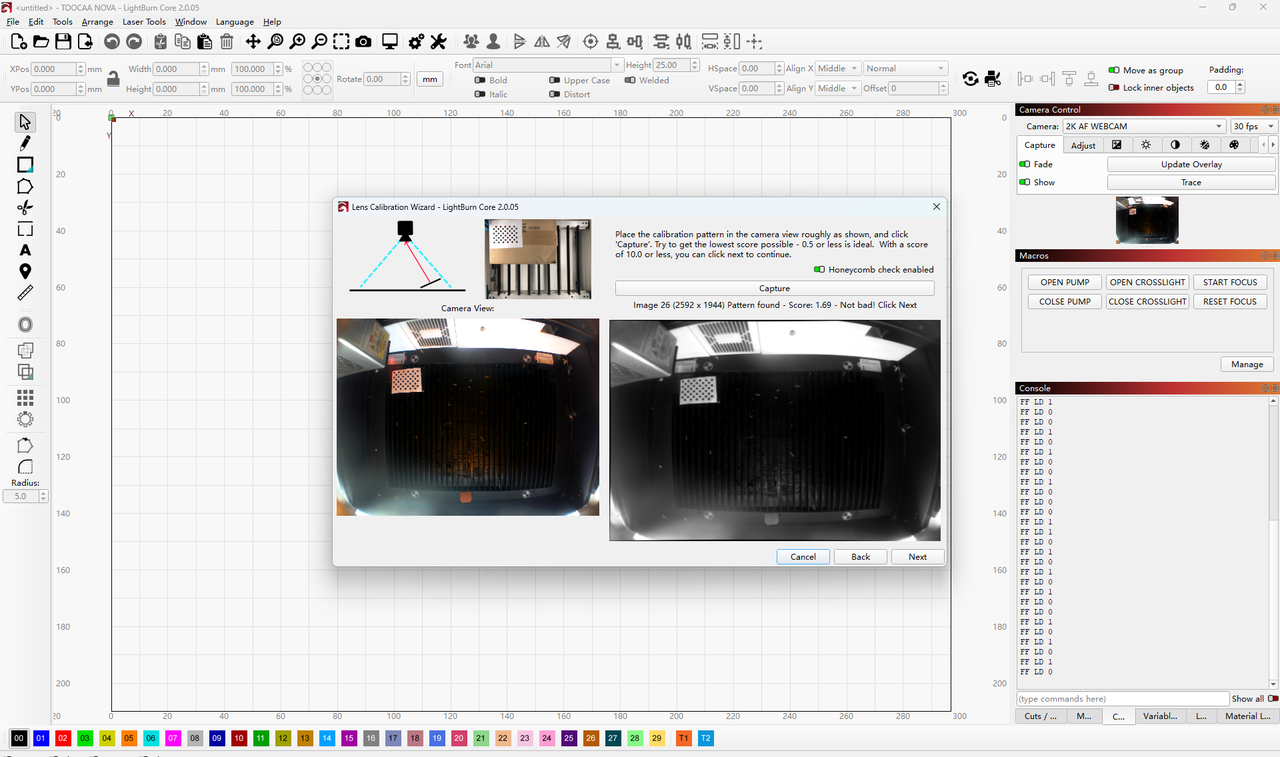
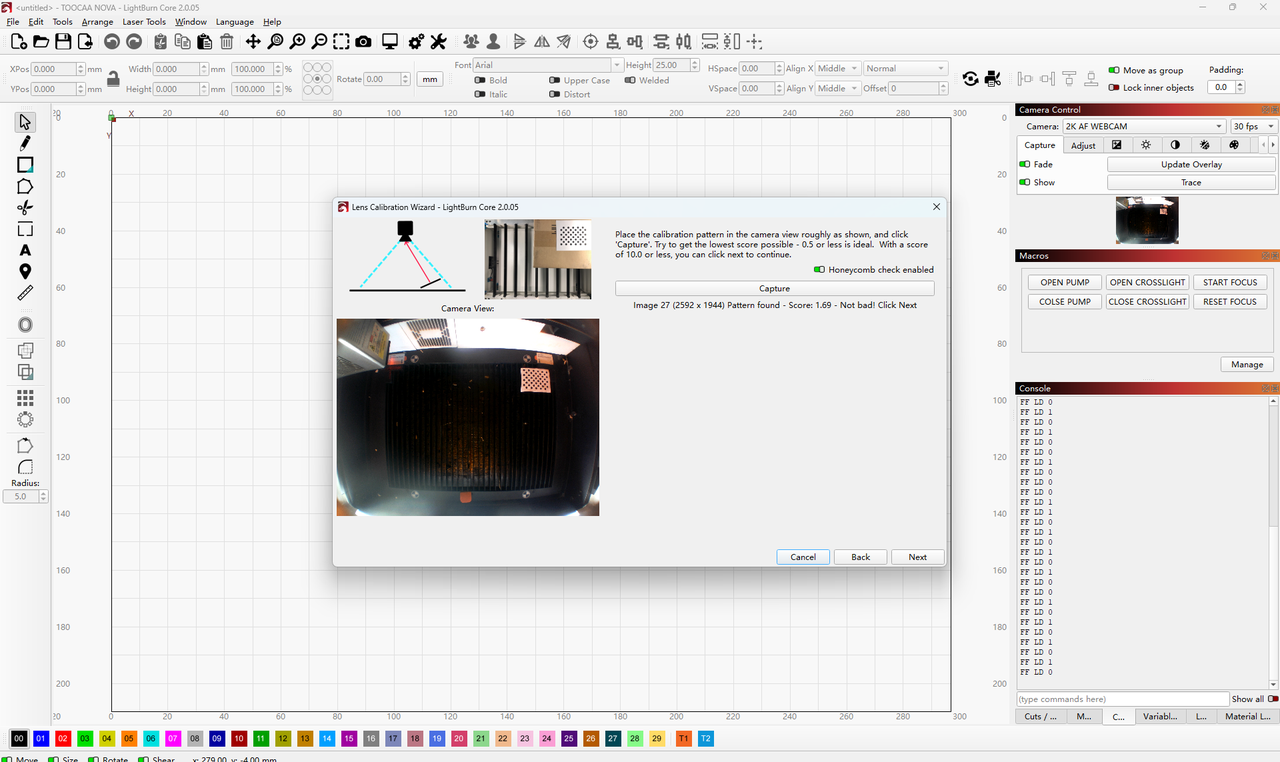
¶ 8. Capture Calibration Images
After printing, follow the instructions in the Camera Lens Calibration Wizard. Place the Calibration Tags in the indicated positions within the camera view, then click Capture to capture the image.
After each capture, LightBurn will display a score. A score below 10 is acceptable, but it is recommended to achieve a score of 0.5 or lower whenever possible for better calibration accuracy.
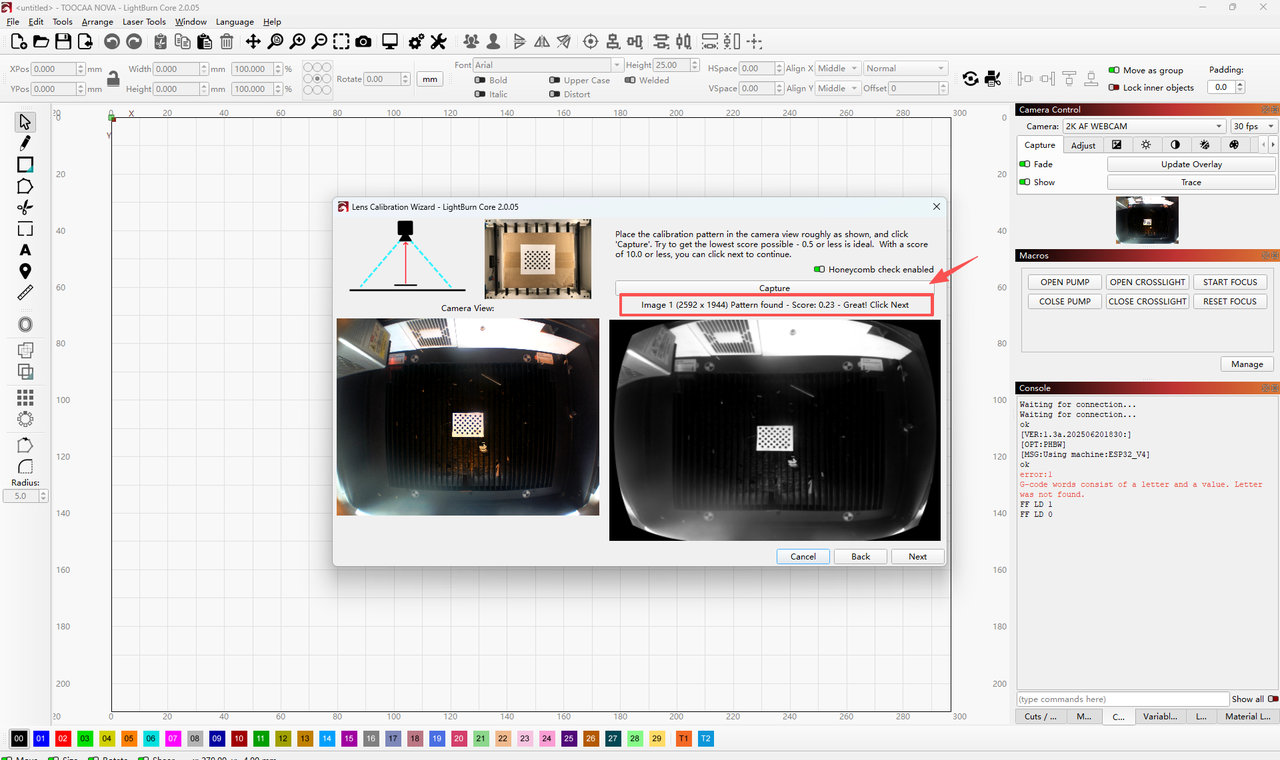
Tip:
Make sure the Calibration Tags are flat, clear, and positioned within the indicated capture area. Keep the lighting even during capture, and avoid direct light or strong reflections.
The 8 capture positions are shown below:

¶ 二、Align the Camera to the Workspace
After Camera Lens Calibration is complete, perform Camera Alignment to match the camera view with the actual working area of the machine. LightBurn’s documentation describes Camera Alignment as the process used to define the camera’s position relative to the machine’s work area.
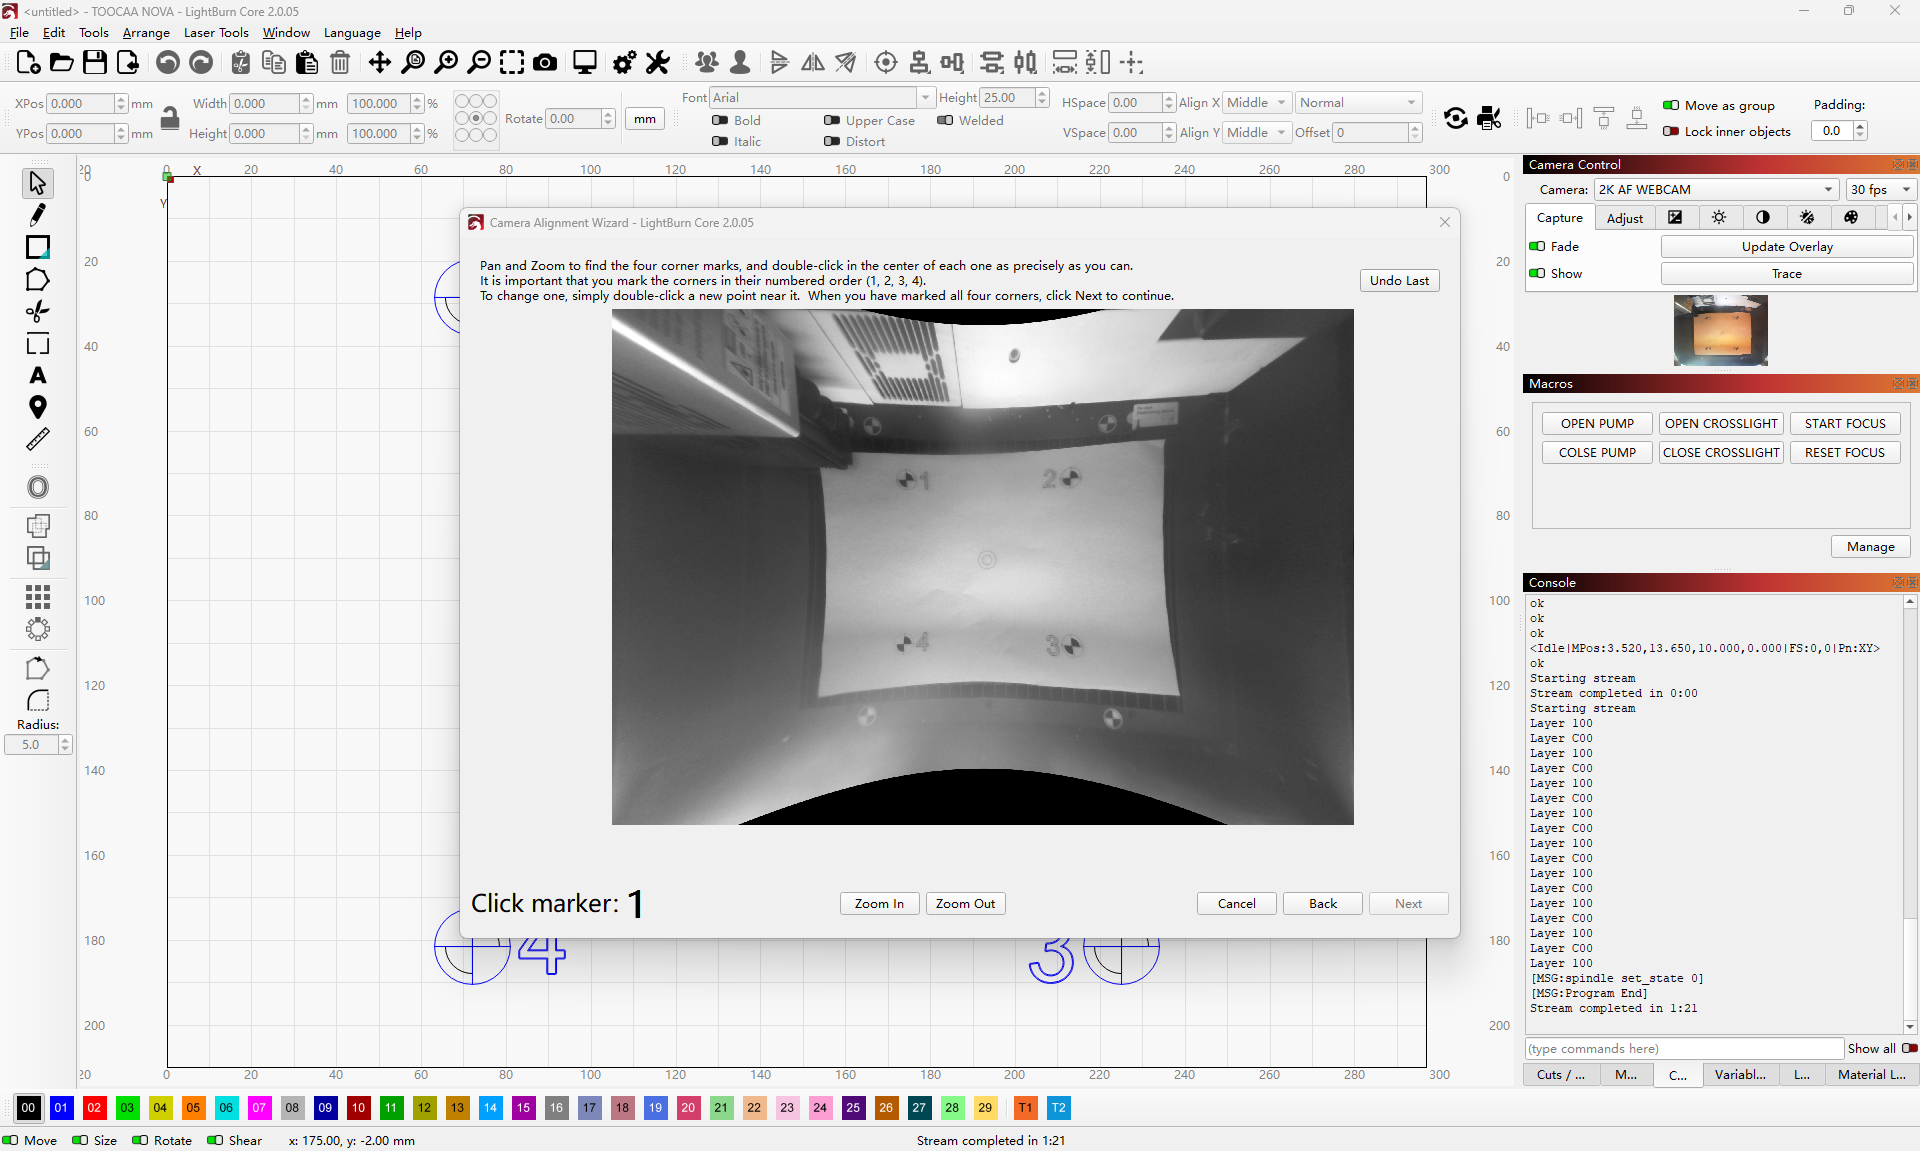
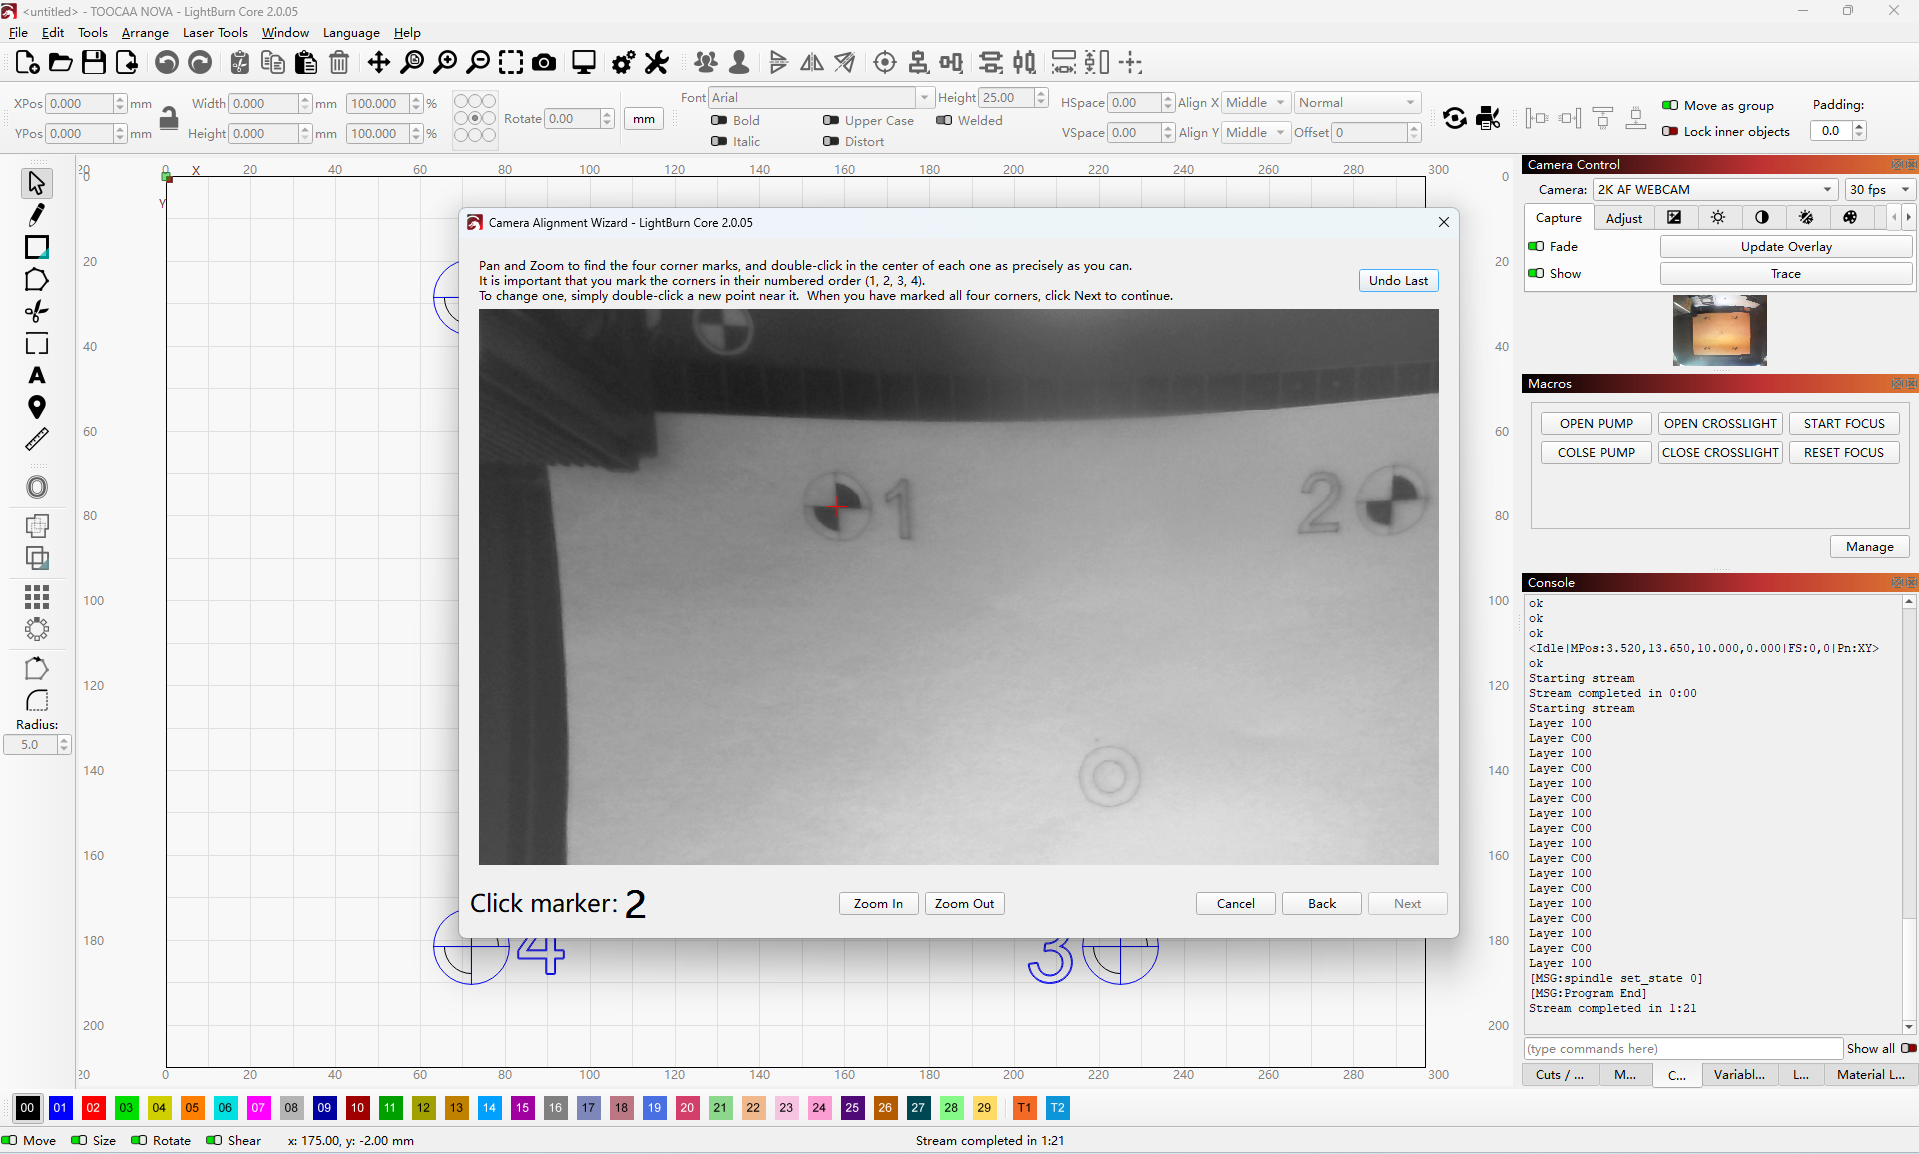
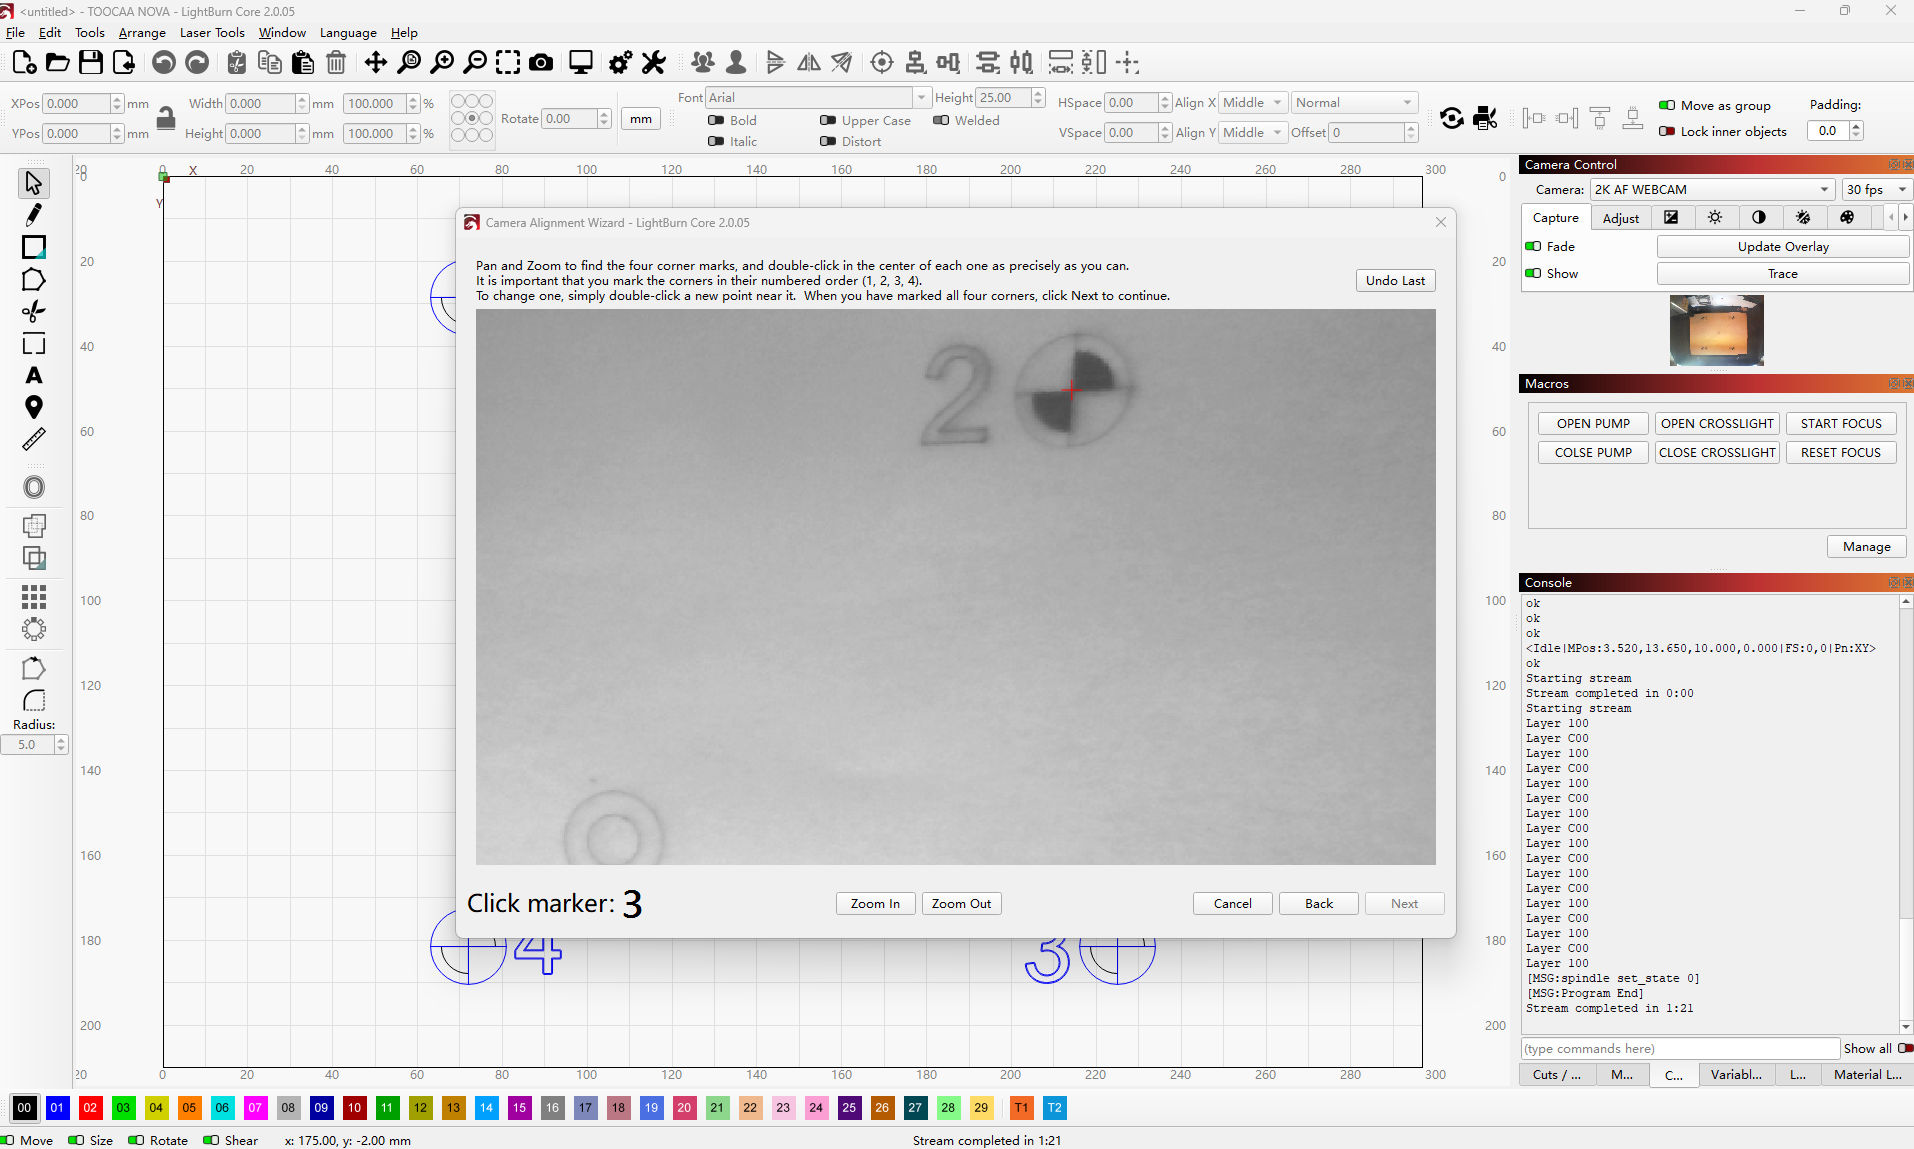
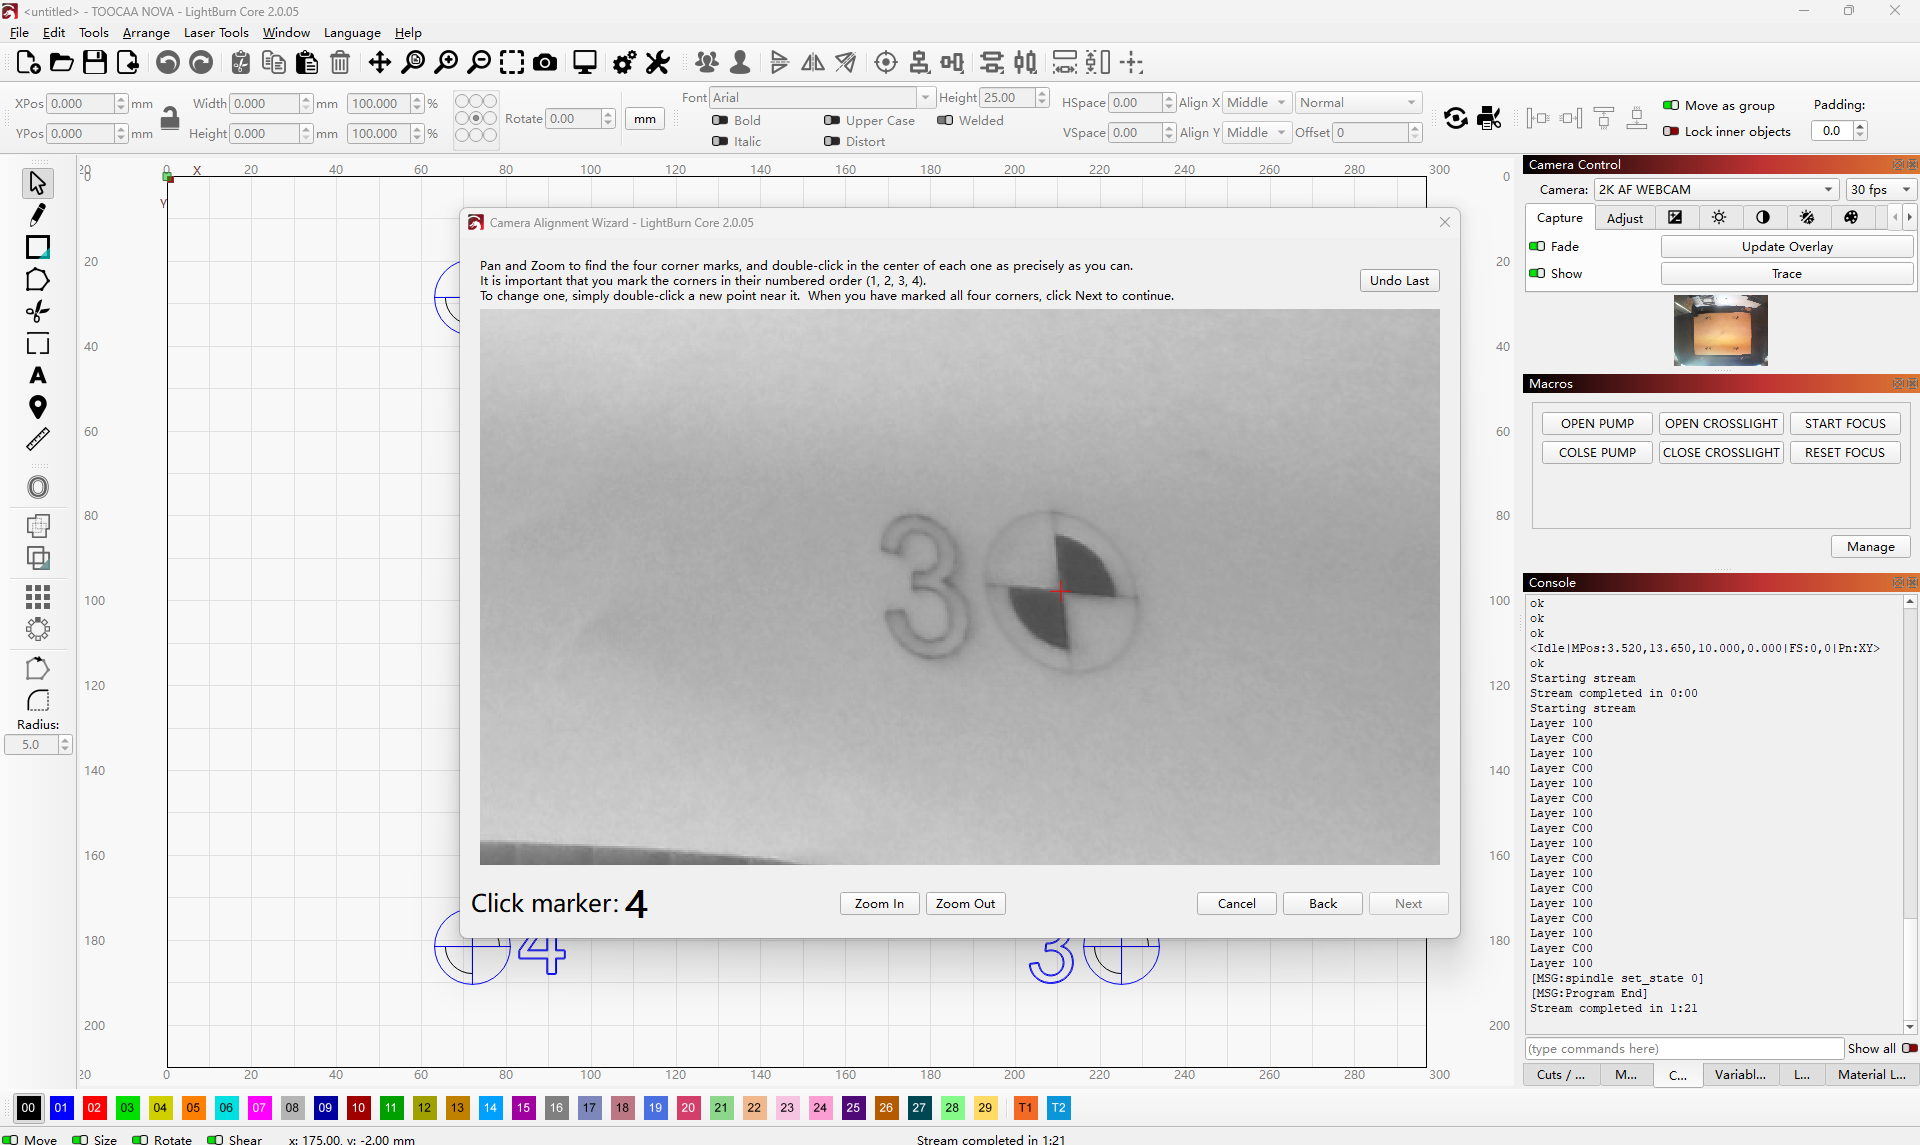
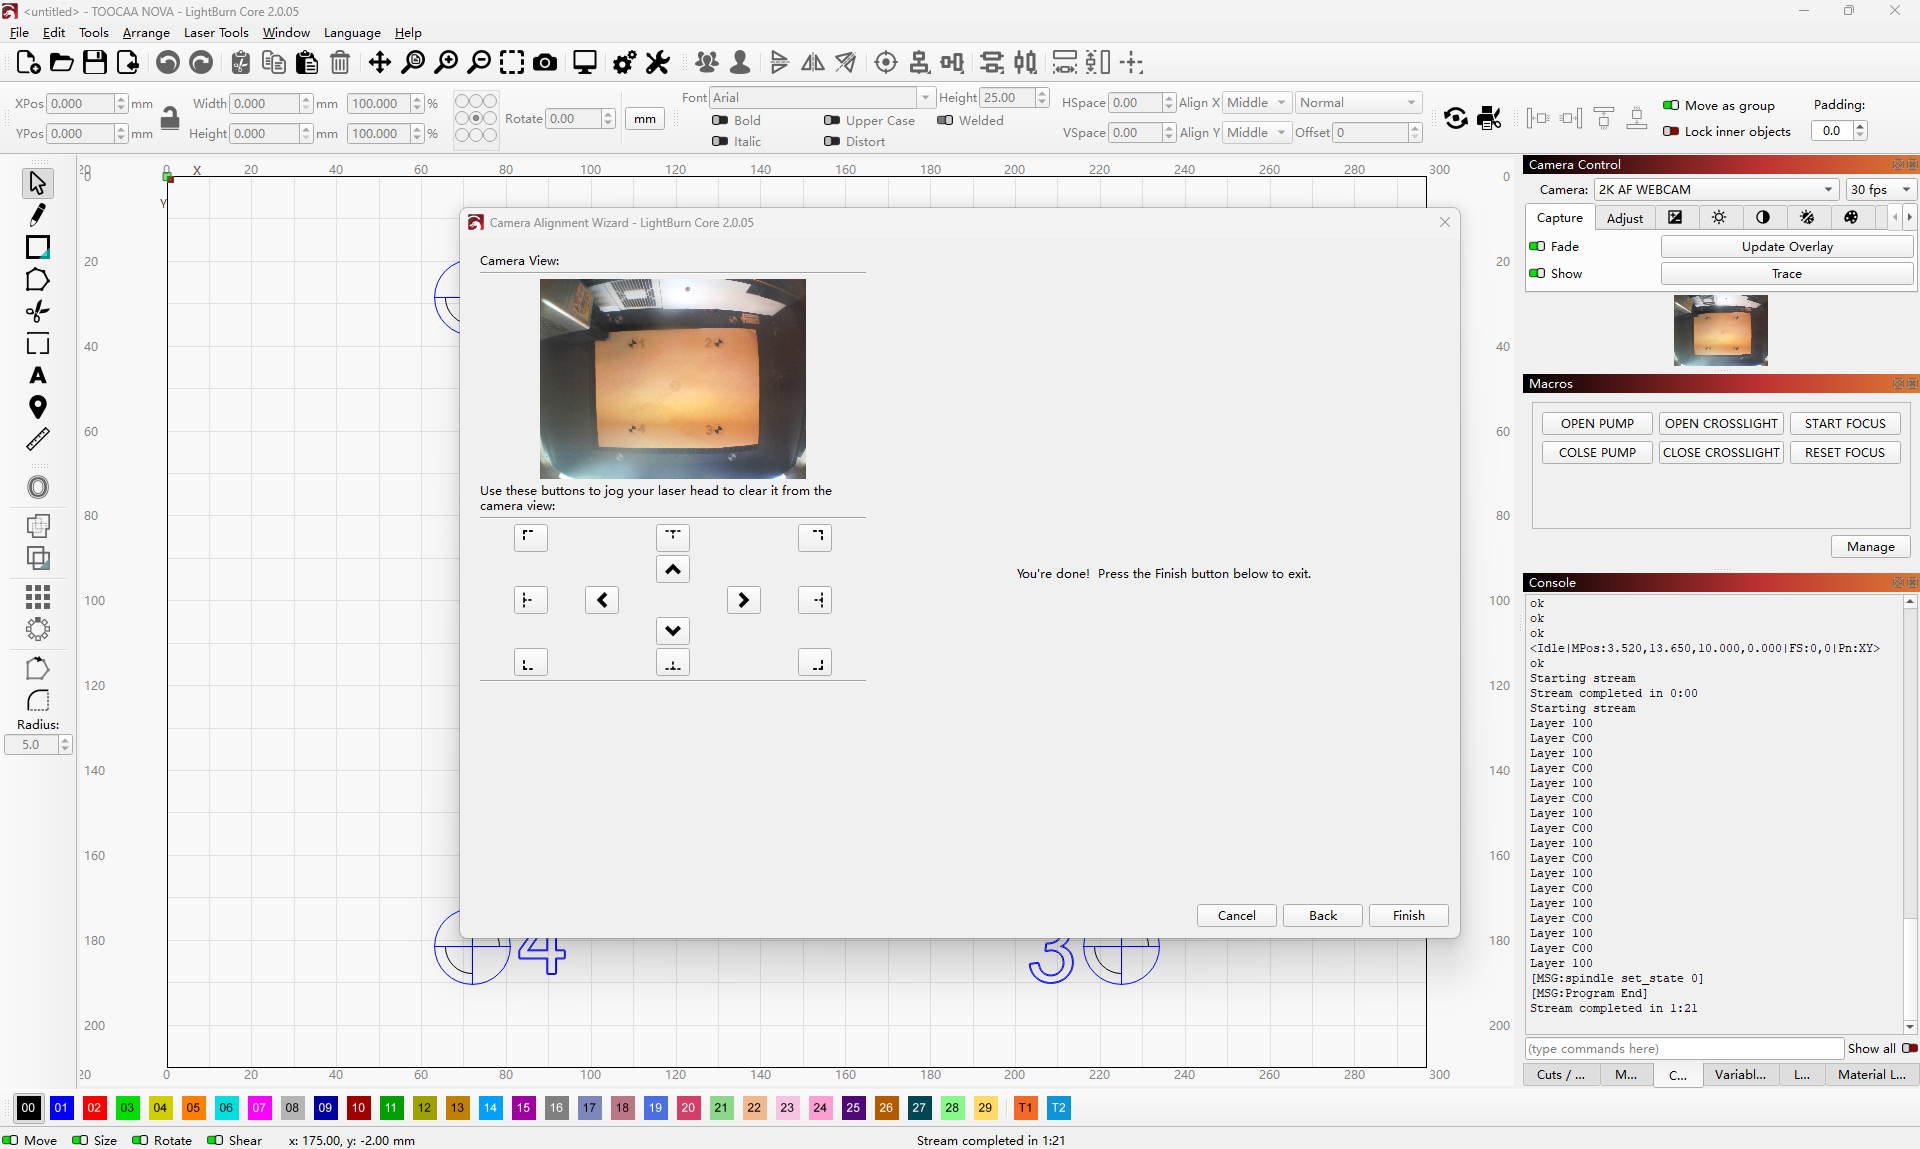
¶ 9. Open Camera Alignment
After calibration is complete, click Align Camera.

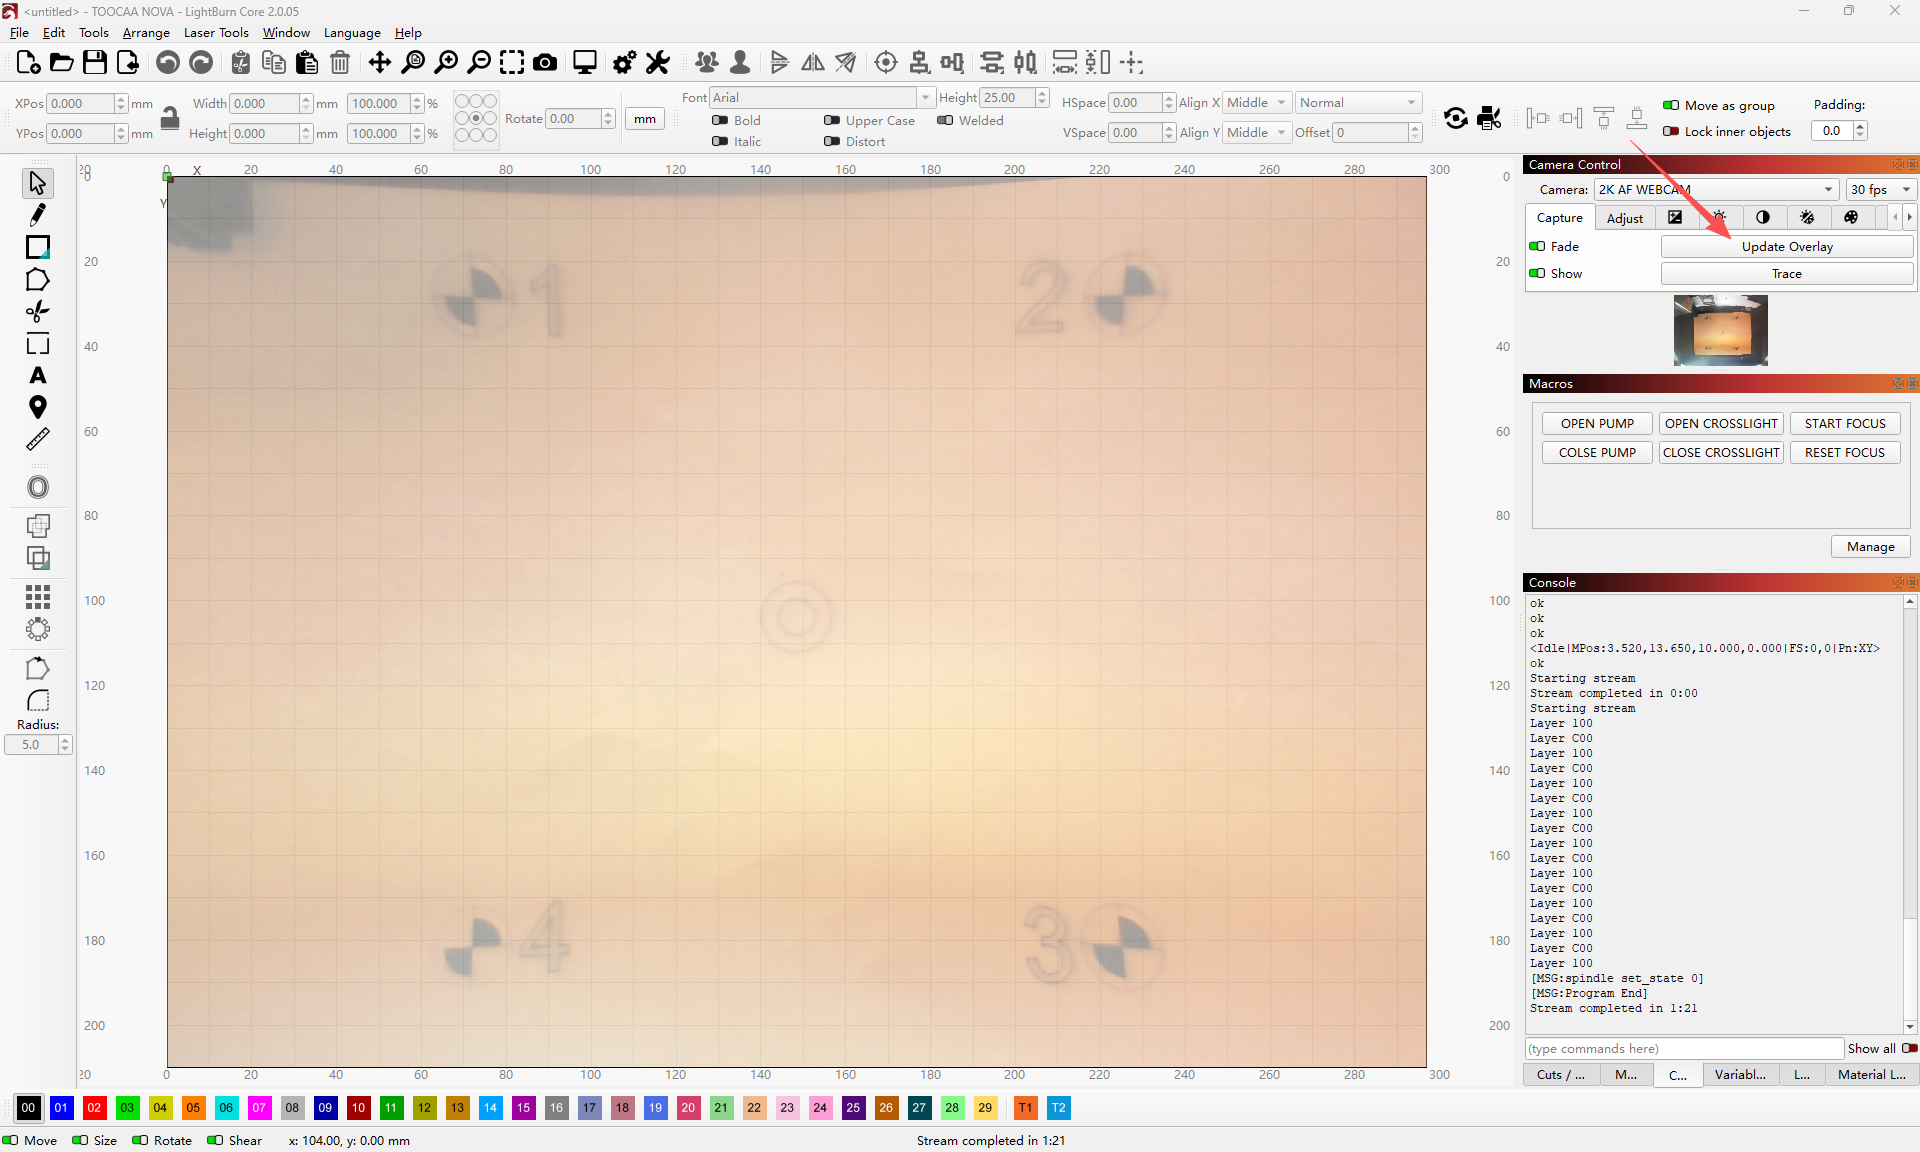
¶ 10. Place the Kraft Paper
Take one sheet of kraft paper from the official TOOCAA NOVA material kit. Place it flat in the working area of TOOCAA NOVA, then close the lid.
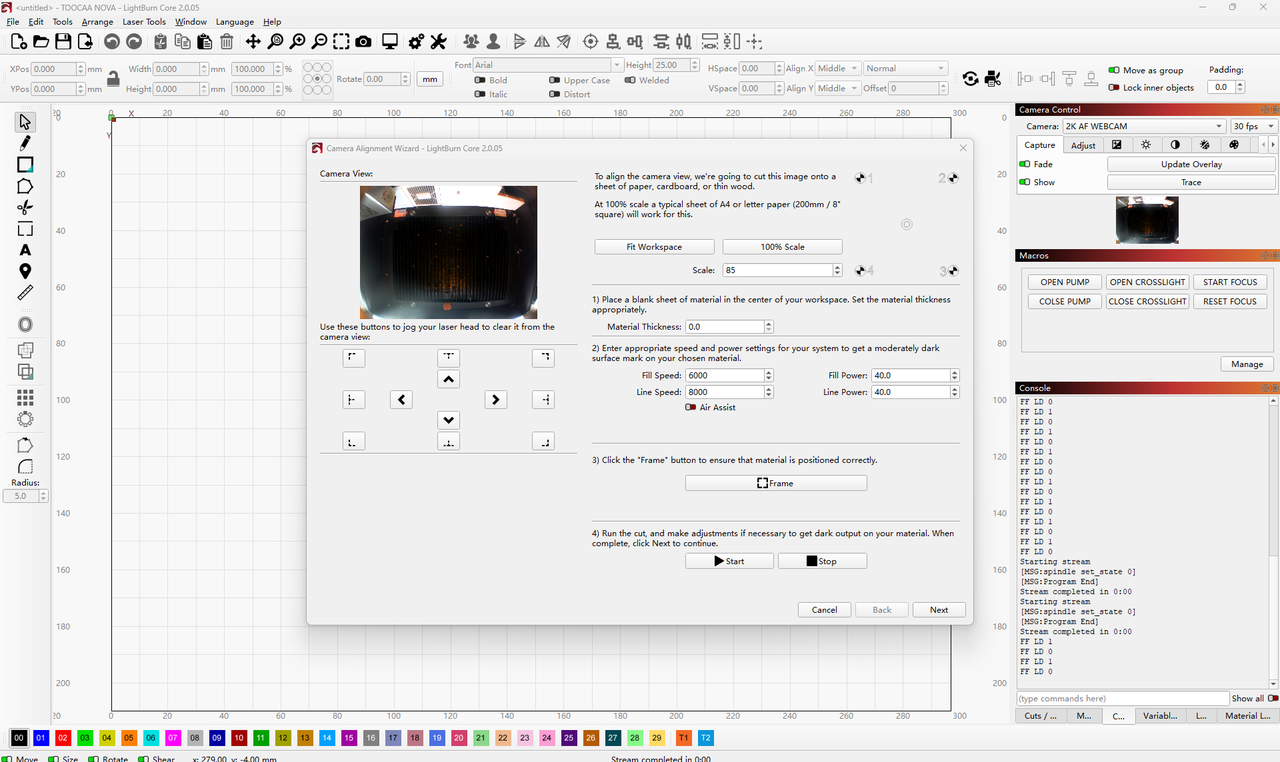
¶ 11. Set the Processing Parameters
et the processing parameters according to the laser module and material you are using.
If you are using the 20W laser module on kraft paper, the recommended settings are:
| Mode | Speed | Power |
|---|---|---|
| Fill | 16000 mm/min | 50% |
| Line | 12000 mm/min | 70% |
Tip:
These settings are for reference only. Adjust them based on your actual material and working conditions. The goal is to engrave a clear, complete, high-contrast calibration pattern on the kraft paper.
¶ 12. Preview the Processing Area
After setting the parameters, click Frame to make sure the calibration pattern will be engraved completely on the kraft paper.
Important:
If the processing area extends beyond the kraft paper, adjust the material or pattern position, then click Frame again to confirm.
¶ 13. Start Engraving the Calibration Pattern
Once the position is confirmed, click Start to engrave the calibration pattern.
¶ 14. Continue to the Next Step
After the calibration pattern has been engraved, do not move the kraft paper or the machine. Keep the pattern in place, then click Next.
¶ 15. Capture the Image
Click Capture Image, then follow the on-screen instructions in LightBurn to complete detection, confirmation, and saving.

¶ Notes
- Keep the camera view clear during calibration. Avoid direct light, strong reflections, or insufficient lighting.
- Keep the printed Calibration Tags flat and free from folds, stains, or obstructions.
- Do not move the kraft paper after engraving the alignment pattern, as this may cause alignment failure or positioning offset.
- The interface and steps may vary slightly between LightBurn versions. Follow the instructions shown in your actual LightBurn software.