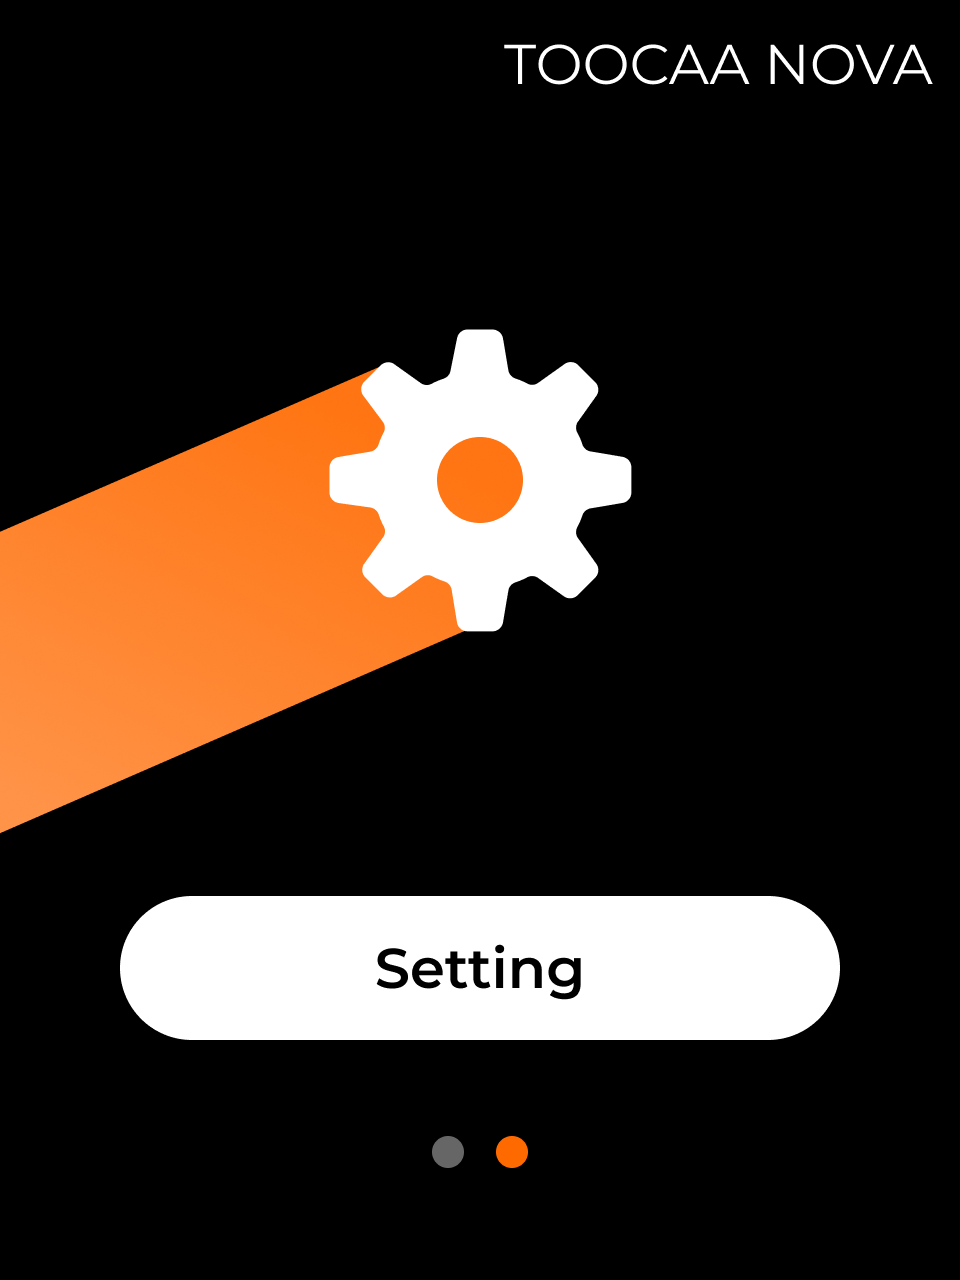
Power on TOOCAA NOVA, then open TOOCAA Studio in Google Chrome (recommended).
👉 https://www.toocaastudio.com/
Click Connect Device in the upper-right corner of the interface.

Select TOOCAA NOVA, then click Confirm.

Choose a connection method.

USB Connection
Connect the USB cable (Type-C to Type-A) between NOVA and your computer.
Click Connect in the device popup.

Select the correct serial port from the browser prompt.
Wi-Fi Connection
Ensure NOVA and your computer are connected to the same Wi-Fi network and IP subnet.
On the NOVA touchscreen, go to Settings → Wi-Fi.

Select a Wi-Fi network and enter the password.

In TOOCAA Studio, choose Wi-Fi Connection → Connect New Device.

Enter the NOVA IP address and click Connect.

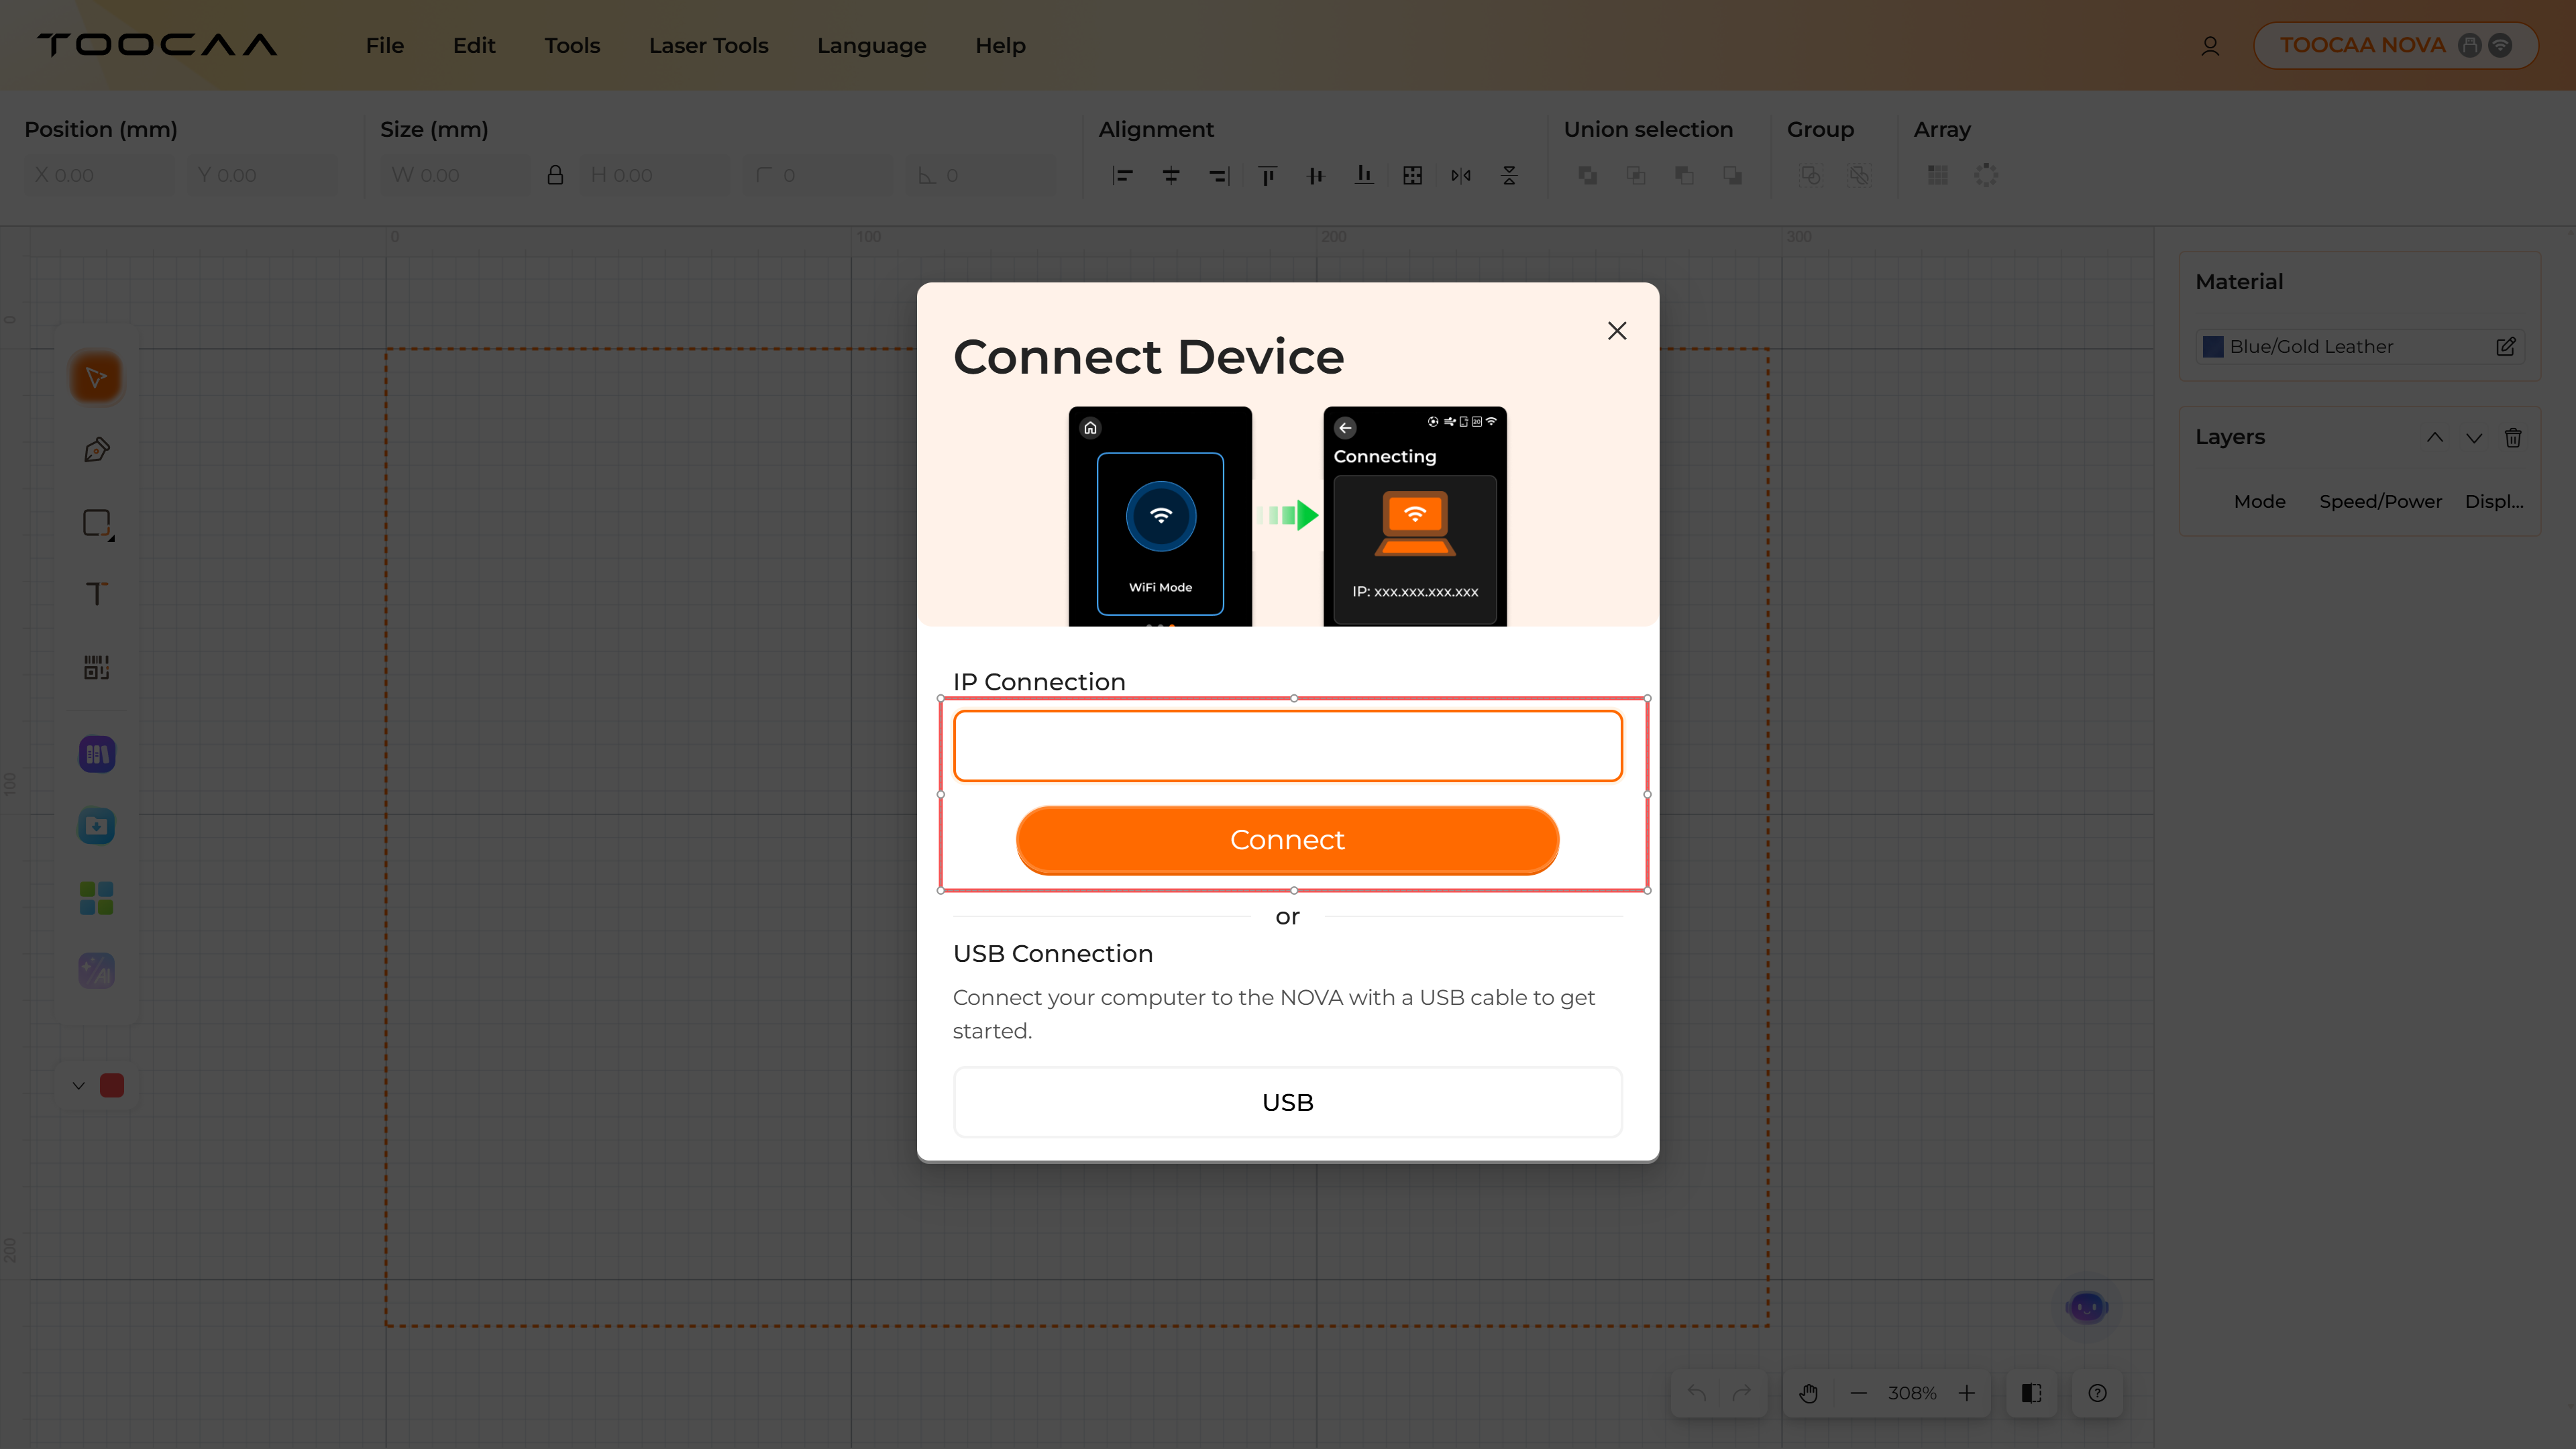
Confirm the connection on the NOVA touchscreen.


.png)
Once completed, TOOCAA Studio will display all connected devices and the NOVA is ready to use.
TOOCAA Studio Creation Guide
Save this TOOCAA Studio project file to your computer.
After successfully connecting the device following the steps above, Go to the File and click Open, and when the Clear Canvas notification pop-up appears, click Yes.
Lucky Koi

Remove the basswood board and its corresponding 001 Basswood Material ID Card from the NOVA packaging.

Place the 001 2.8mm Basswood Material ID Card in the NOVA processing area and close the cover.
The QR code recognition function will activate automatically, and after a short moment, a QR Code Recognition Result pop-up will appear.

After clicking OK, the material information on the right will automatically update to reflect the current material.

At this point, the recommended parameters will also update automatically.

Tips: If all icons on the left of the processing parameters show a thumbs-up, the current parameters are already optimal for the material.
If a red Update icon appears, it indicates that the current parameters are customized. The user can choose to update to the recommended parameters or keep the custom settings for processing.

Remove the 001 2.8mm Basswood Material ID Card from the processing area and close the cover.After closing the cover, click Frame.(The purpose of Frame is to confirm the processing position.)

Do not open the cover while the laser is tracing the frame.If you need to open the cover, wait until the laser head has finished tracing the frame and returned to its home position.

After confirming that the processing area is correct, click Auto Focus.

Tips: For harder materials, simply use Auto Focus.For softer materials or materials unsuitable for automatic focusing, click Advanced Focus next to Auto Focus to manually adjust the laser head height, or manually focus by entering the material thickness.

Once focusing is complete, click Start Processing.

After clicking Let's create, you can modify the file name in the Processing Preview pop-up.
Tips: Files created and processed in TOOCAA Studio are saved locally on the TOOCAA NOVA. They can be reused later through the NOVA’s local file mode.

After renaming the file, click Start to begin processing.
Tips: You can pause and resume freely during processing; however, clicking Stop will halt the current job and return to the home screen, requiring you to start processing again.

Once the processing is complete, your very first creation is finished!
Enjoy your creative journey ahead!