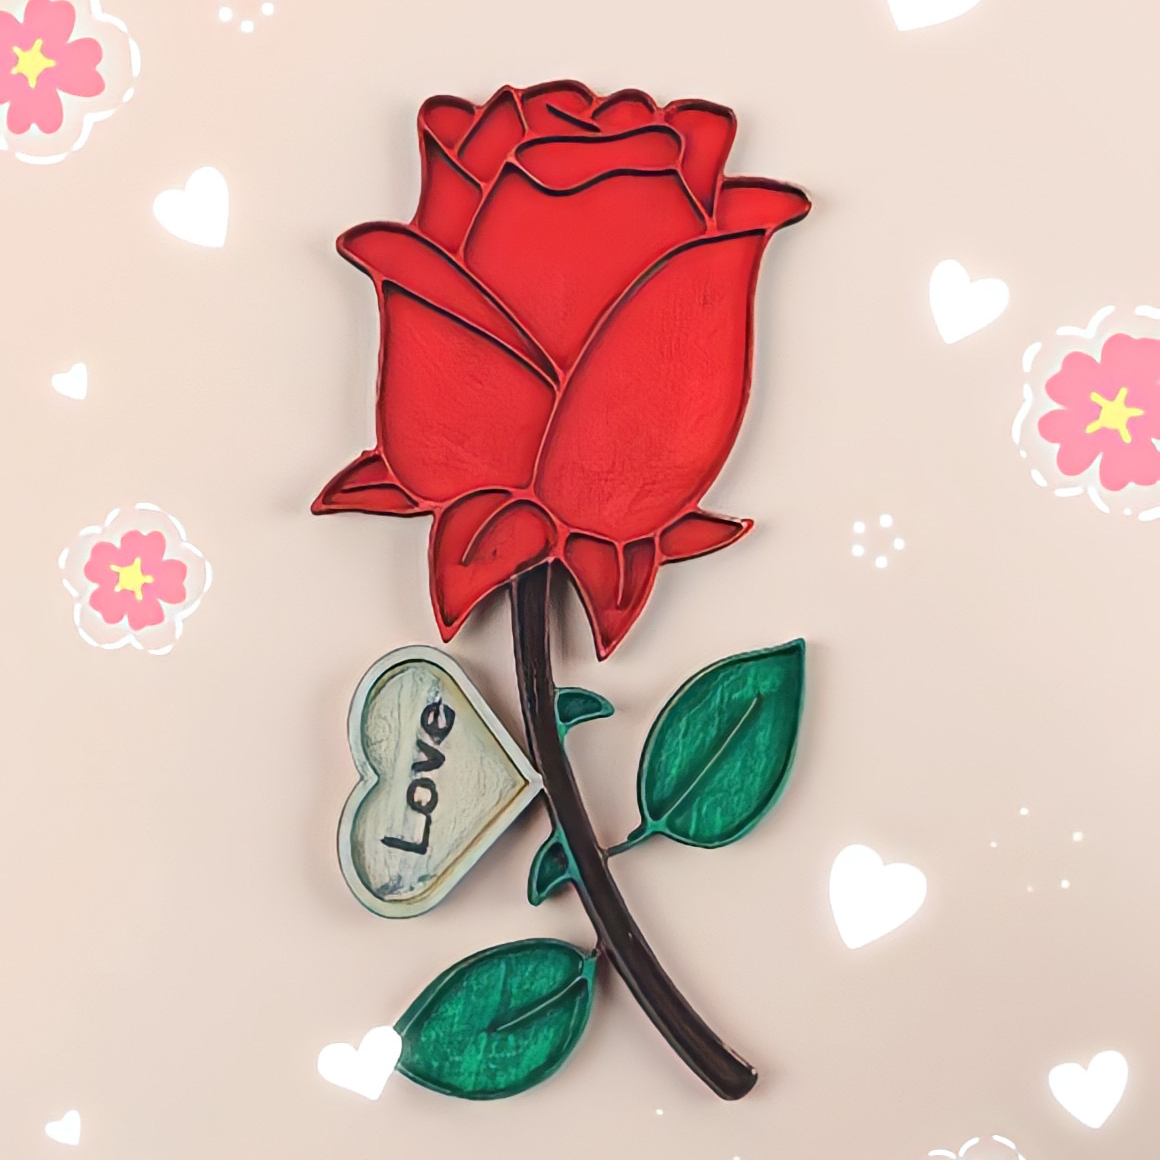
Valentine's Day Rose
Summary
This elegant “Valentine's Day Rose” carving project combines the precision of both laser cutting and engraving technologies to create a stunning representation of love. The intricate petals and delicate rose design capture the essence of romance, making it the perfect gift for a loved one or a beautiful decorative piece to cherish. Whether as a heartfelt gift or a timeless keepsake, this project adds a unique artistic touch to your Valentine’s Day celebrations, conveying warmth and affection.

Case Display
Production Info
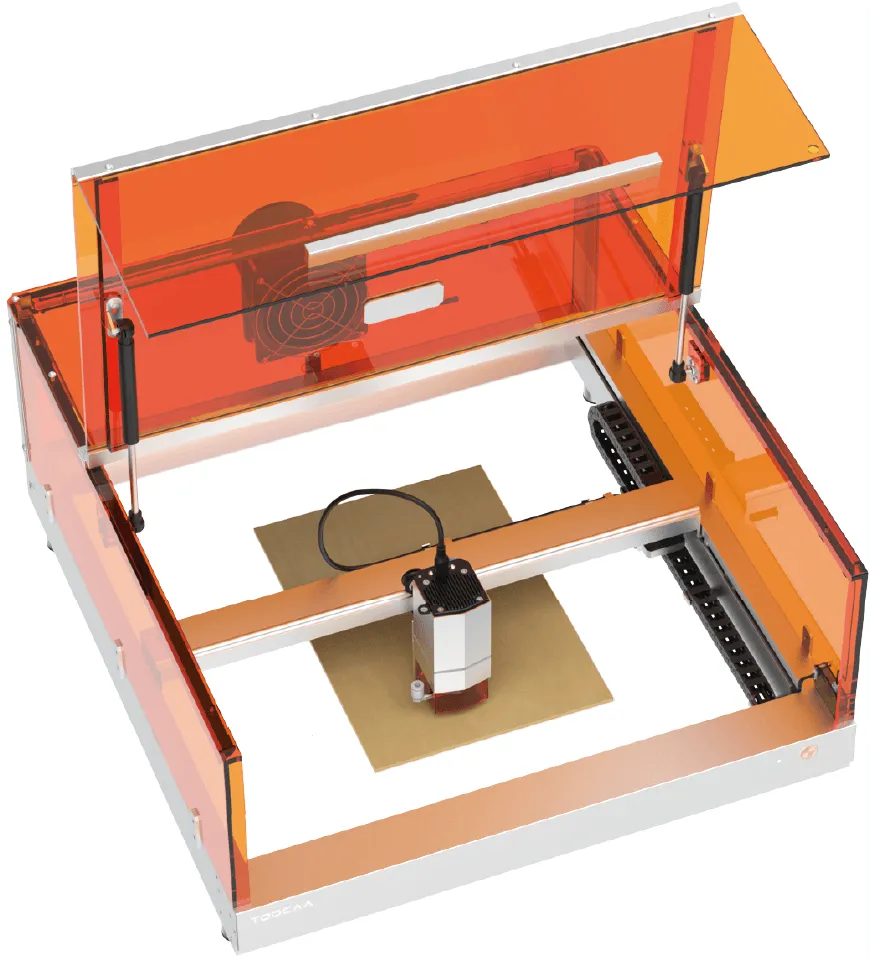
| Machine | TOOCAA L2 Desktop Laser Engraver & Cutter |
| Laser Module | 20W |
| Software | TOOCAA Studio\LightBurn |
| Material Used | 300mm × 300mm × 3mm plywood (about ⅛ inch) |
| Engraving Parameters | Speed: 4000mm/min Power: 20% |
| Cutting Parameters | Speed: 380mm/min Power: 80% |
Digital Downloads
TOOCAA Studio File Share (Copy and paste the link into your browser to download):
http://wiki-toocaa.oss-cn-hongkong.aliyuncs.com/Case/Valentine-Day-Rose/Valentine-Day-Rose-TCS.zip
LightBurn File Share (Copy and paste the link into your browser to download):
http://wiki-toocaa.oss-cn-hongkong.aliyuncs.com/Case/Valentine-Day-Rose/Valentine-Day-Rose-LBRN.zip
Let's Start Creating!
Device Connection
Insert one end of the Type-C cable into the Type-C port on the TOOCAA L2 body, and connect the other end to the computer.

Place the consumables in the TOOCAA L2 working area.
Laser Module Focusing
 TIPS:The right focal length ensures the best engraving and cutting results.
Lower the focus lever on the left side of the laser module.
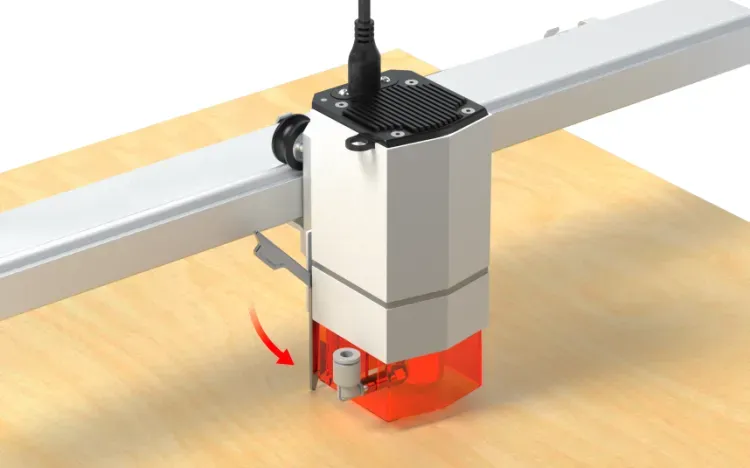
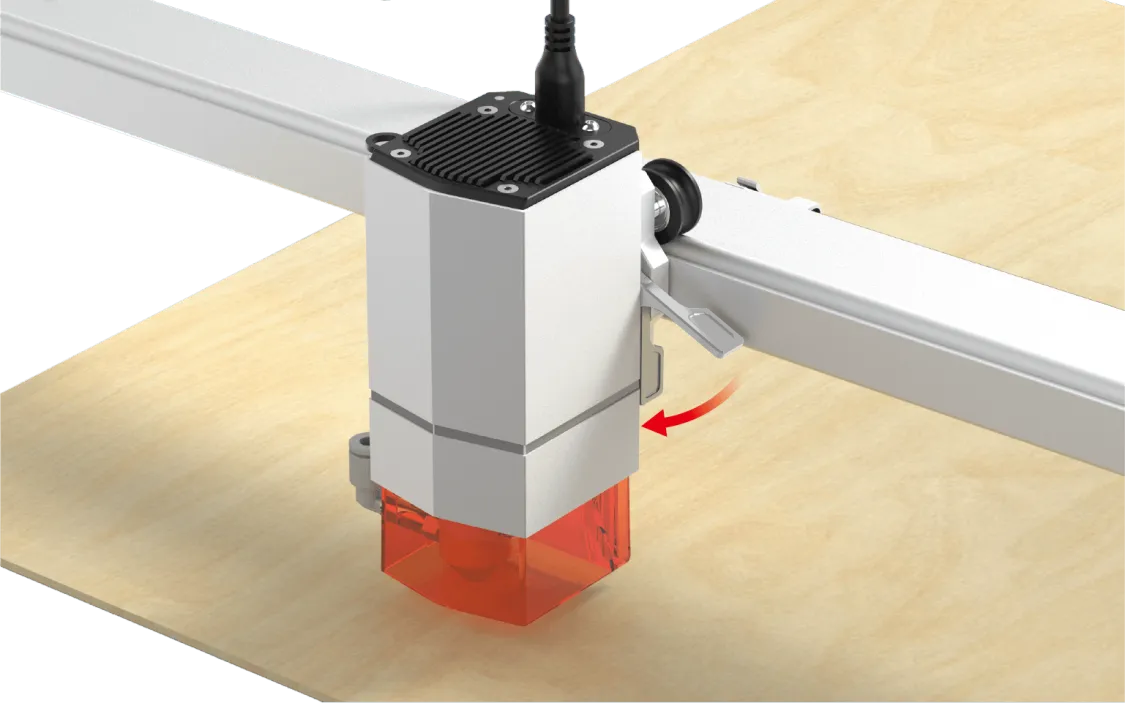
Push up the tool lock arm on the right side of the laser module.
Adjust the position of the laser module so that the tip of the focus lever of the laser module touches the consumables.
TIPS: Just lightly touch the focus lever to the surface of the consumables.
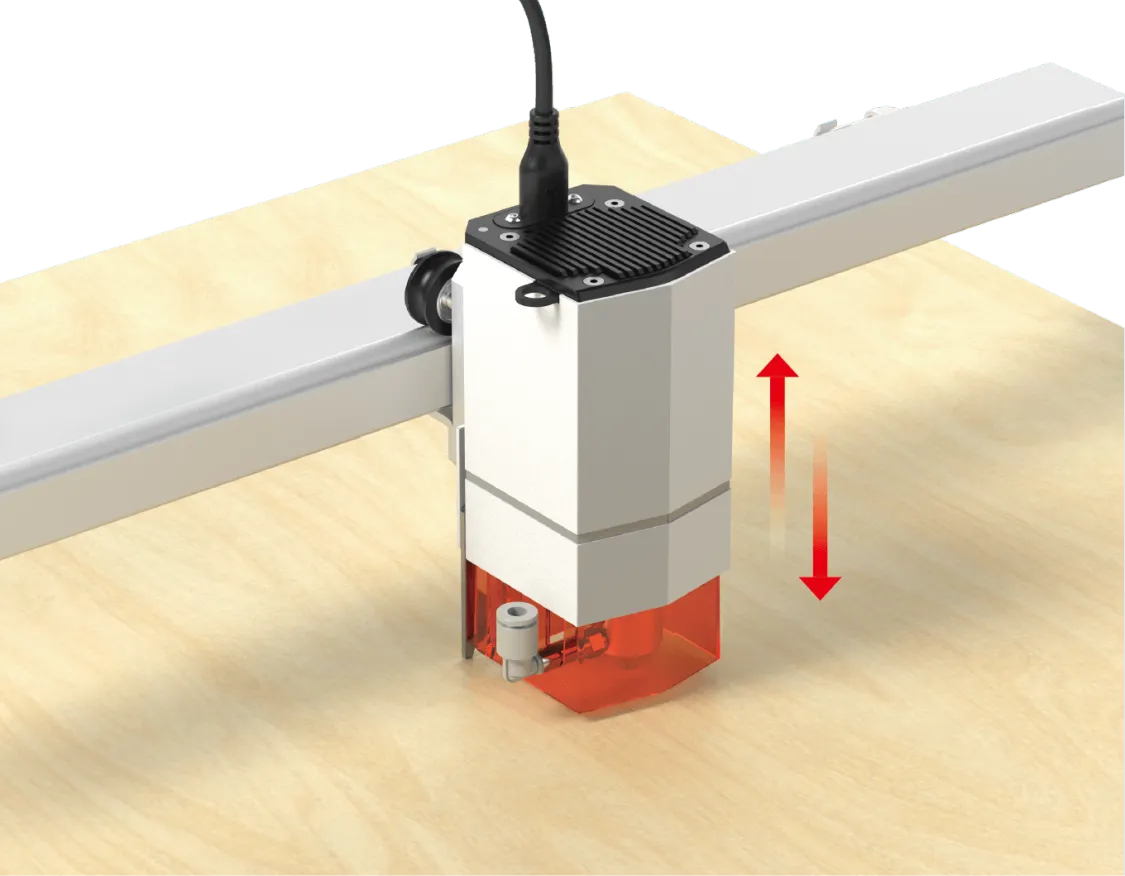
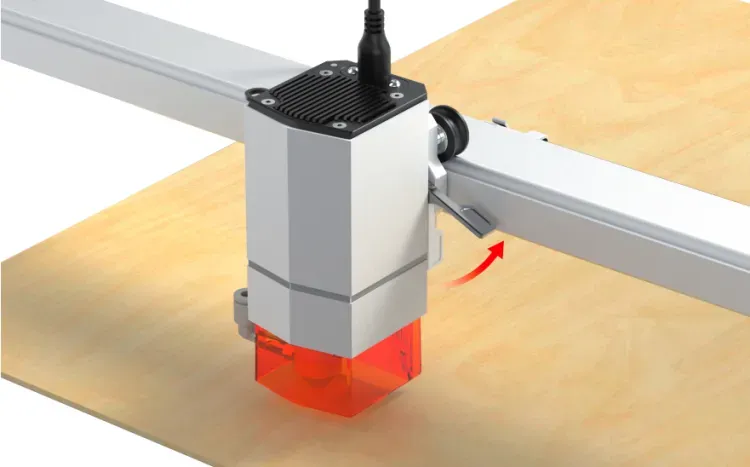
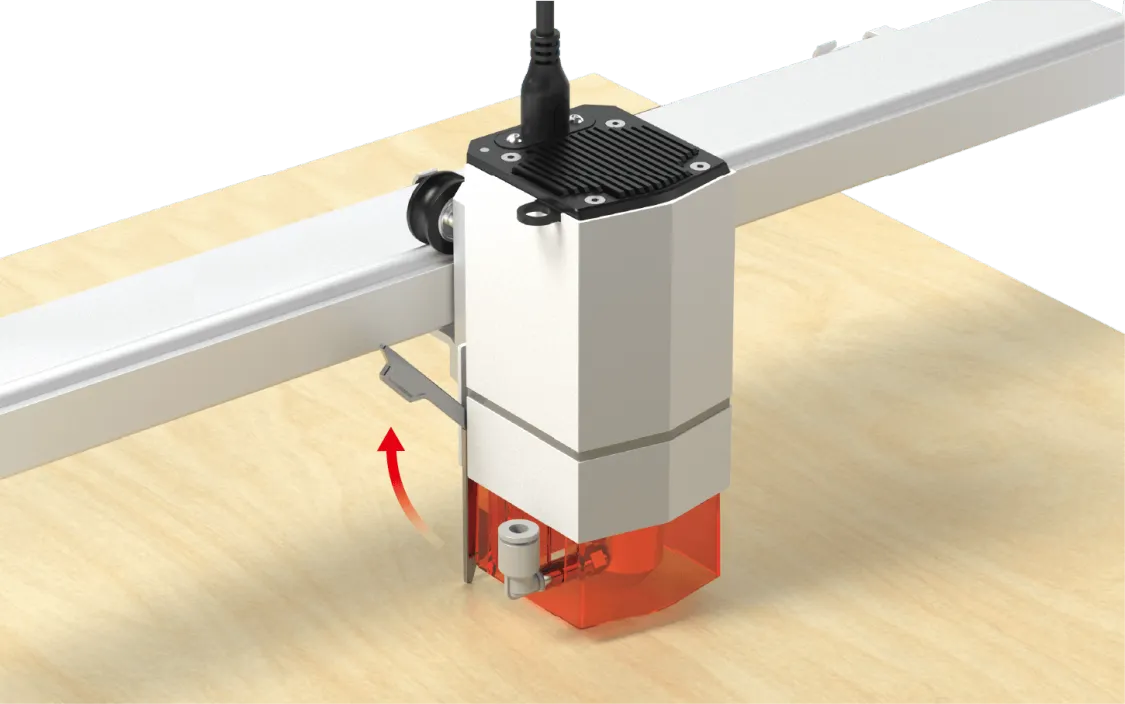
Retract the focus lever on the left side of the laser module.
Return the focus lever on the left side of the laser module to its original position.
Close the TOOCAA L2 smart protective cover.
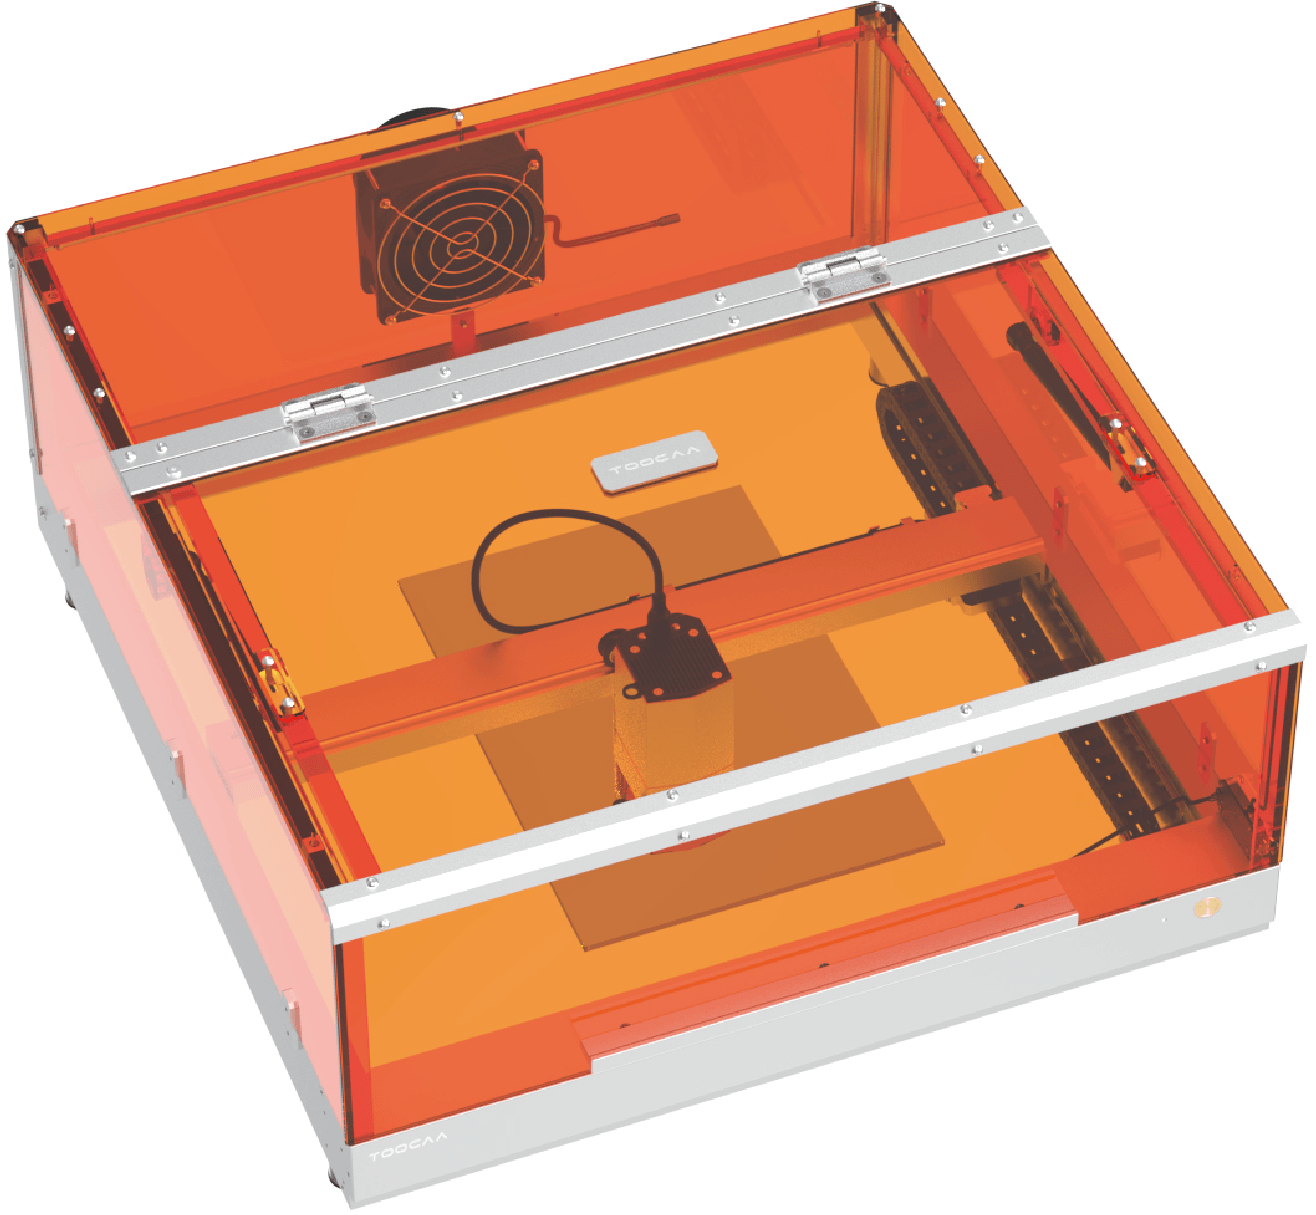
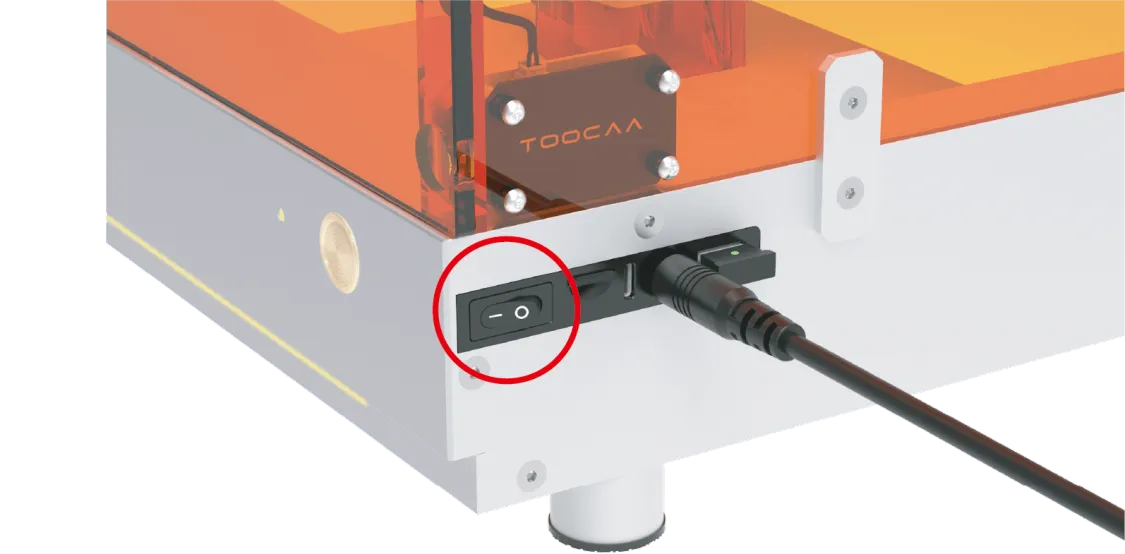
Turn on the TOOCAA L2 power switch.
File Import
Open TOOCAA Studio in any browser on your computer.。
TOOCAA Studio link: https://toocaastudio.com/
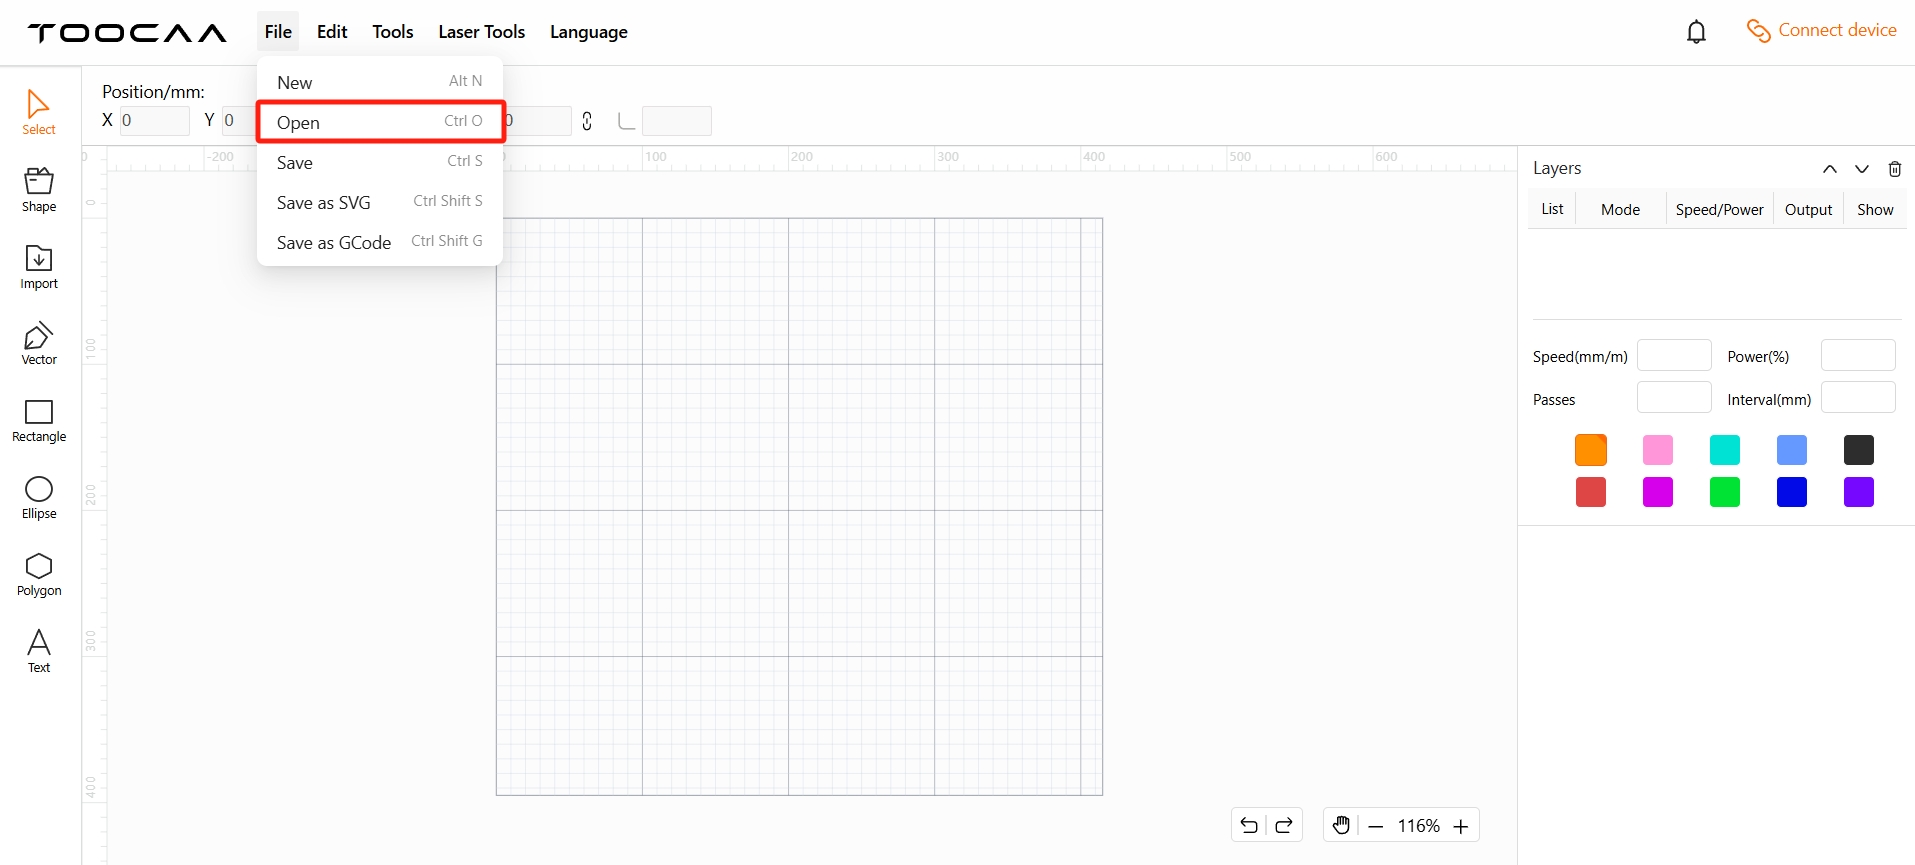
Click Open.
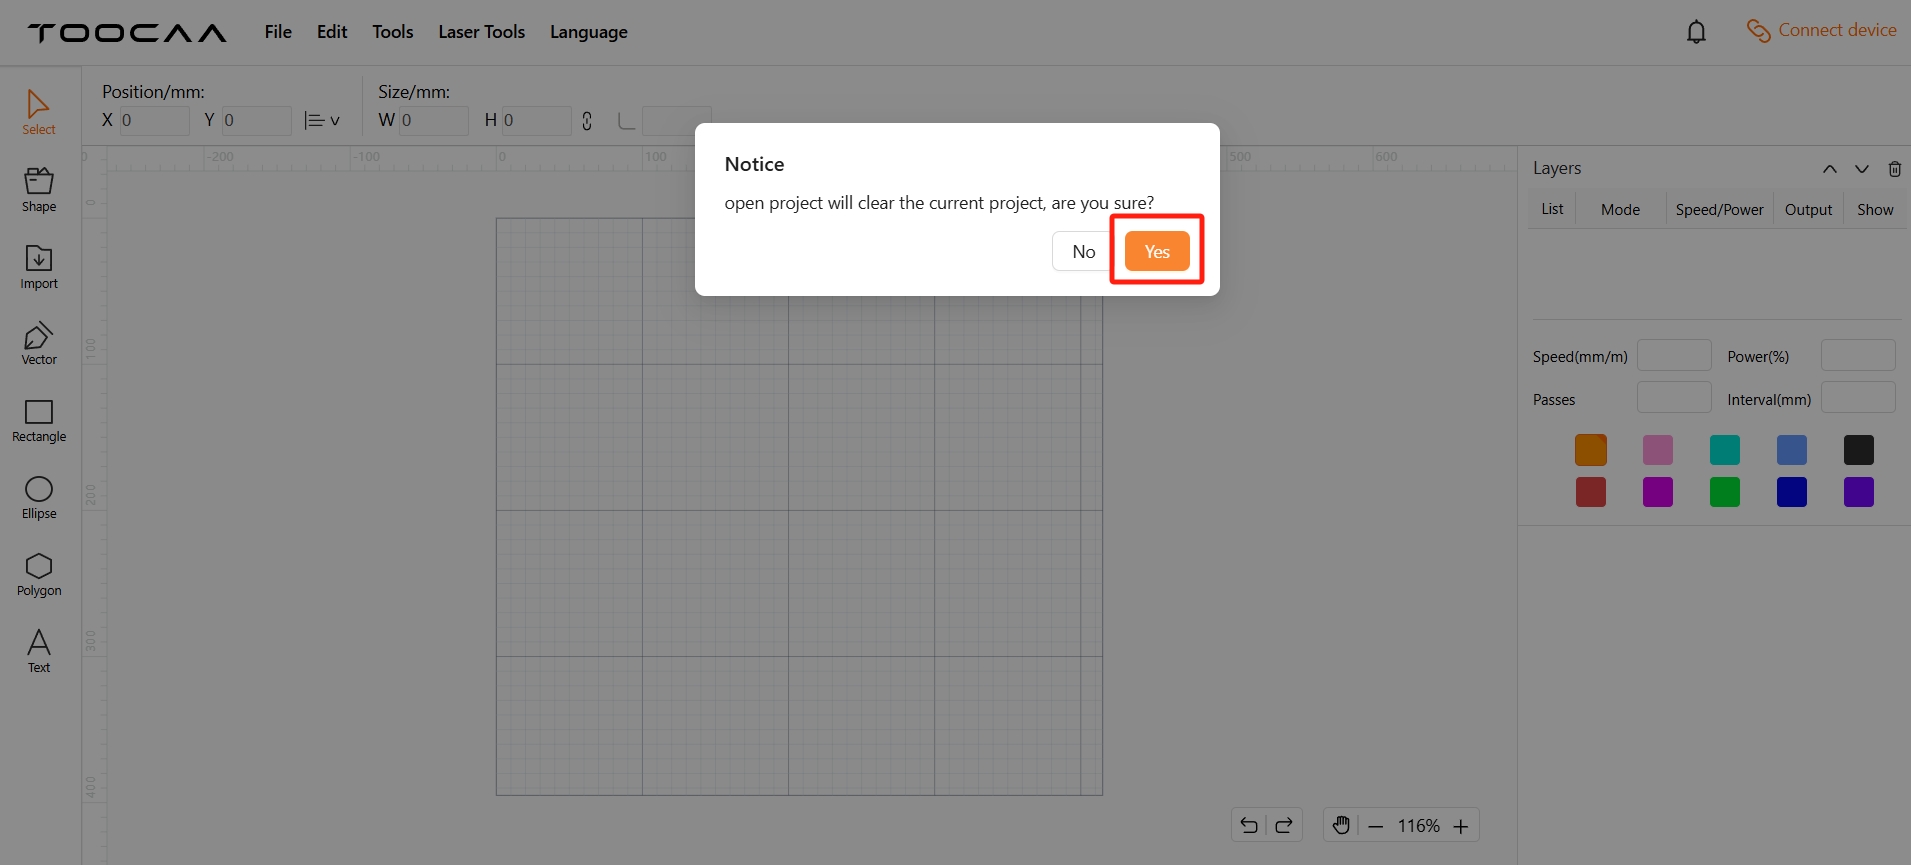
Click Yes.
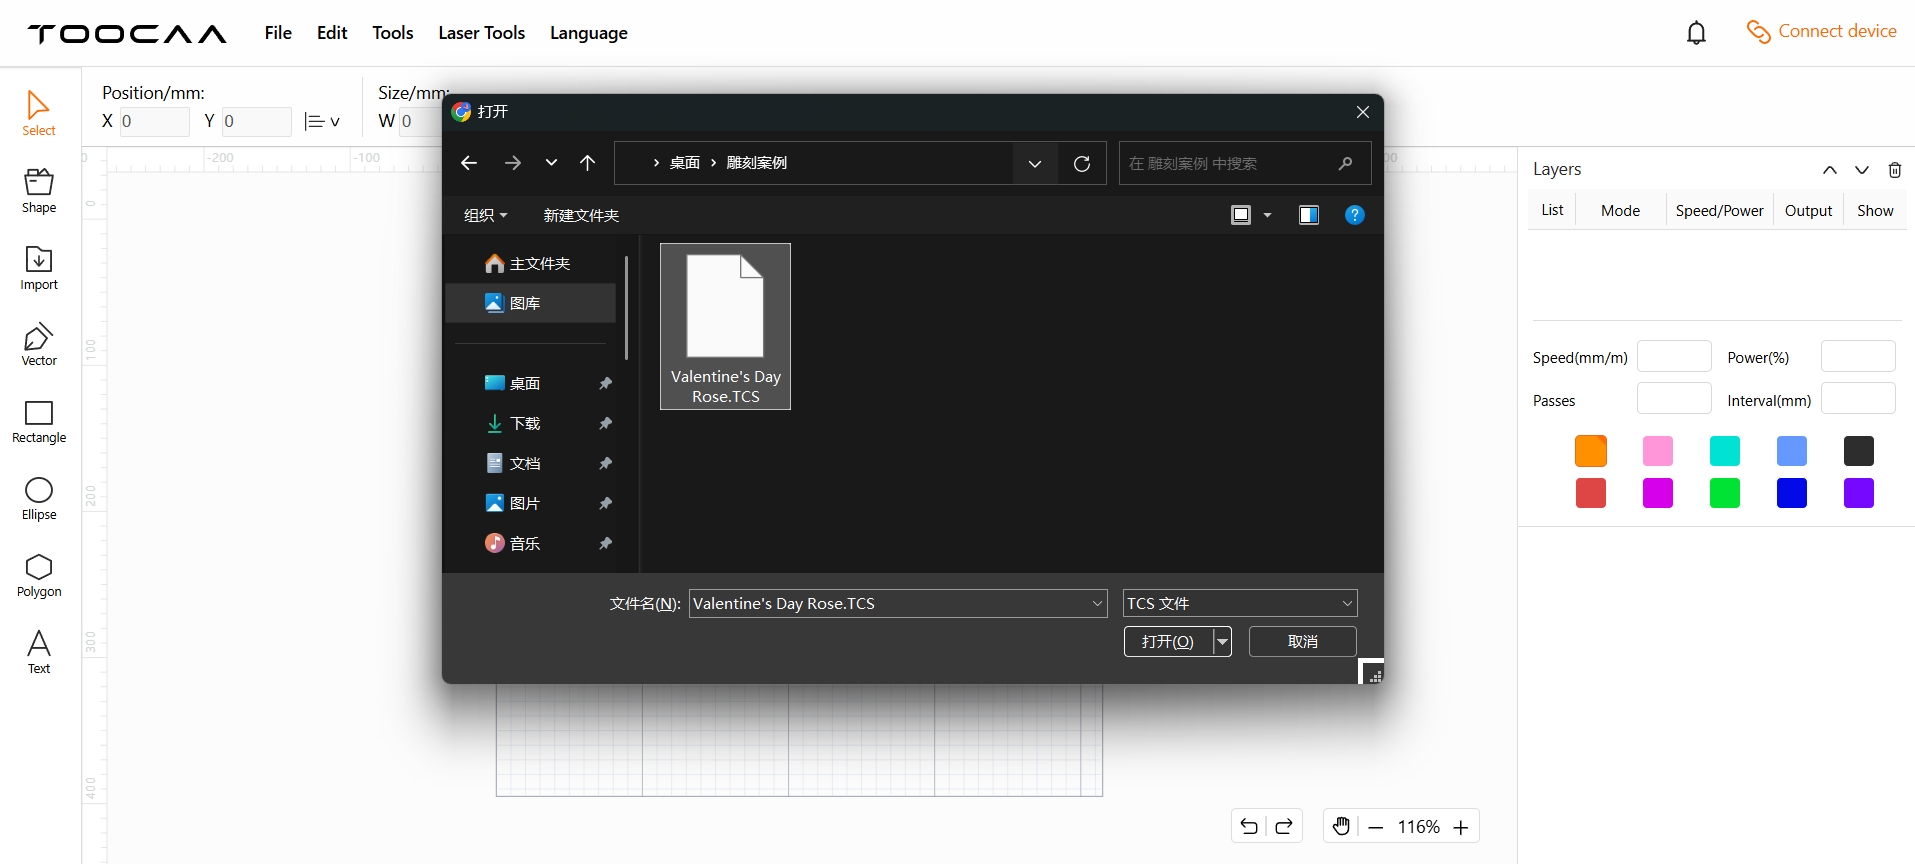
Open the file with the suffix TCS.
Click [Connect device] in the upper right corner of TOOCAA Studio.
In the serial port selection pop-up window, select TOOCAA L2 serial port and click [Connect].
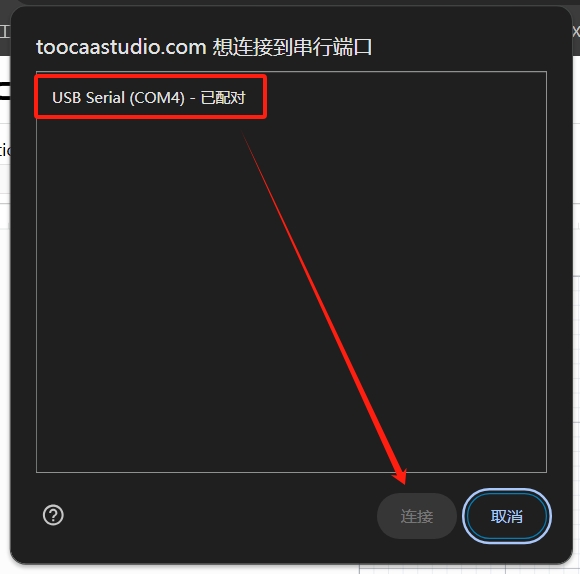
Tips: Please verify that the connected serial port is the TOOCAA L2 serial port. If it is connected to the serial port of other devices, it will not work properly.
TOOCAA L2 serial port verification method: unplug the Type-C cable and reconnect it. The new serial port that appears in the pop-up window is the TOOCAA L2 serial port.
Parameter Modification
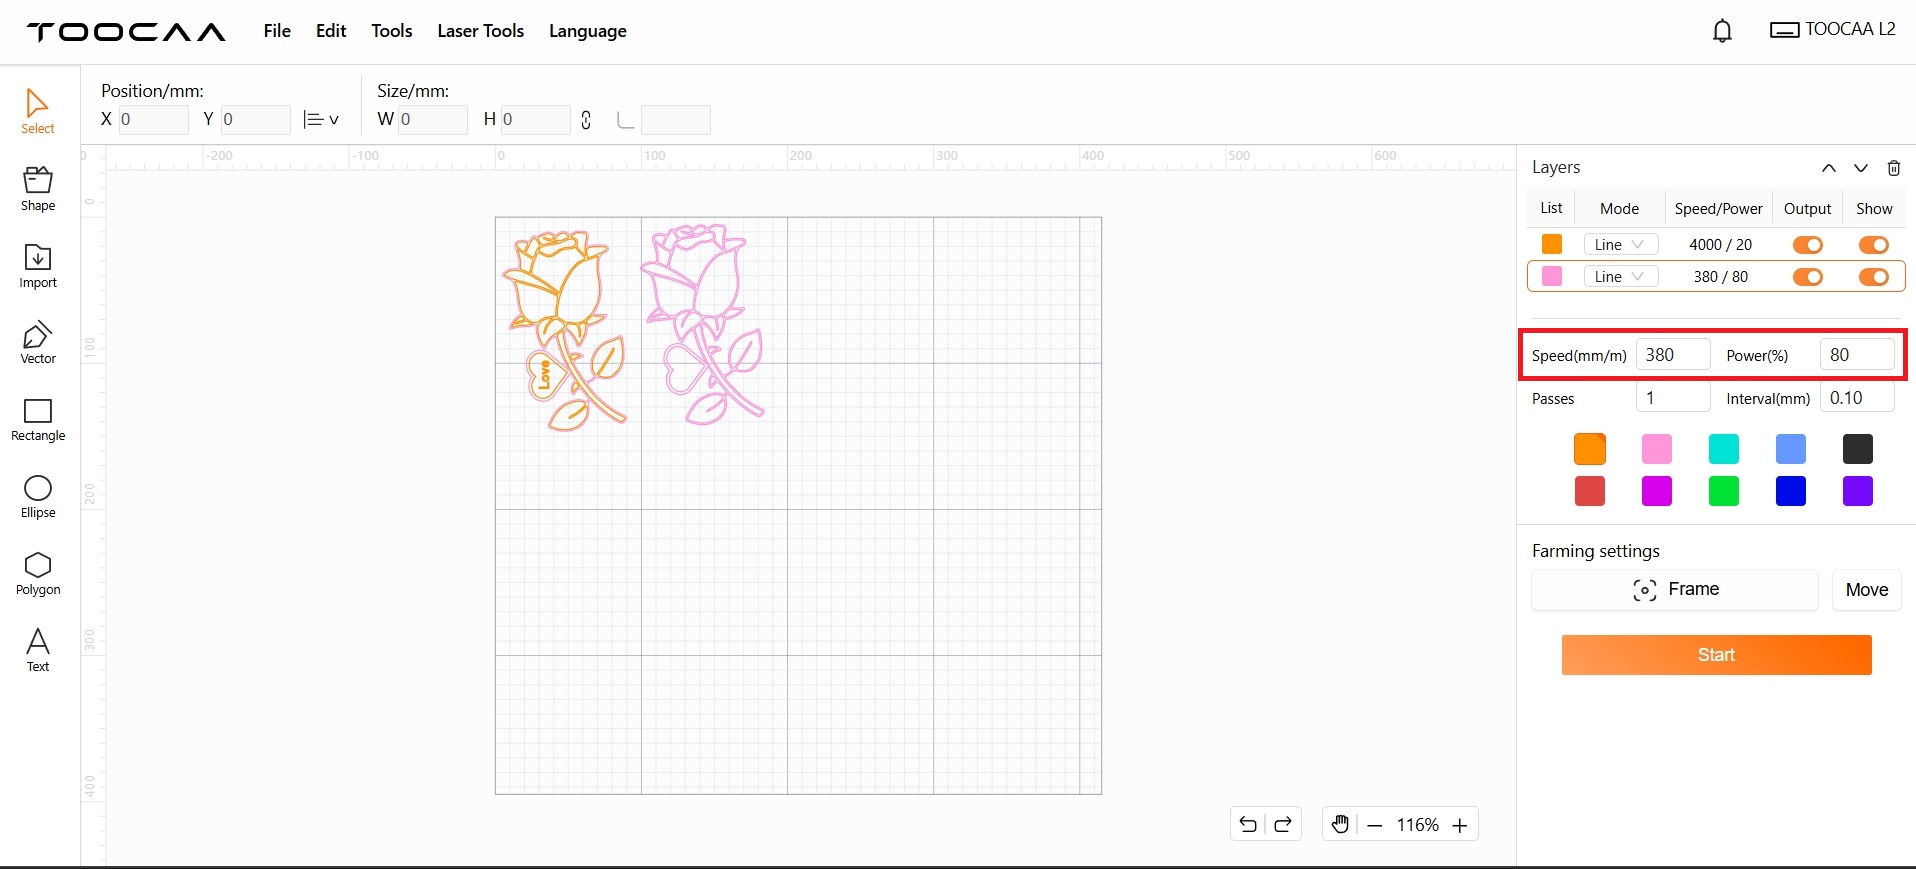
Check the layer parameters.
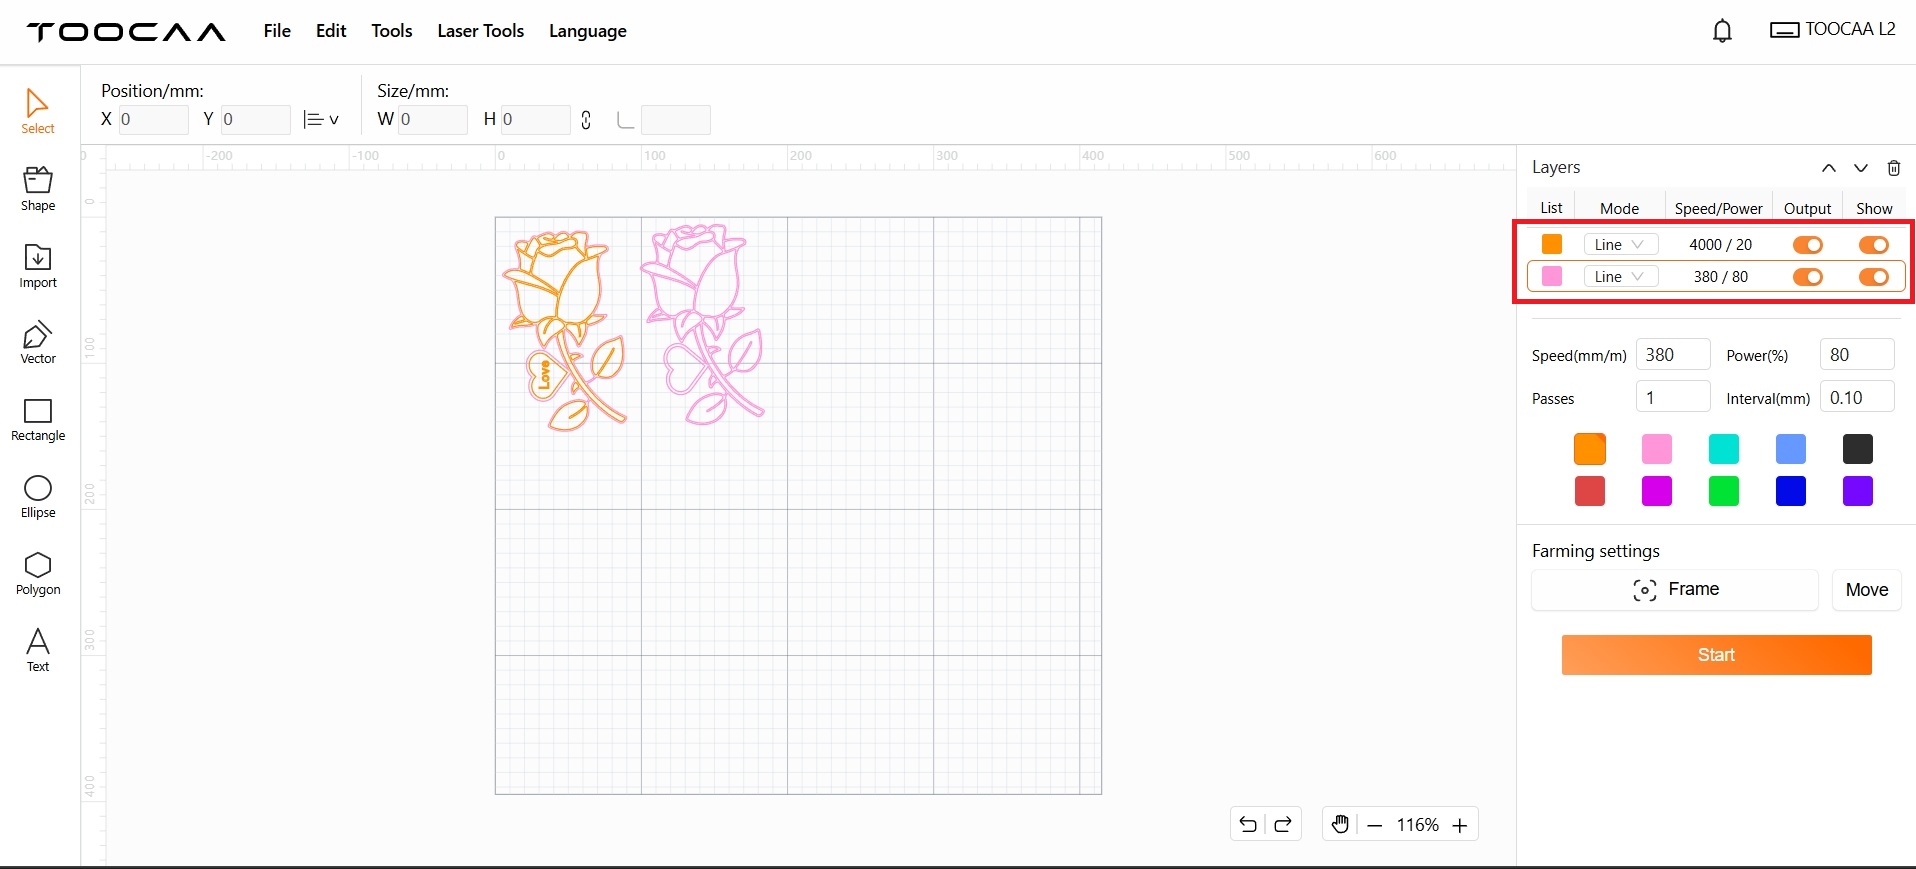
Tips: The default parameters of the file are suitable for 300mm × 300mm × 3mm glued basswood. If you use other types of consumables, please adjust the parameters accordingly. For parameters of various consumables, please refer to the website: Material parameter settings
Modify layer parameters.
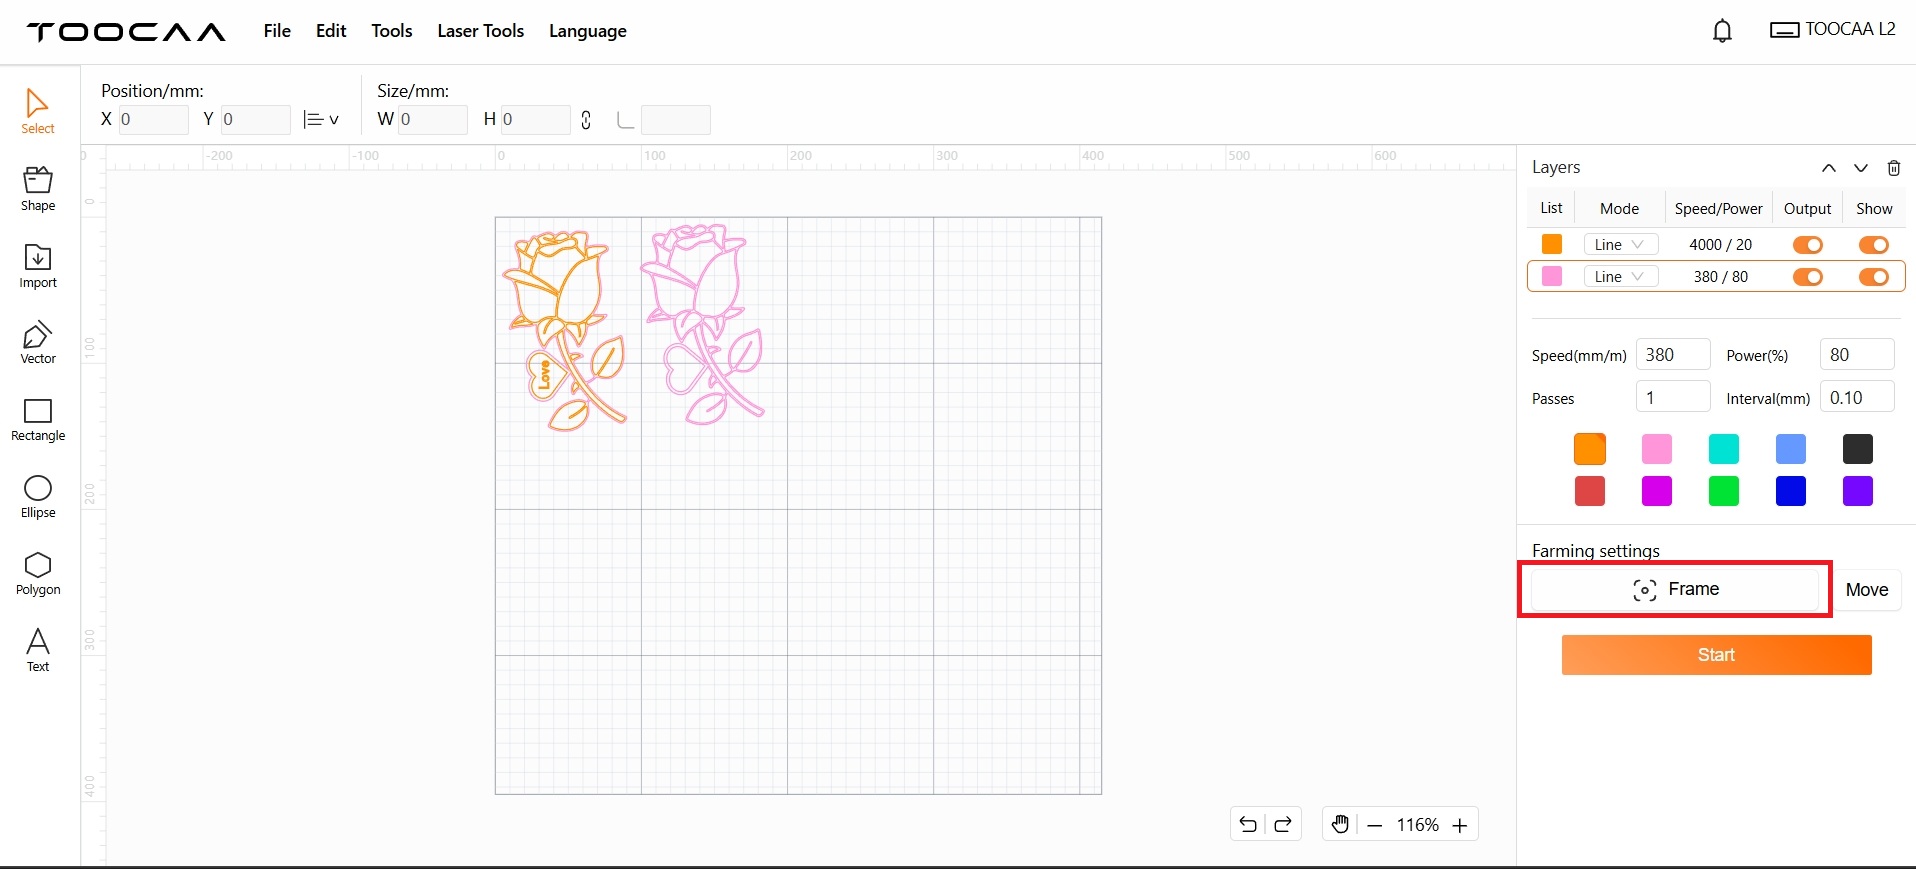
Frame Test
Tips: The purpose of the border is to confirm whether the working area coincides with the location of the consumables. If the working area is inconsistent with the location of the consumables, please adjust the position of the material elements in the canvas to make them coincide with the location of the consumables.
Click Frame.
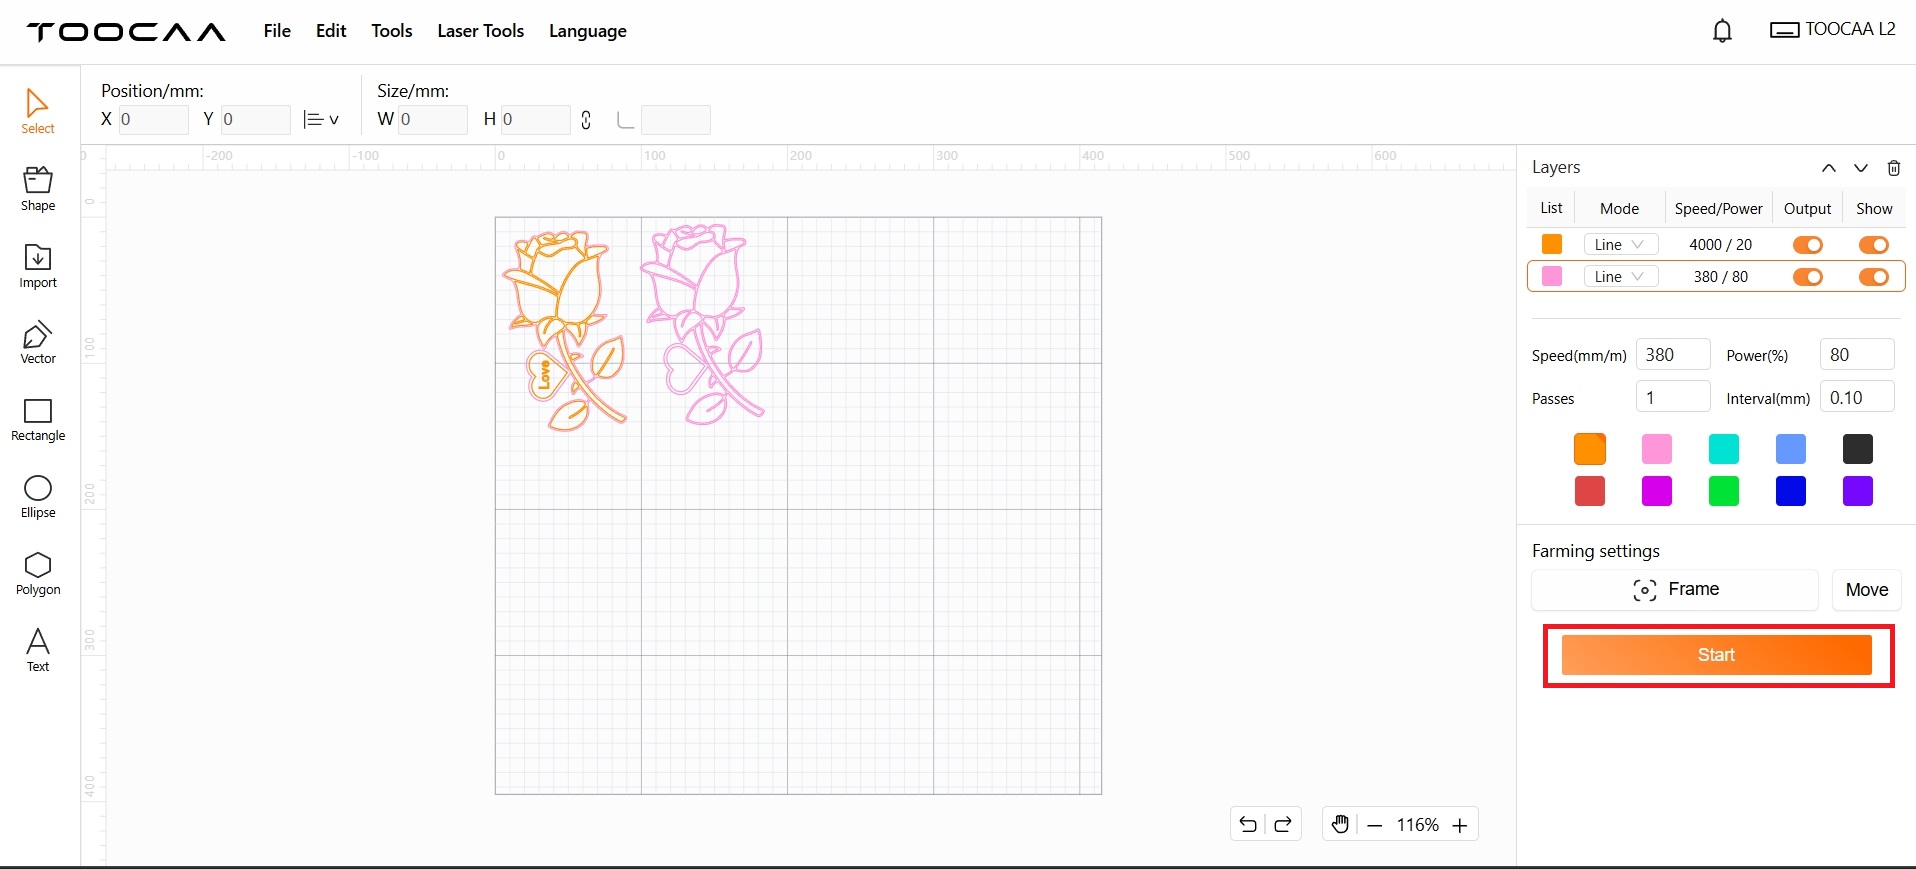
Creation Begins
If the border position is suitable for the current consumable position, you can click in the lower right corner to start creating.
After completing the carving and cutting process, you can color the work according to your personal preferences. After the coloring is completed, the basswood can be glued together. If everything goes well, you will have perfect work in 15 minutes!