TOOCAA Studio & TOOCAA 5-in-1 Rotary for L2 Tutorial
Start TOOCAA Studio.
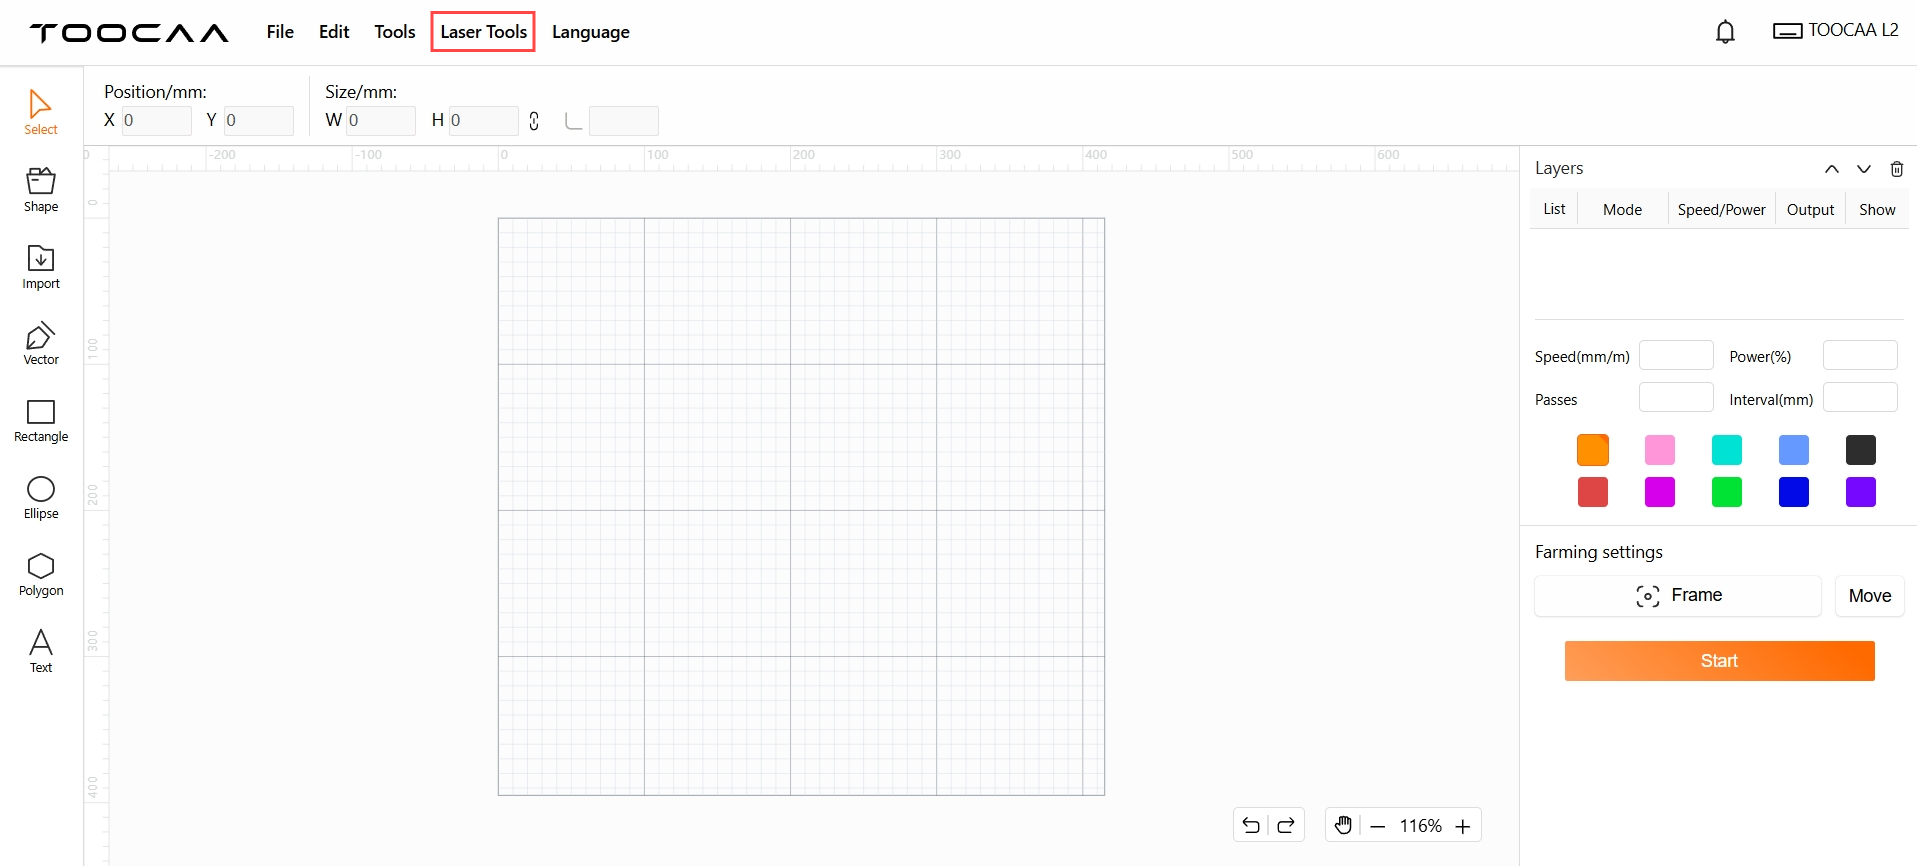
Click Laser Tools in the menu bar.
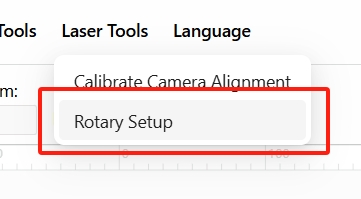
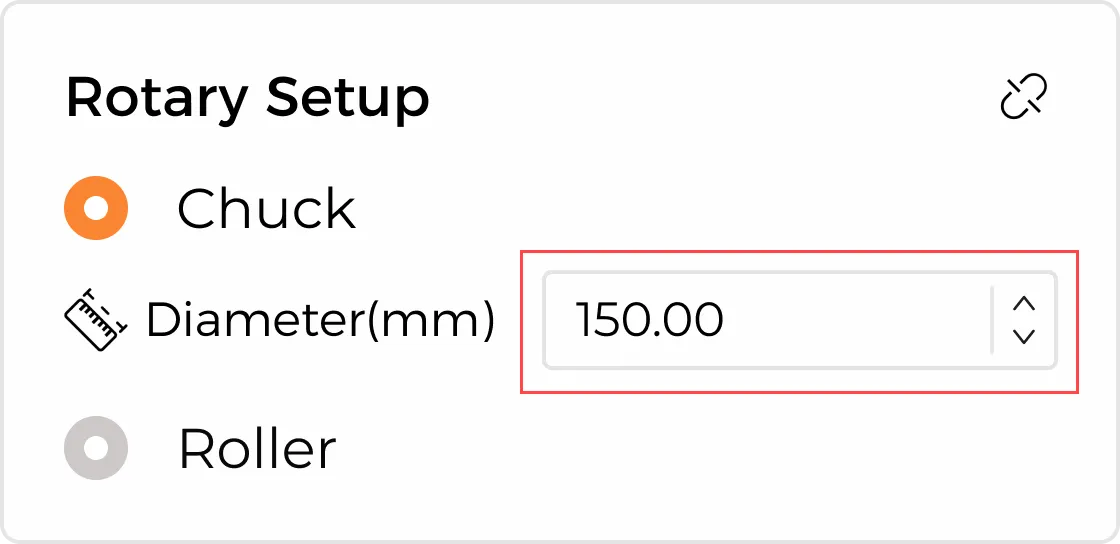
Select the Rotary Setup.
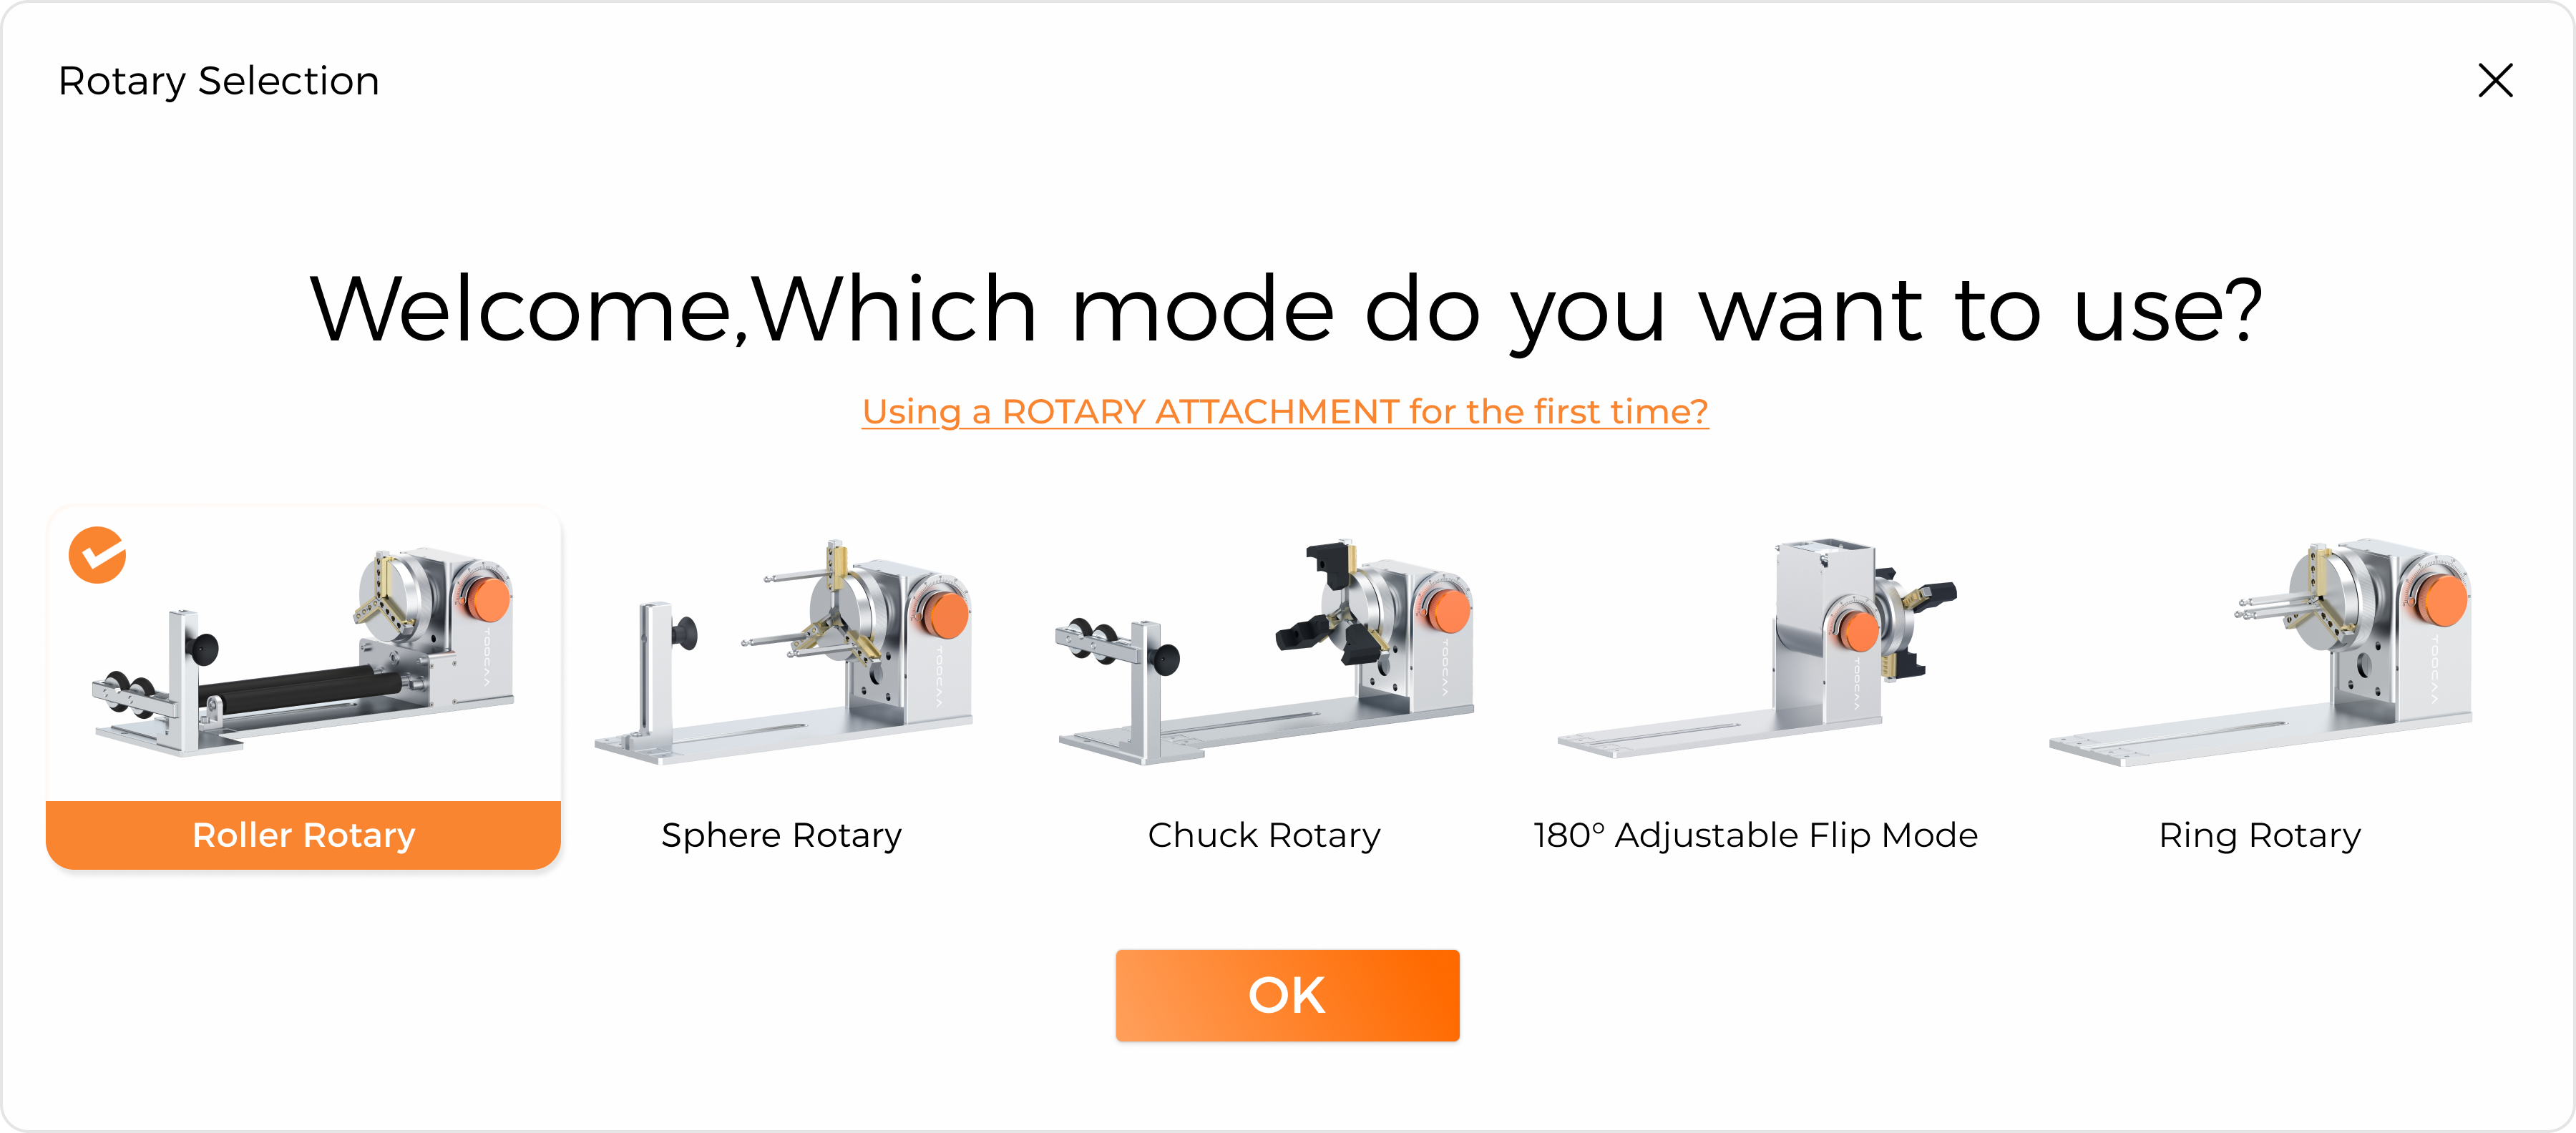
Select the mode you will be using。
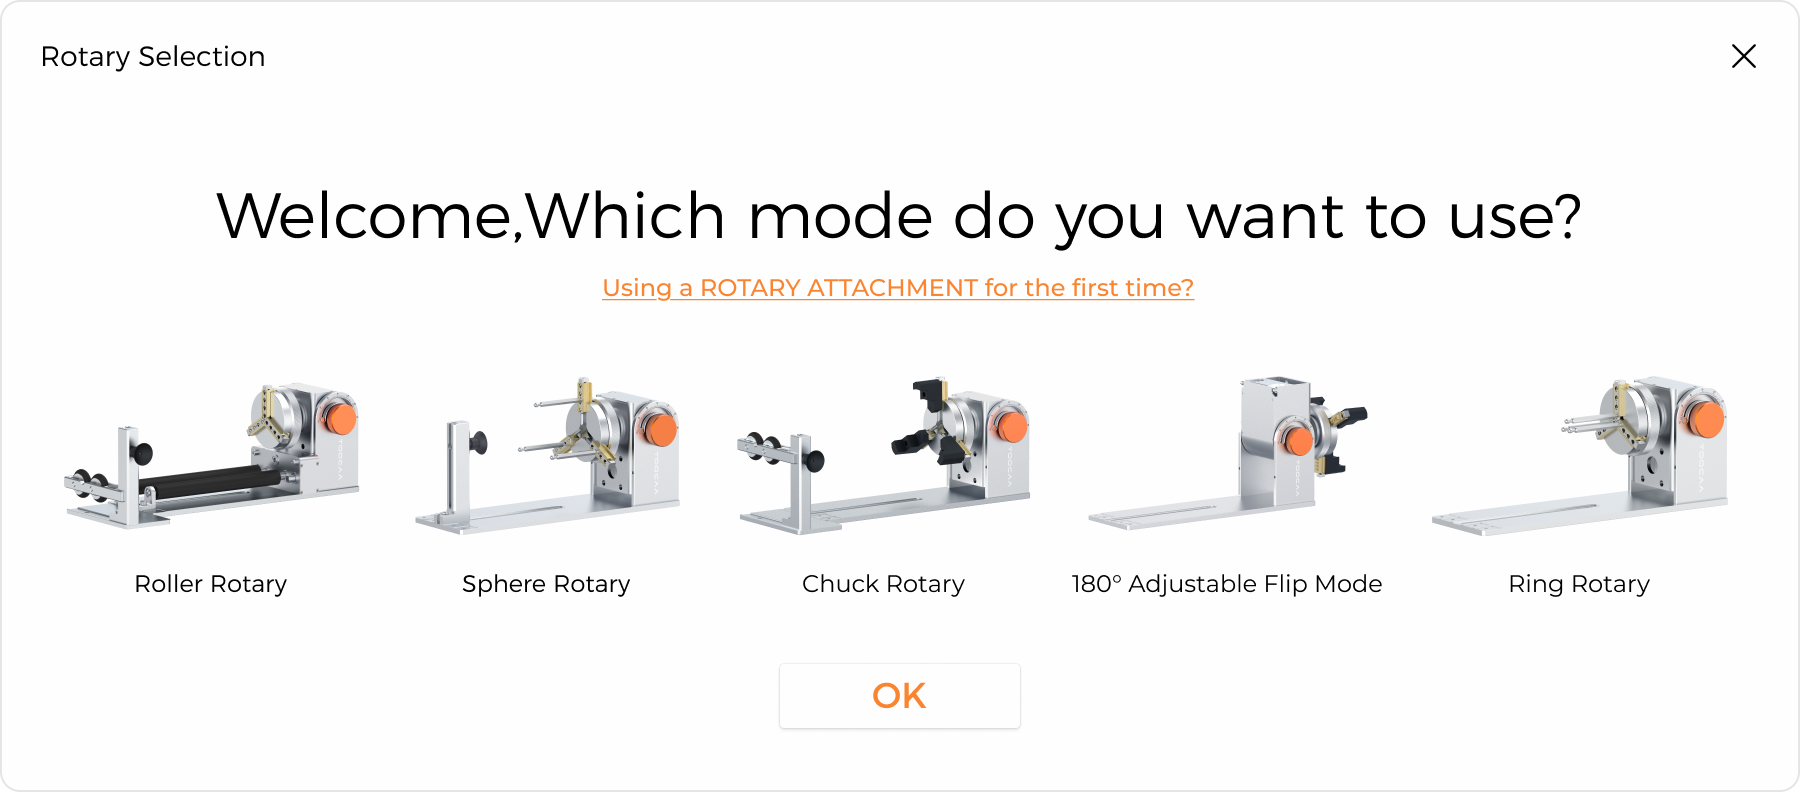
If you select the Roller Rotary mode, just click OK to start using it.
If you select the Chuck Rotary, Sphere Rotary, Ring Rotary, or 180° adjustable flip mode, please enter the object diameter in the rotation accessory toolbar on the right after clicking OK.
 Congratulations! You have completed all TOOCAA 5-in-1 Rotary for L2 function settings!
After setting appropriate parameters for the material, perform the Frame operation. If the position meets your requirements, you can click in the lower right corner to start creating.
Notice:
1. After selecting the rotary accessory mode in TOOCAA Studio, the positioning mode automatically switches from absolute coordinates to the current position of the focus lever (relative coordinates). Please pay attention to the position of the object in the canvas to avoid limit errors.
2. In the rotary accessory mode, the laser module's working starting position is the current position of the focus lever (relative coordinate). After using the focus lever to adjust the focal length to the actual filament size, processing can be started directly without the need to move (or return) the laser module a second time.