TOOCAA Studio & TOOCAA Smart Camera Usage Tutorial
Start TOOCAA Studio.
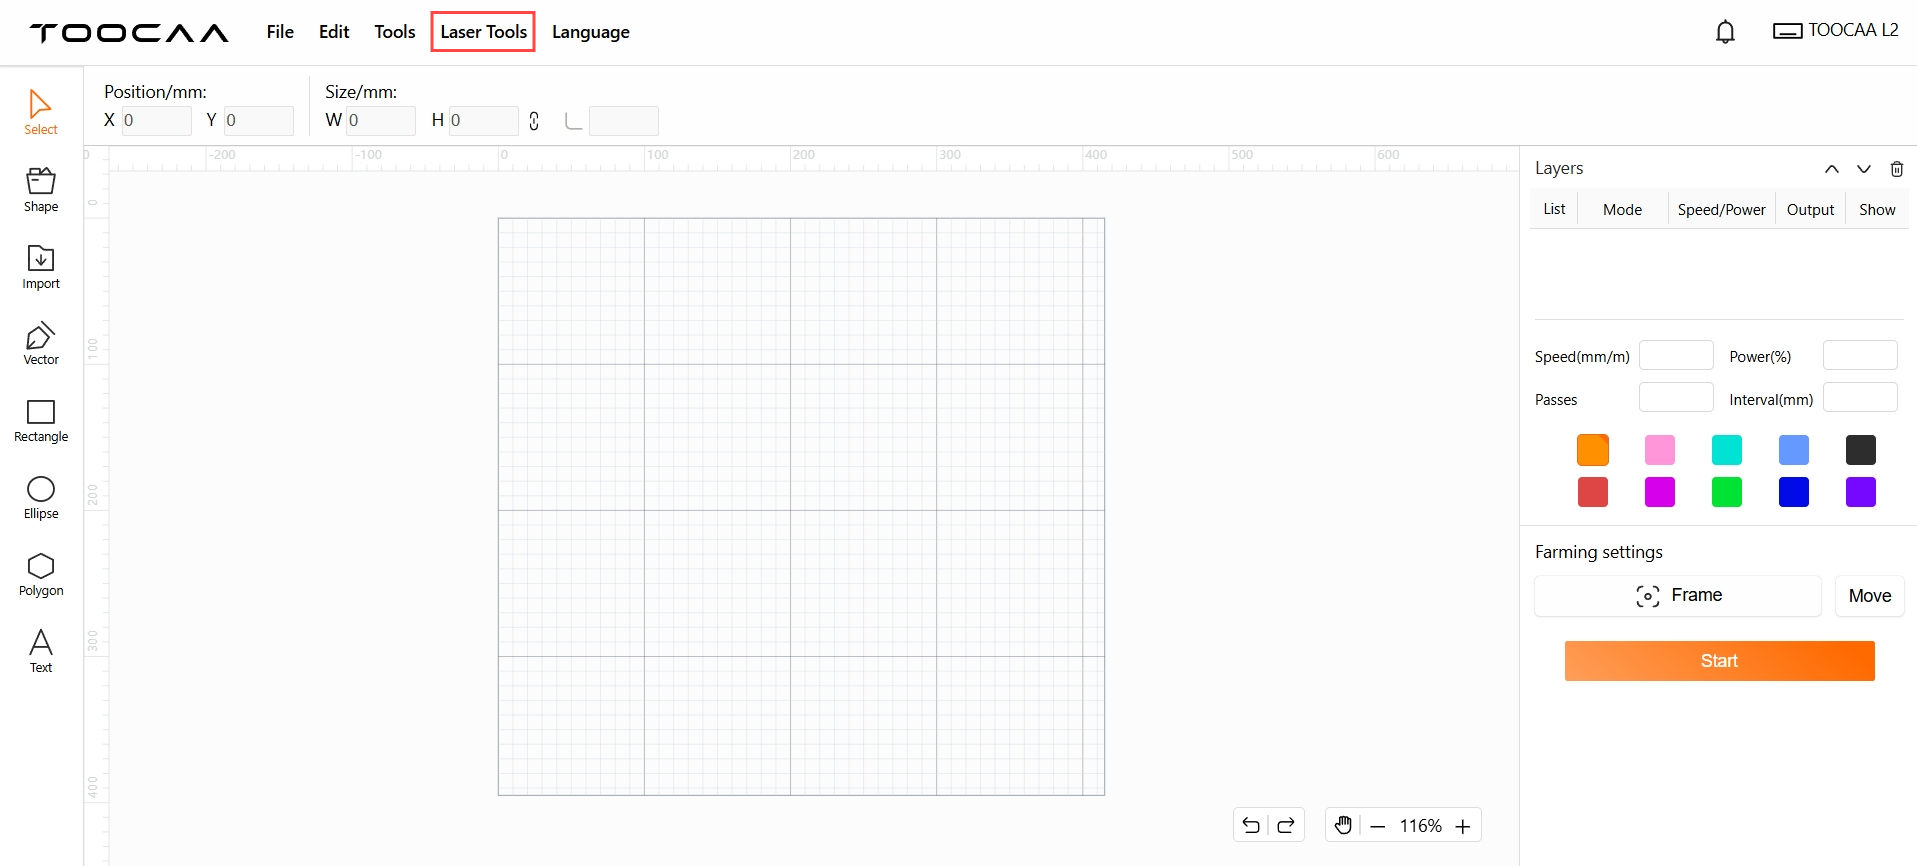
Click Laser Tools in the menu bar.
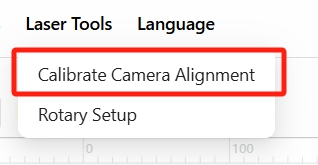
Select Calibrate Camera Alignment.
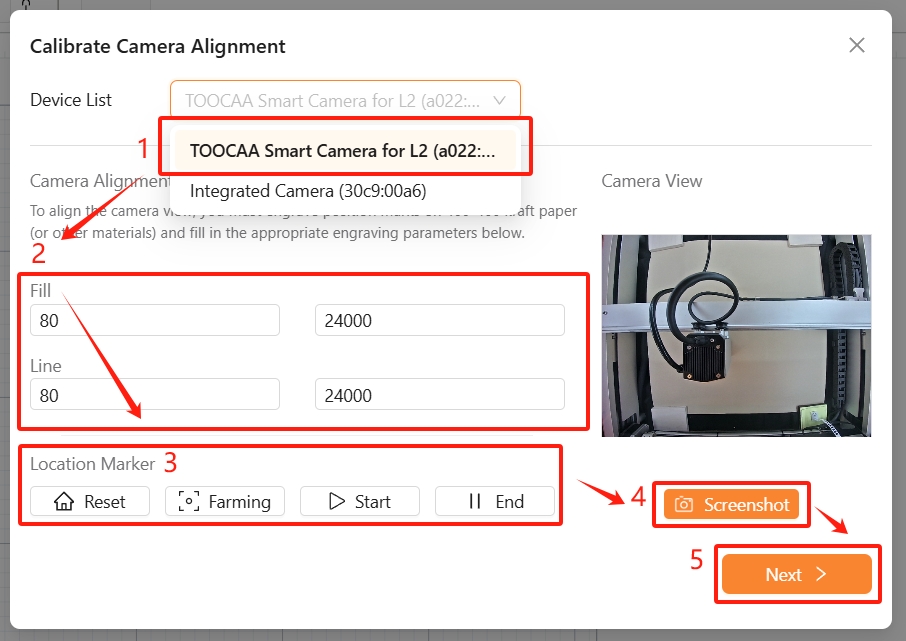
Select the Device List. (Default is TOOCAA Smart Camera for L2)
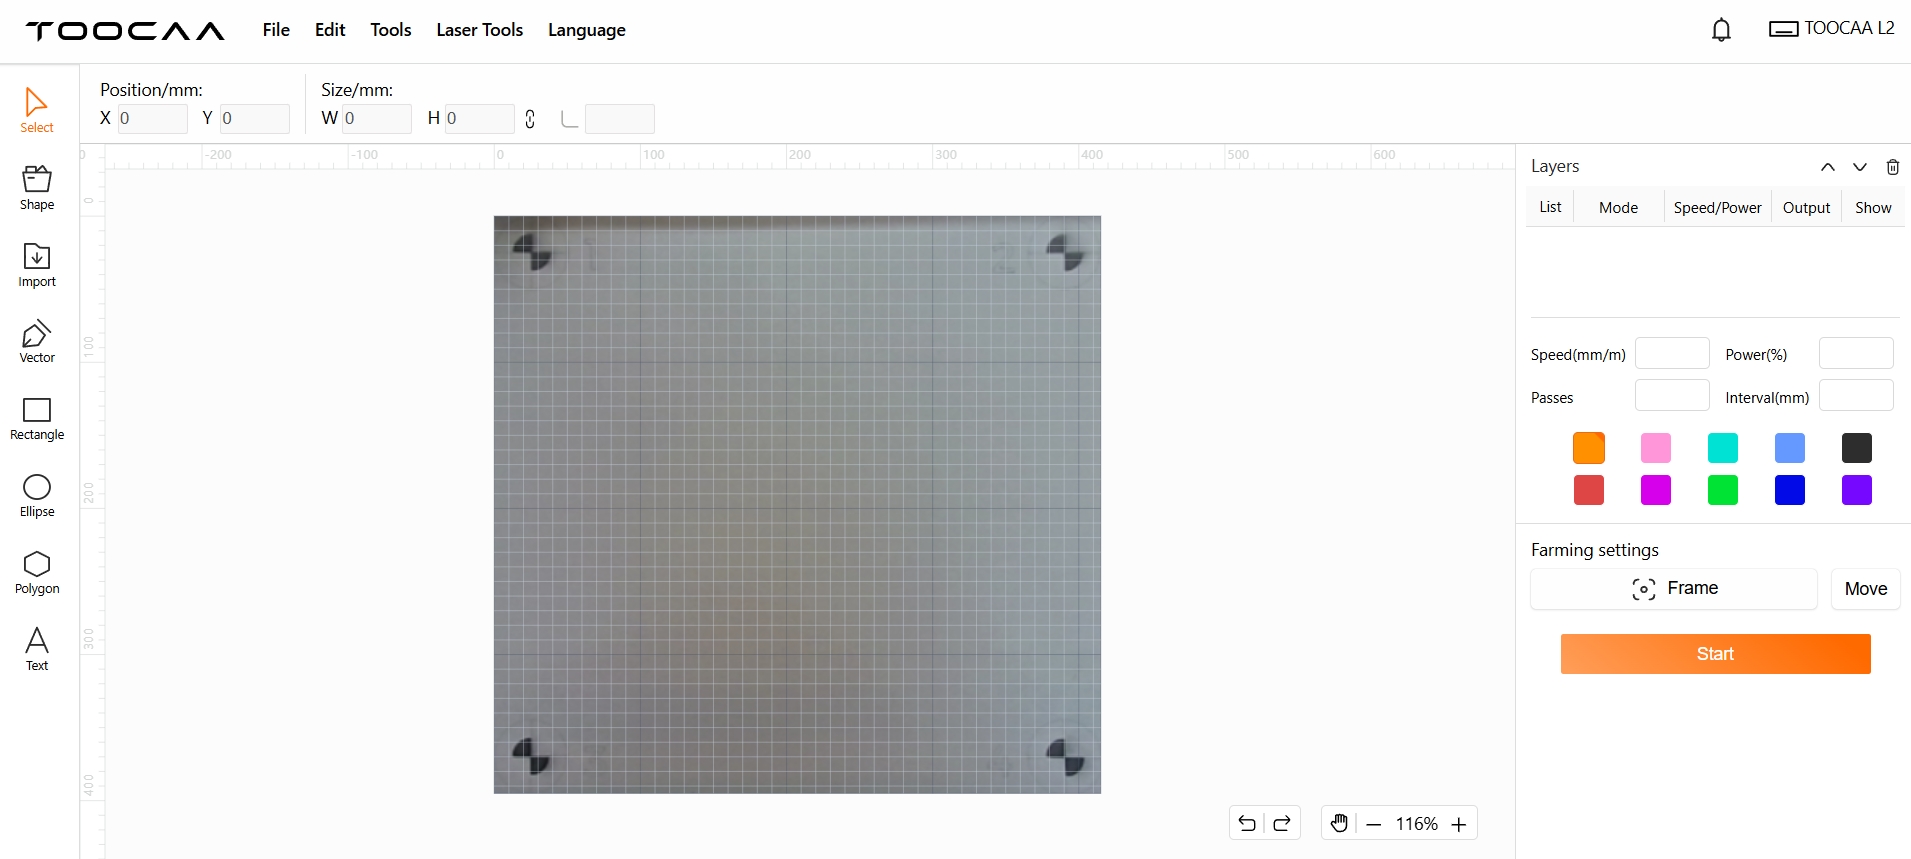
Prepare a 400*400 paper or other material for test image generation. Lay the material flat on the bottom of the machine and adjust the corresponding parameters according to the selected material thickness, After selecting the engraving parameters for the appropriate material, proceed with the Frame test. Then click Start to test the image. After the test image is engraved, click Next.
 Note: The parameters shown in the figure are the parameters for engraving the kraft paper test image, which are for reference only. Please set the corresponding parameters according to the material and thickness of the actual test material!
After completing the case creation, click Screenshot, then click Next.
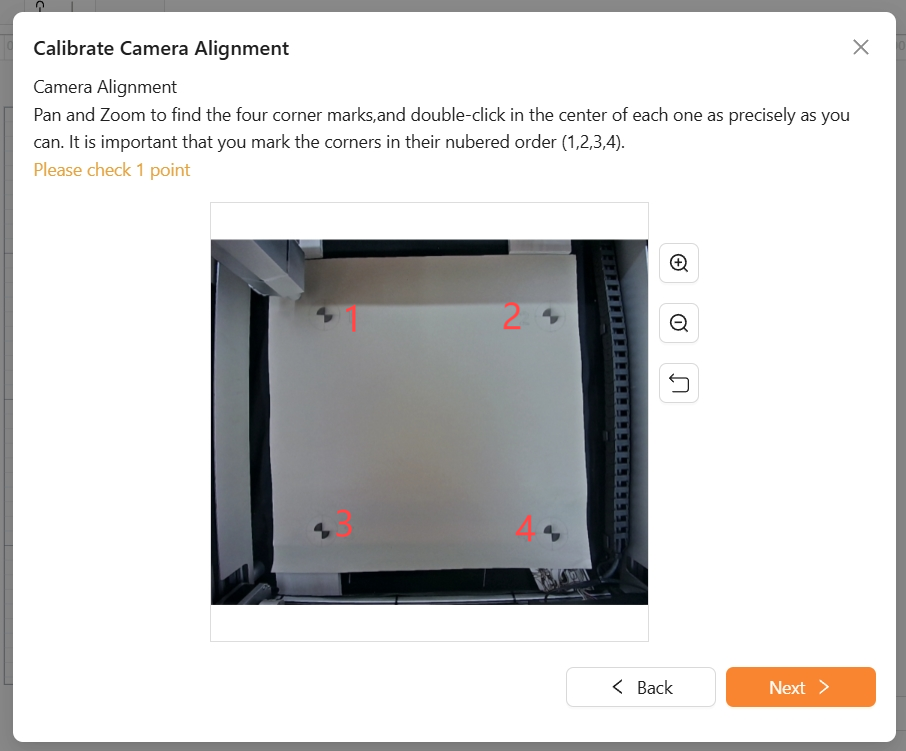
Use the mouse to mark and confirm the four marking points on the test image in the numerical order shown.
Notice:
1. Please make sure to click the mouse exactly at the center of the circle of the marked point.
2. The test image can be moved and zoomed in and out by using the mouse or the zoom buttons, to accurately click the center of the circle at four locations.
After the 4 locations are accurately marked one by one, click Finish. Then click Next.

Congratulations! You have completed all the settings of TOOCAA Smart Camera for L2 camera functions!
Note: If you need to update the overlay, please loop this step. (You can skip the test image generation step)